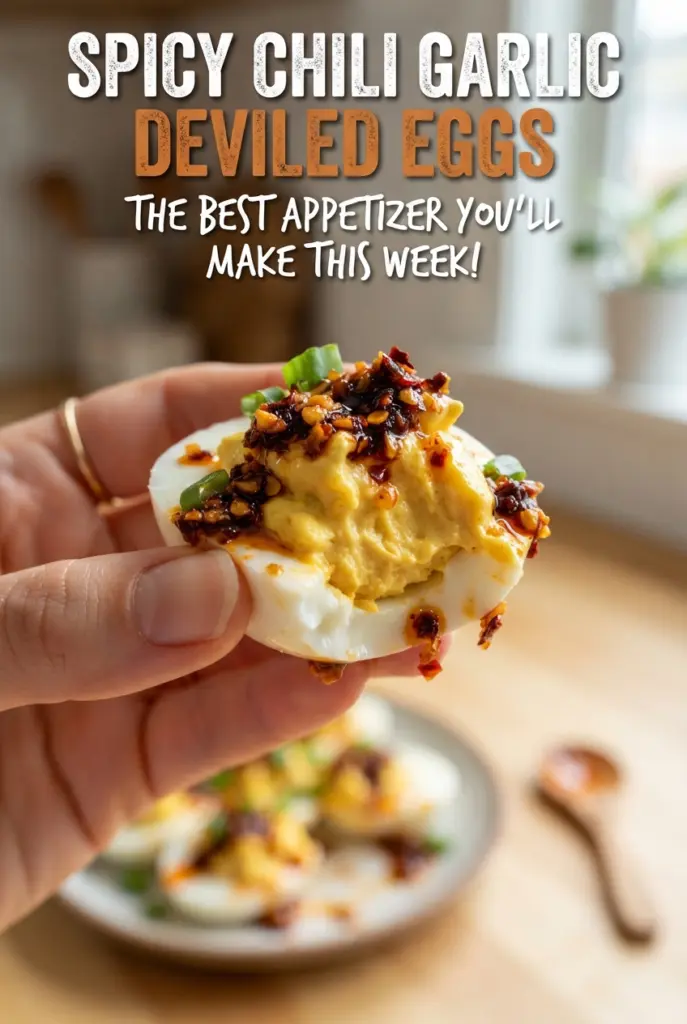
Spicy Chili Garlic Deviled Eggs bring the kind of sharp, creamy heat that disappears fast from a party platter. The filling stays silky, the yolks taste rich instead of heavy, and the chili crisp on top adds crunch and little bursts of garlic that make each bite more interesting than a standard deviled egg. They’re familiar enough to disappear quickly, but bold enough that people usually ask what’s in them after the first one.
This version works because the filling is built for balance. Kewpie mayonnaise gives it a rounder, custardy texture than regular mayo, while soy sauce and rice vinegar cut through the richness so the yolks don’t taste flat. A small amount of sesame oil goes a long way here; it should read as nutty and fragrant, not overpowering. The chili crisp finishes the eggs with texture and heat instead of just adding more spice.
Below, I’ll walk through the egg-cooking method that keeps the yolks tender, the ingredient details that matter most, and a few smart swaps if you need to adjust for what’s in your kitchen. There’s also a storage note, since these are best when they’ve had a little time to chill and set up.
The filling turned out super smooth, and the chili crisp stayed crunchy instead of getting lost in the mayo. I made them an hour ahead and they held up perfectly on the platter.
Love the creamy chili garlic filling and crunchy chili crisp topping? Save these deviled eggs to Pinterest for your next appetizer spread.
The Trick to Keeping the Filling Silky Instead of Grainy
Deviled egg filling goes wrong when the yolks are still a little warm or the mayo goes in too fast. Warm yolks soften the mixture at first, but they also make it hard to judge the final texture, so the filling can turn loose and feel greasy once it cools. These eggs get their best texture when the yolks are fully chilled, then mashed with the mayonnaise and seasonings until the mixture looks smooth and pale.
The other issue is overmixing after the chili crisp goes in. The crisp belongs on top, not folded through the filling, because its garlic bits and seeds are what give the eggs their contrast. Keep the base creamy and smooth, then finish each egg with a spoonful of crunch right before serving.
What Each Ingredient Is Doing in These Deviled Eggs
- Kewpie mayonnaise — This gives the filling a richer, silkier texture and a slightly sweeter backbone than standard mayonnaise. Regular mayo works if that’s what you have, but Kewpie gives the cleanest, most luxurious finish here.
- Chili garlic sauce — This is where the filling gets its direct heat and garlicky bite. Use enough to wake up the yolks without turning the mixture thin or harsh.
- Soy sauce — A teaspoon adds salt and depth without making the eggs taste overtly savory. It pulls the yolk flavor in a more balanced, umami direction.
- Rice vinegar — The acid sharpens the filling and keeps the richness from tasting flat. Don’t swap in a strong vinegar unless you want the eggs to taste louder and less smooth.
- Sesame oil — Just a little gives the filling a toasted, nutty finish. Too much takes over fast, so measure it carefully.
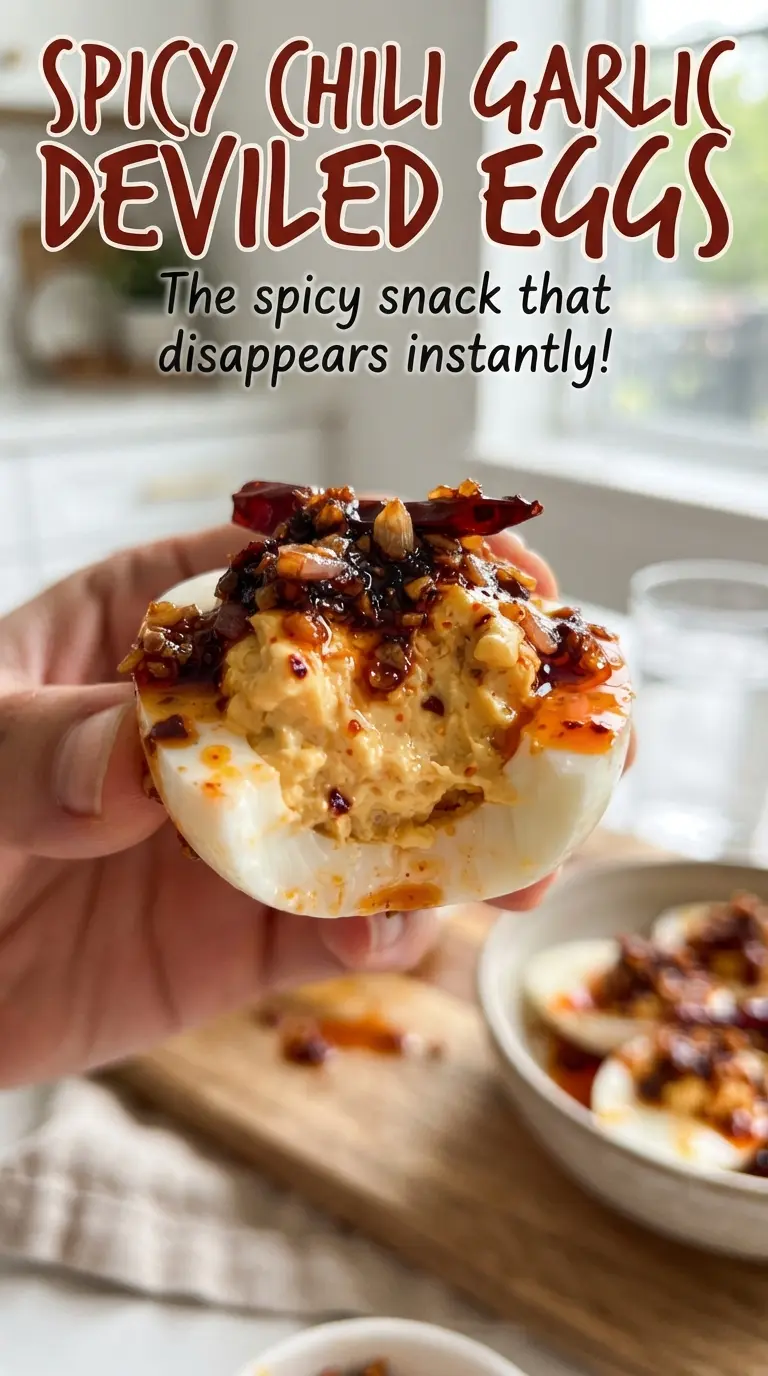
- Chili crisp — This is the texture piece. Spoon it on top right before serving so the garlic bits stay crunchy and the oil doesn’t seep into the filling.
Getting the Eggs Cooked, Cooled, and Filled Without Mess
Boiling the Eggs Cleanly
Start the eggs in cold water, bring the pot to a boil, then cover it and take it off the heat for 12 minutes. That off-heat rest gives you cooked yolks without the dry, chalky edge that happens when eggs sit at a hard boil too long. If the shells cling later, the eggs probably went into the ice bath too late or cooled too slowly.
Cooling and Peeling Without Tears
Move the eggs straight into an ice bath for 10 minutes so the cooking stops fast and the shells contract a little. Peel them after they’re fully cool, not while they’re warm, or the whites can tear and leave you with ragged edges. A small amount of shell left behind is usually a sign the eggs were very fresh; slightly older eggs peel more easily here.
Making the Filling Smooth
Cut the eggs in half lengthwise and pop the yolks into a bowl. Mash them first before adding the mayonnaise, chili garlic sauce, soy sauce, rice vinegar, and sesame oil, because dry yolk pieces make the mixture lumpy. Keep mixing until the filling looks creamy and spreadable, then stop before it turns gluey.
Finishing for Texture
Pipe or spoon the filling into the whites, then top each egg with a little chili crisp, sesame seeds, and sliced green onions. The garnish isn’t decoration here; it’s the bite that makes the egg taste finished. Assemble close to serving time so the crisp topping stays sharp and the whites stay neat.
How to Adjust These for Different Tables and Diets
Swap Kewpie for regular mayonnaise
Regular mayonnaise works fine if you can’t find Kewpie. The filling will be a little less silky and a touch less rich, so taste it after mixing and add another tiny splash of rice vinegar if it needs more brightness.
Make it gluten-free without losing the punch
Use a gluten-free soy sauce or tamari in place of regular soy sauce. The flavor stays deep and salty, and the rest of the ingredients already fit naturally into a gluten-free appetizer.
Dial back the heat for a milder platter
Cut the chili garlic sauce in half and use a lighter hand with the chili crisp. You’ll still get the garlic, sesame, and tangy finish, but the eggs will land more in the savory zone than the spicy one.
Use the filling as a quick appetizer spread
Skip the piping and spoon the yolk mixture onto crackers or cucumber rounds, then finish with chili crisp and sesame seeds. You lose the classic deviled egg shape, but you gain a faster party bite that still carries the same creamy heat.
Storage and Reheating
- Refrigerator: Store covered for up to 2 days. The whites stay fine, though the chili crisp will soften a little.
- Freezer: Don’t freeze deviled eggs. The whites turn watery and rubbery after thawing.
- Reheating: These are served cold, not reheated. If they’ve been chilled hard, let them sit at room temperature for 10 to 15 minutes before serving so the filling tastes creamy instead of stiff.
Answers to the Questions Worth Asking
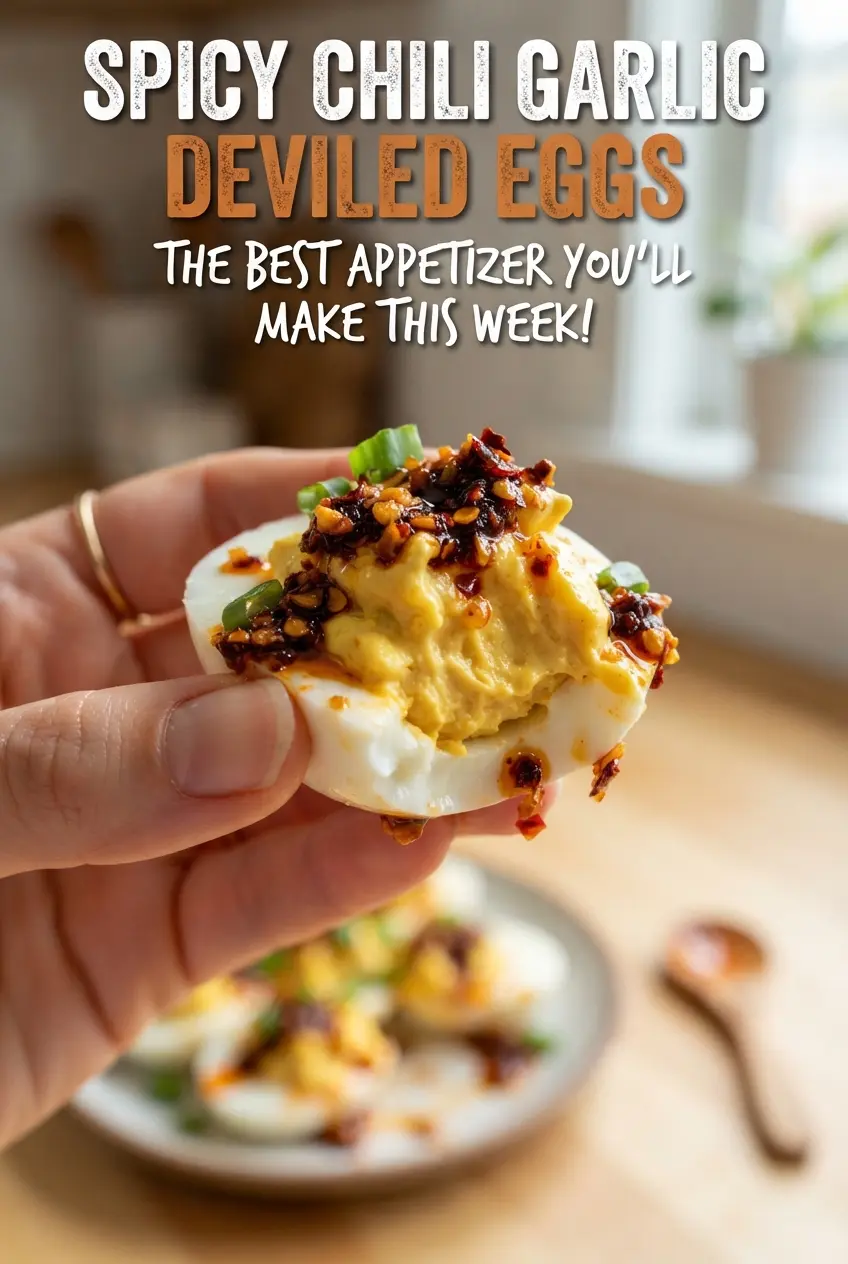
Spicy Chili Garlic Deviled Eggs
Ingredients
Equipment
Method
- Place the large eggs in a pot, cover with cold water, and bring to a boil over high heat. Once boiling, cover the pot, remove from heat, and let stand 12 minutes.
- Chill the eggs in an ice bath for 10 minutes to stop the cooking and make peeling easier. Peel the eggs and halve lengthwise.
- Mash the egg yolks with Kewpie mayonnaise, chili garlic sauce, soy sauce, rice vinegar, and sesame oil until smooth. Mix until no yolk lumps remain and the mixture looks glossy and thick.
- Pipe the filling into the egg whites for neat ridges and even portions. Press lightly as you fill so the topping stays snug.
- Spoon a little chili crisp over each filled egg for a red, glossy finish. Let the chili crisp sit briefly so it clings to the filling.
- Sprinkle toasted sesame seeds and sliced green onions over the eggs right before serving. Serve immediately for the best crunchy texture.