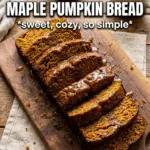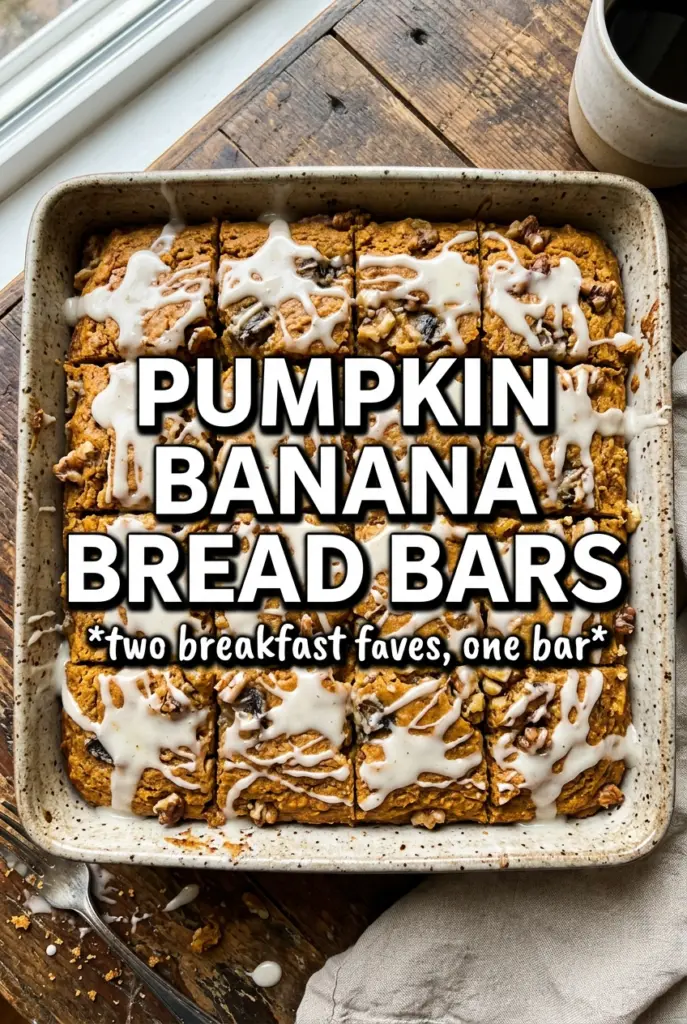
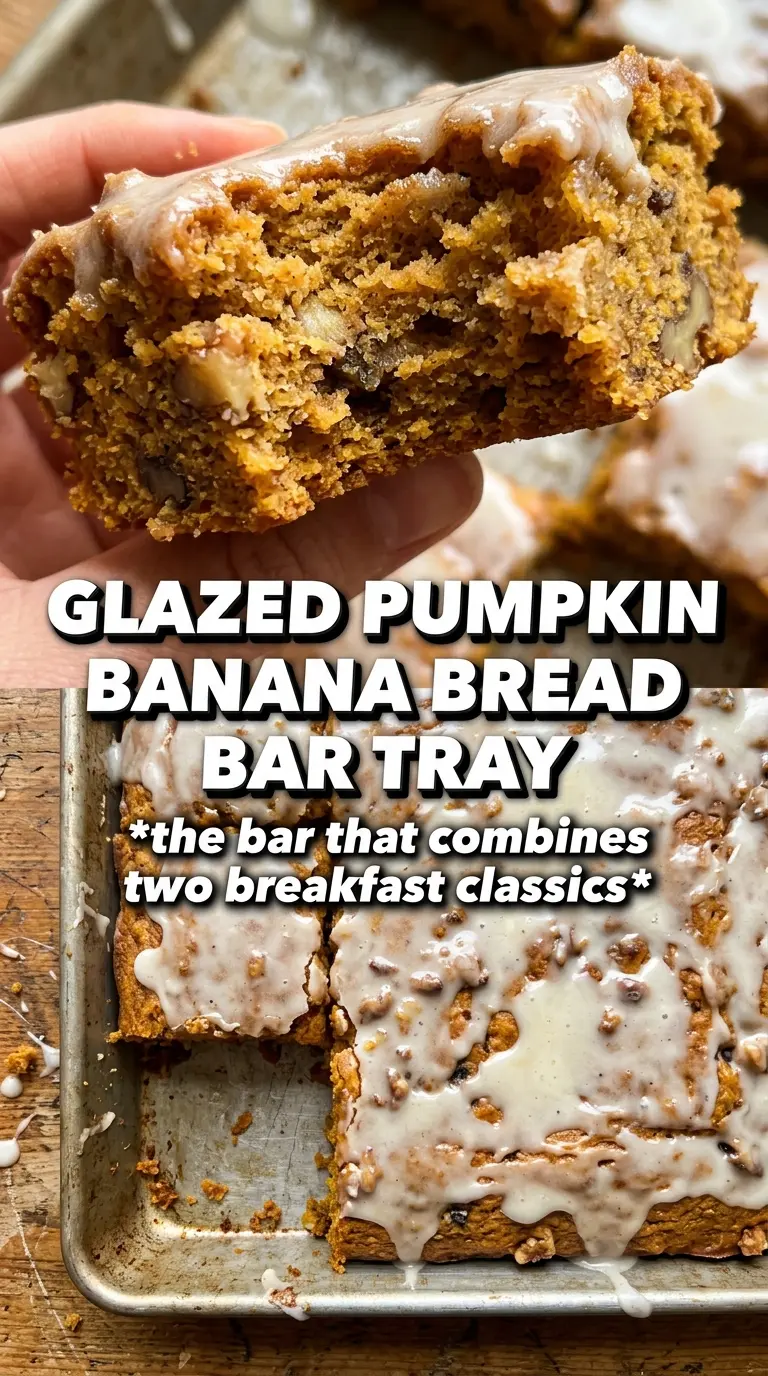
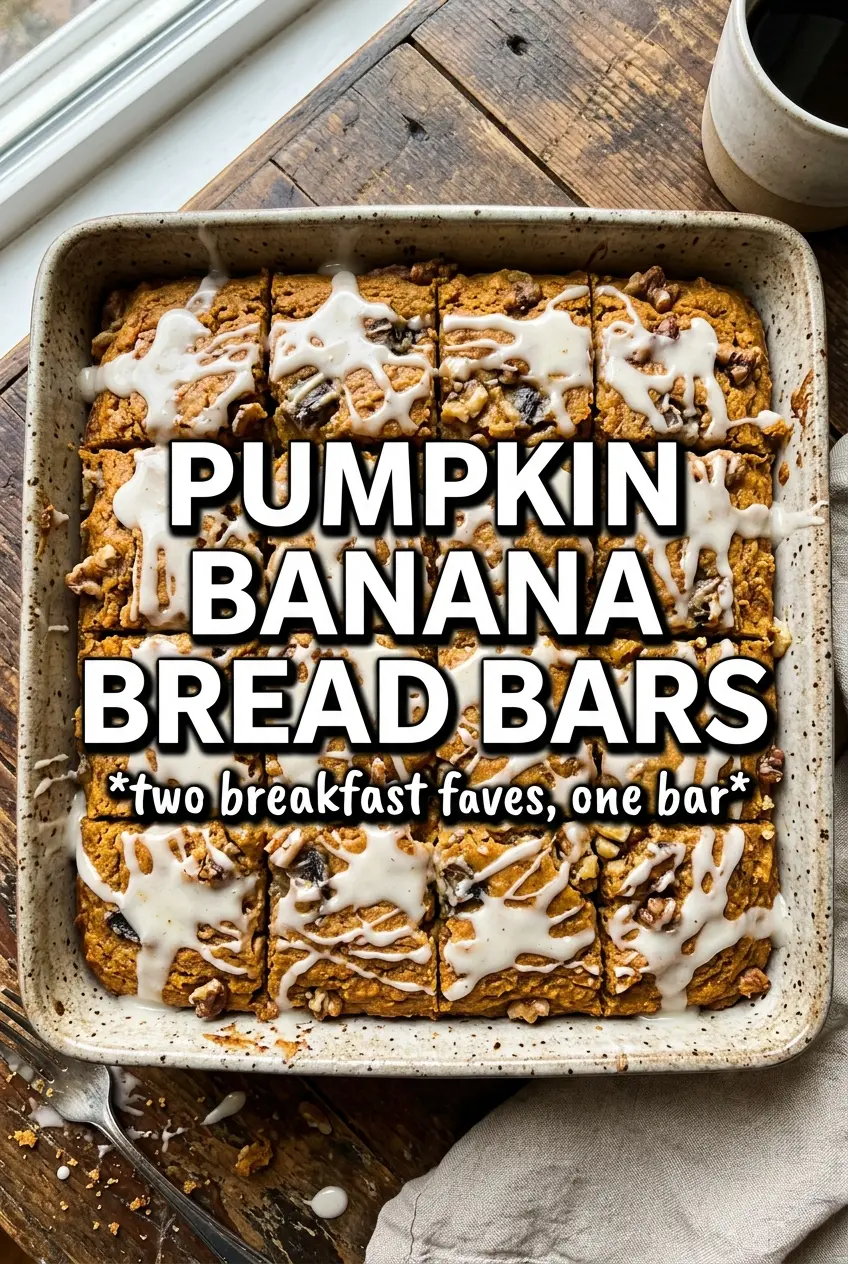
These pumpkin banana bread bars bake up soft, moist, and just sturdy enough to slice cleanly once they’ve cooled. The banana brings sweetness and a plush crumb, while the pumpkin keeps the bars tender without turning them heavy. A maple glaze on top pulls everything together with a sweet finish that tastes right at home with breakfast coffee or an afternoon snack.
What makes this version work is the balance. Two very ripe bananas give you the strongest flavor and the best texture, but pumpkin puree keeps the bars from tasting like straight banana bread. The batter comes together fast, and the trick is to stop mixing as soon as the flour disappears. Overmixing tightens the crumb and makes the bars bake up denser than they should.
Below, I’ve included the small details that matter most: how smooth the bananas should be, why the glaze waits until the bars are fully cool, and a few smart swaps if you need to adjust the recipe for what’s in your pantry.
The bars came out unbelievably moist, and the maple glaze set just enough that they sliced cleanly once cooled. I used bananas that were almost black and the flavor was perfect with the pumpkin.
Save these Pumpkin Banana Bread Bars for the mornings when you want a soft, maple-glazed breakfast bar with real pumpkin and banana flavor.
The Secret to Bars That Stay Tender Instead of Turning Dense
The biggest mistake with quick bread bars is treating the batter like cake batter and beating it smooth. That develops too much gluten in the flour and gives you a tough, compact crumb instead of a soft, moist one. Here, the wet ingredients do most of the work, and the dry ingredients only need a brief fold-in at the end.
Pumpkin puree and banana both hold a lot of moisture, which is a gift and a trap. If the bananas are only half ripe, the bars taste flat. If the bananas are overmixed into a perfectly silky puree, the batter can tighten up once the flour goes in. Mash them well, but leave the batter alone once the flour is added.
- Very ripe bananas — These should have plenty of brown spots and mash almost smooth. That ripeness is what gives you the deepest banana flavor and enough natural sweetness to support the pumpkin.
- Pumpkin puree — Use plain pumpkin puree, not pumpkin pie filling. Pie filling is already sweetened and spiced, which throws off both the flavor and the texture.
- Brown sugar — This adds a little molasses depth that pairs well with the maple glaze. If you only have granulated sugar, the bars will still work, but they’ll taste a little flatter.
- Vegetable oil — Oil keeps the crumb soft for days. Melted butter brings more flavor, but it also firms up more as the bars cool, so the texture won’t stay as plush.
What Each Ingredient Is Actually Doing in This Recipe
- Primary ingredient (the star) — Quality matters most. Choose the best you can find.
- Cooking medium (oil, butter, or broth) — This carries flavors and prevents dryness.
- Seasonings (salt, pepper, spices, herbs) — Layer flavors so nothing overpowers. Build depth gradually.
- Aromatics (garlic, onion, herbs) — Cook with fat to bloom flavors. Become the foundation.
- Supporting ingredients — Complement the main ingredient without overpowering it.
- Sauce or liquid (if applicable) — Brings flavors together. Balance richness with acid.
- Acid (lemon, vinegar, wine, or other) — Brightens and prevents flat-tasting results.
- Final finish (garnish, glaze, or sauce) — Prevents one-dimensional taste and adds visual appeal.
Building the Batter So the Glaze Can Finish the Job
Mix the Wet Ingredients Until Smooth
Start with the bananas, pumpkin, both sugars, oil, eggs, and vanilla, and whisk until the mixture looks uniform and glossy. Small banana flecks are fine, but the sugars should be dissolved enough that the batter looks thick and cohesive. If the eggs are cold, the mixture can look slightly curdled at first; keep whisking and it comes together.
Fold in the Dry Ingredients Gently
Add the flour, baking soda, baking powder, spices, and salt all at once, then fold just until no dry streaks remain. The batter should look thick and spoonable, not whipped. If you keep stirring after the flour disappears, the bars bake up tighter and lose that soft, bread-like middle.
Bake Until the Center Springs Back
Spread the batter evenly in a greased 9×13 pan and bake until a toothpick comes out clean from the center, usually 25 to 30 minutes. The top should look set and lightly golden, and the middle should spring back when pressed gently. Pull them before the edges get too dark, because overbaking is the fastest way to dry out a bar recipe like this.
Glaze Only After Cooling
Stir the powdered sugar, maple syrup, and milk until smooth, then drizzle it over bars that are completely cool. Warm bars will melt the glaze into a thin puddle instead of letting it sit in ribbons. If you want thicker stripes, add the milk a few drops at a time until the glaze falls off the spoon slowly.
How to Adapt These Bars Without Losing the Texture
Dairy-Free Glaze
Use a plant-based milk in the glaze and keep the rest of the recipe the same. The bars themselves are already dairy-free, so this is an easy swap that keeps the finish glossy and sweet without changing the crumb.
Make Them a Little Heartier
Replace up to half of the all-purpose flour with white whole wheat flour. The bars will bake up a little nuttier and slightly less tender, but they still stay soft if you don’t go past half-and-half.
Skip the Glaze for a Lower-Sugar Breakfast
Leave off the maple glaze and the bars still taste finished, just less dessert-like. That version works well if you want them for breakfast or lunchboxes, and the crumb holds together cleanly on its own once cooled.
Storage and Reheating
- Refrigerator: Store covered for up to 5 days. The bars stay moist, but the glaze softens a little after day one.
- Freezer: Freeze the unglazed bars tightly wrapped for up to 2 months. Add the glaze after thawing for the best texture.
- Reheating: Warm individual bars in the microwave for 10 to 15 seconds. Too much heat makes them gummy, especially if they’ve been glazed.
Questions I Get Asked About This Recipe
Pumpkin Banana Bread Bars
Ingredients
Equipment
Method
- Preheat oven to 350F and grease a 9x13 baking pan.
- Mash the bananas very smooth.
- Whisk the all-purpose flour, baking soda, baking powder, pumpkin pie spice, cinnamon, and salt.
- Whisk the mashed bananas, pumpkin puree, granulated sugar, brown sugar, vegetable oil, eggs, and vanilla until smooth.
- Fold the dry ingredients into the wet ingredients until just combined, then spread the batter evenly in the pan.
- Bake at 350F for 25-30 minutes, until a toothpick comes out clean.
- Cool the bars completely before glazing so the drizzle stays ribboned on top.
- Whisk powdered sugar, maple syrup, and milk for the maple glaze, drizzle over the top, and cut into bars.