
Pink deviled eggs turn a familiar appetizer into something that looks special without asking for any extra kitchen drama. The beet-pickled whites pick up a deep magenta color while the filling stays creamy and mellow, so every bite gets that classic deviled-egg balance of tang, richness, and a little bite from the mustard. They land on a platter looking polished, but the method is straightforward enough to pull off for a casual brunch or a holiday spread.
The color comes from letting peeled eggs sit in beet juice long enough for the whites to stain all the way through. That step doesn’t change the texture of the egg white much, but it does give you a crisp, clean shell of color that holds up once you slice them. The filling stays classic on purpose: yolks, mayonnaise, Dijon, and a touch of vinegar for brightness. Keep the yolk mixture smooth and thick so it pipes neatly into the pink whites instead of smearing across the cut edges.
Below, I’ve included the one timing detail that matters most for getting a vivid color, plus a few ways to tweak the filling or prep these ahead without losing that bright finish.
The beet bath gave the whites an even pink color all the way through, and the filling stayed fluffy instead of getting runny. I made them the night before Easter brunch and they sliced cleanly the next morning.
Save these pink deviled eggs for the appetizer tray when you want vivid beet-colored whites and a creamy Dijon filling.
The Beet Brine Is Doing More Than Coloring the Whites
Most deviled egg color fades because the eggs are only briefly tinted on the outside. Here, the whites sit in a beet-and-vinegar brine long enough for the color to move all the way through the egg white, which is why the cut halves look bold instead of streaky. The vinegar keeps the brine bright and helps the color take evenly, while the sugar rounds out the sharpness so the eggs don’t taste like pickling liquid.
The timing matters. Four hours gives you a clear pink blush, but overnight is what gets you that saturated magenta edge. If the eggs float, the top half won’t color evenly, so tuck them down under the liquid with a small bowl or a piece of parchment folded to fit the jar.
What Each Ingredient Is Actually Doing in These Eggs
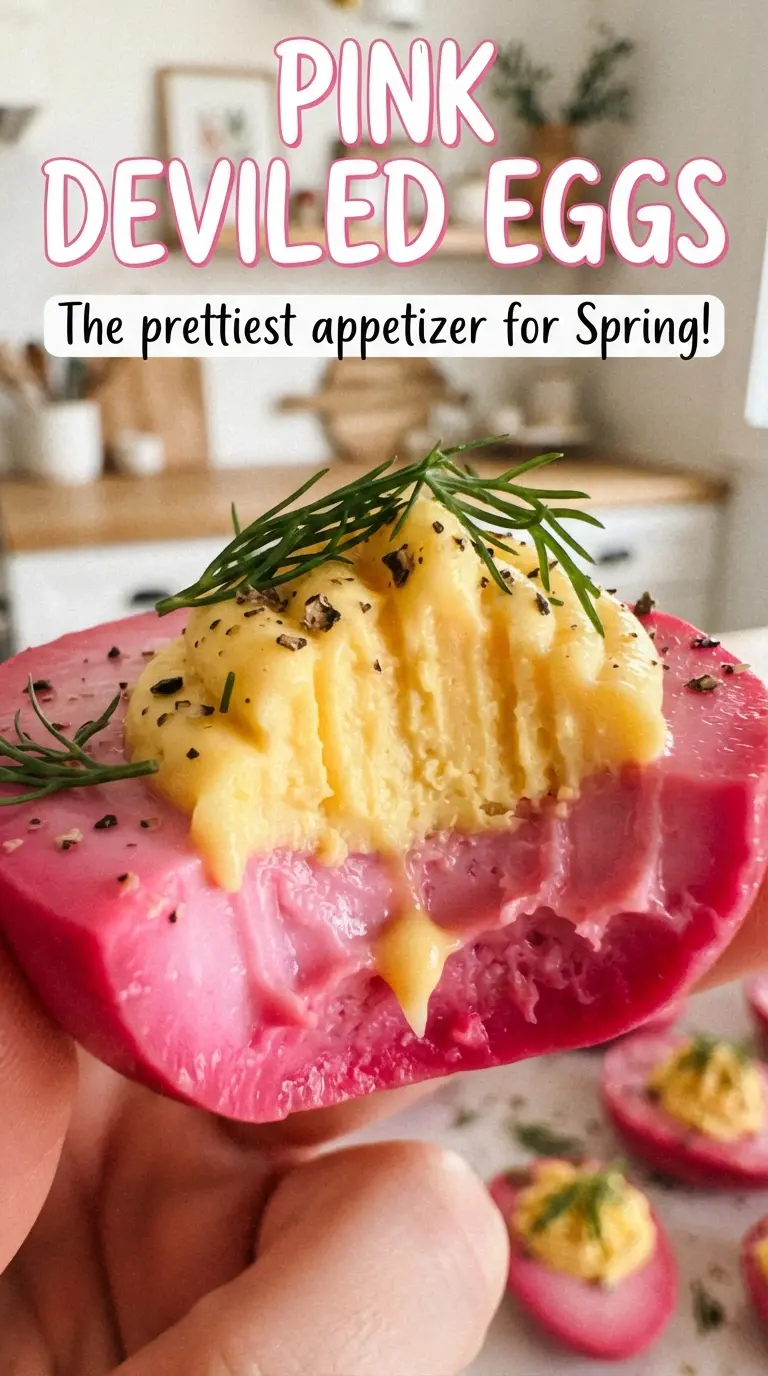
- Beets and beet juice — This is where the color comes from, and canned beets are the practical choice because the juice is already strong and ready to use. Fresh beets work too, but you’ll need to cook and strain them first, which adds time without changing the result much.
- Apple cider vinegar — It sharpens the brine and helps the eggs take on color. White vinegar can step in if that’s what you have, but apple cider vinegar gives the pickling liquid a softer, rounder edge.
- Mayonnaise — This gives the filling its classic creamy texture. Use a good mayo here, since it carries most of the flavor; a dry filling usually means there wasn’t enough mayo or the yolks were mashed too coarsely.
- Dijon mustard and white vinegar — Dijon adds a little heat and depth, while the vinegar keeps the filling from tasting flat. If you want a milder filling, cut the Dijon back slightly, but don’t skip the acid or the yolks can taste heavy.
- Fresh dill — It gives the finished eggs a clean, herbal top note that plays well with the beet brine. If dill isn’t available, chives are the best substitute because they bring freshness without fighting the color or the filling.
How to Keep the Yolks Creamy and the Whites Clean
Boiling and Chilling the Eggs
Start the eggs in cold water, bring the pot to a boil, then cover it and take it off the heat for the full 12 minutes. That method gives you firm yolks without the gray ring that shows up when eggs stay at a hard boil too long. Chill them completely before peeling, because warm eggs tear more easily and ragged whites make the finished platter look messy.
Building the Beet Bath
Stir the beet juice, sliced beets, vinegar, sugar, and salt together until the sugar starts to dissolve. You want enough liquid to fully cover the peeled eggs; if the eggs aren’t submerged, the color will come in patchy. A glass jar or a nonreactive container works best here, since metal can pick up the vinegar and throw off the flavor.
Mashing the Filling Until It Pipes Smoothly
Separate the yolks and mash them until no dry chunks remain, then work in the mayonnaise, Dijon, vinegar, and salt. The mixture should be thick and smooth enough to hold its shape when spooned or piped. If it’s loose, the eggs were still damp or too much liquid went in; add a little more yolk or a small spoonful of mashed egg yolk from an extra egg if you need to tighten it up.
Filling and Finishing the Eggs
Cut the colored whites cleanly in half, then pipe the filling into the centers for the neatest presentation. A piping bag gives you that tall, ridged look, but a zip-top bag with the corner snipped works just fine. Finish with dill right before serving so the herbs stay bright and don’t wilt into the filling.
How to Adapt These for Different Tables
Make-Ahead for Brunch
You can color the whites a full day ahead and keep the yolk filling separate in the refrigerator. Assemble them a few hours before serving so the filling stays fluffy and the cut edges don’t dry out. If you fill them too far in advance, the yolk mixture can soften and the whites can pick up moisture on the platter.
Dairy-Free as Written
This recipe is naturally dairy-free because the filling relies on mayonnaise instead of cream cheese or sour cream. Use a mayonnaise you like on its own, since the texture of the filling depends on it. If you swap in a thinner dressing-style mayo, the mixture can turn loose and won’t pipe as cleanly.
A Less Tangy Filling
If you want the filling softer and less sharp, reduce the white vinegar slightly and lean on the mayonnaise for richness. The eggs will still taste balanced, but the finish will be rounder and a little more kid-friendly. Don’t remove the acid completely, or the yolks will taste flat against the pickled whites.
Storage and Reheating
- Refrigerator: Store assembled deviled eggs covered for up to 2 days. The color stays bold, but the filling is best within the first day.
- Freezer: Don’t freeze deviled eggs. The whites turn rubbery and the yolk filling can separate after thawing.
- Reheating: These are meant to be served cold. If they have been refrigerated, let them sit out for 10 to 15 minutes before serving so the filling loses its chill and the flavor opens up.
Answers to the Questions Worth Asking
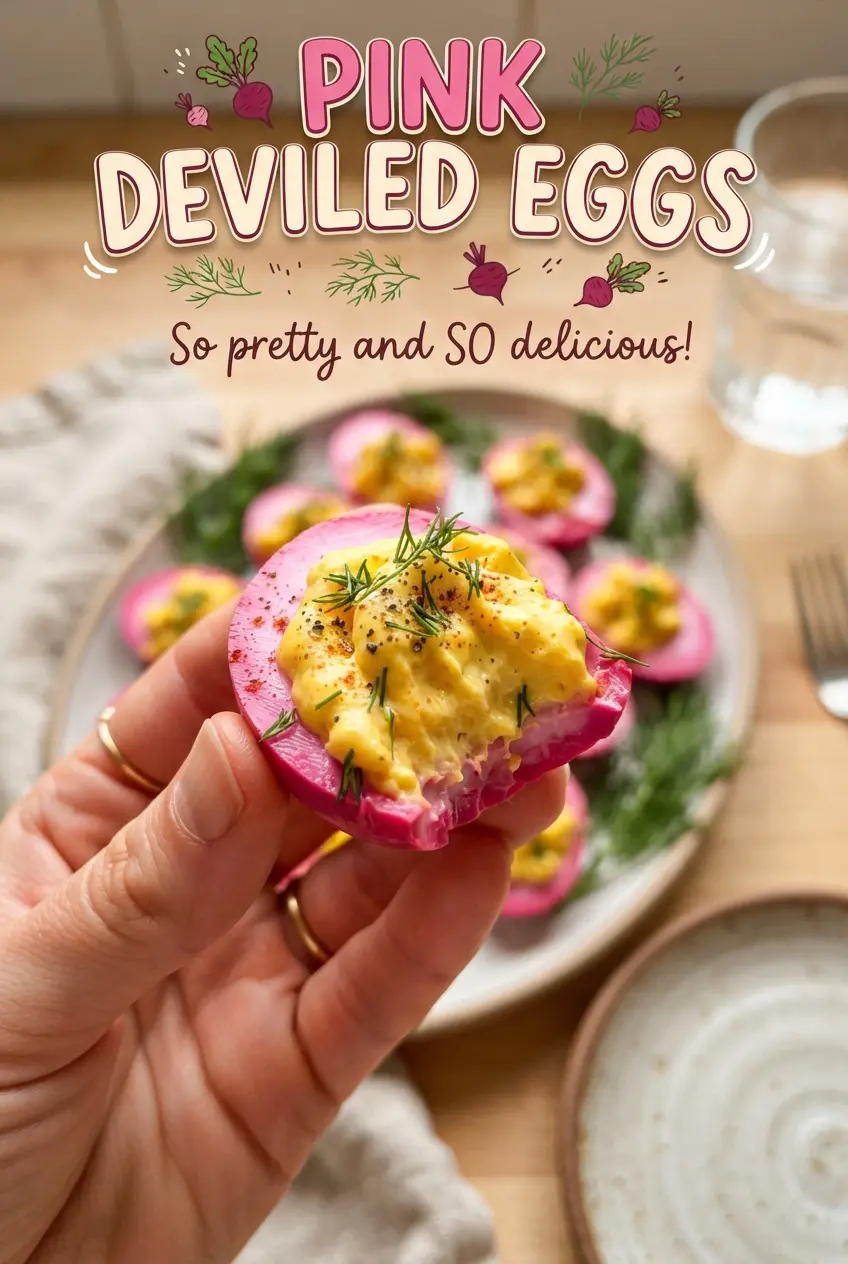
Pink Deviled Eggs
Ingredients
Method
- Place the large eggs in a pot and cover with cold water. Bring to a boil, then cover the pot and remove it from the heat, and let stand for 12 minutes.
- Chill the boiled eggs until cold, then peel them. Aim for fully chilled eggs so the whites absorb color evenly.
- Combine the sliced beets with their juice, apple cider vinegar, sugar, and salt in a jar. Submerge the peeled eggs so the whites are fully covered by the pink brine.
- Refrigerate for 4 hours or overnight until the whites are deep pink. Keep the jar tightly covered for best color development.
- Halve the eggs lengthwise and remove the yolks. Keep the pink egg whites intact as the serving cups.
- Mash the yolks with mayonnaise, Dijon mustard, white vinegar, and salt until smooth. The filling should be thick enough to hold a piped shape.
- Pipe or spoon the yolk mixture into the pink whites. Top with fresh dill just before serving for a bright green finish.