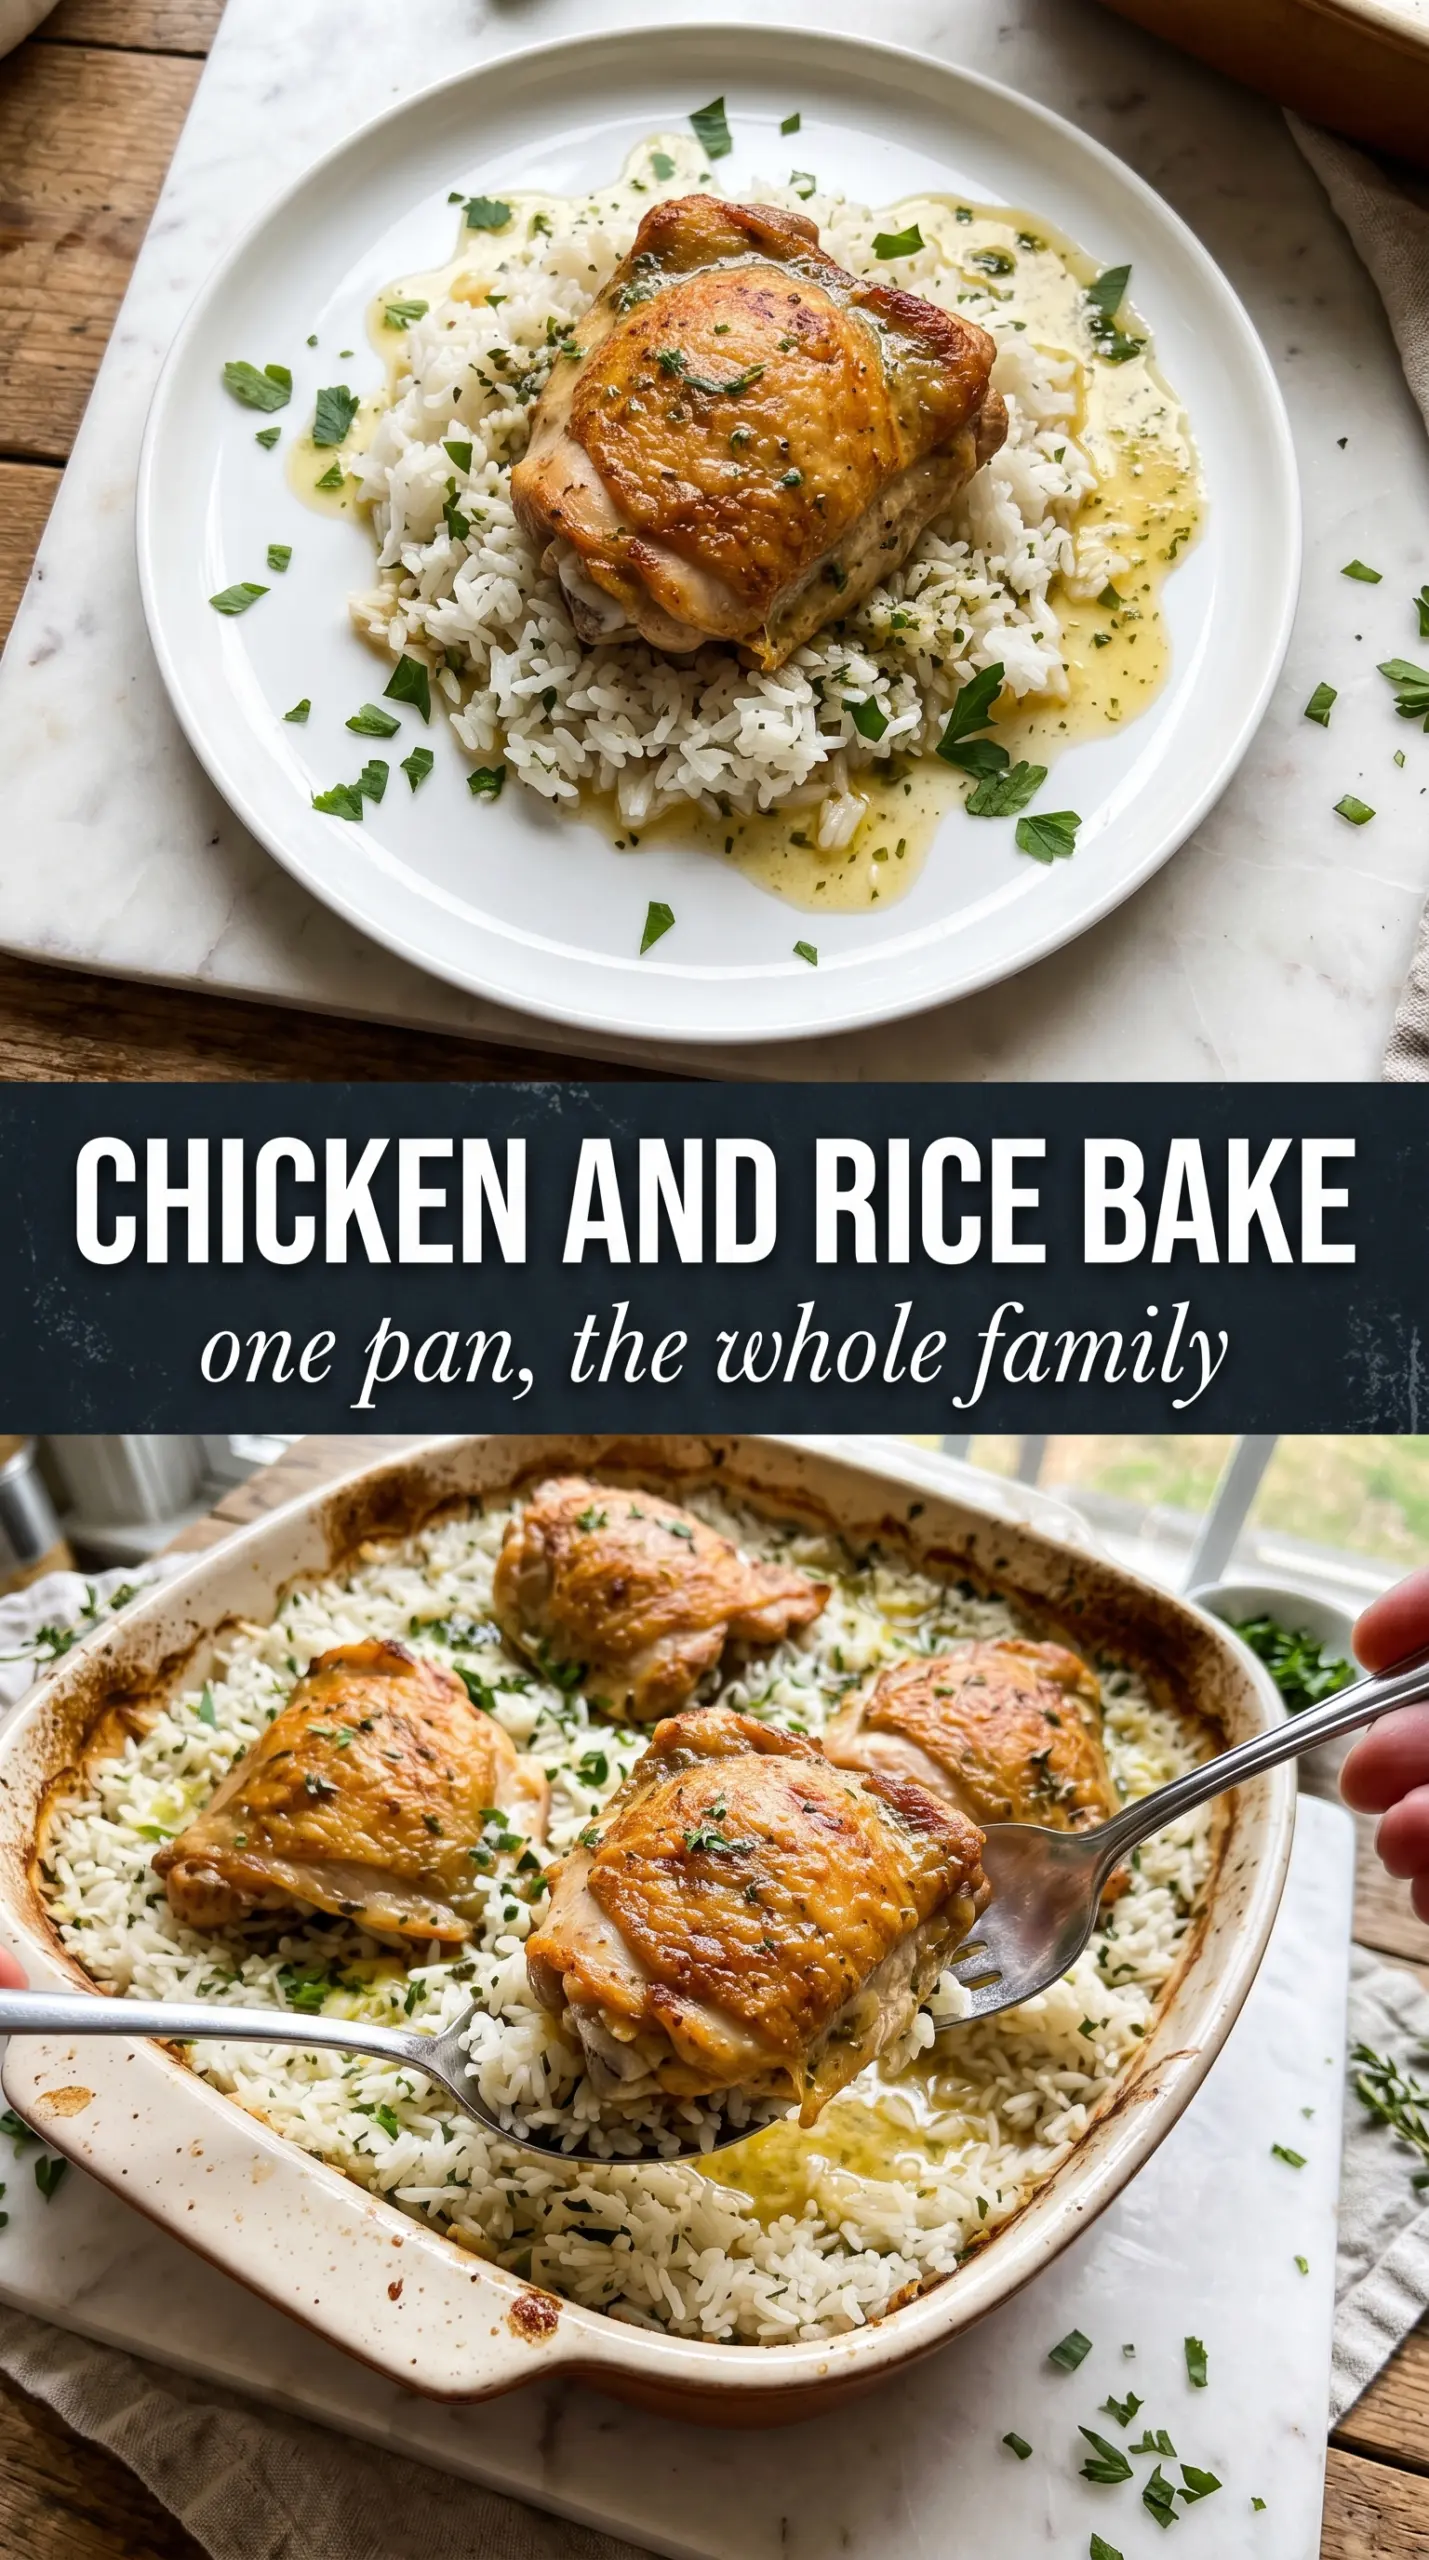
Golden chicken thighs tucked into herb-scented rice make one of those dinners that feels bigger than the effort it takes. The chicken roasts right on top of the rice, so the drippings season every grain underneath while the skin stays lifted enough to turn crisp at the end. You get a pan of food that tastes like it took all afternoon, but the oven does almost all the work.
The trick is starting with uncooked long-grain rice and enough broth to let it steam gently under cover before the top dries out. Bone-in, skin-on thighs bring the best payoff here because they stay juicy through the bake and give the rice real flavor as they cook. If you’ve ever had chicken and rice come out mushy, dry, or bland, it usually comes down to too little liquid, too much stirring, or taking the lid off too early.
Below, I’ll walk through the exact cues that tell you the rice is done and the chicken skin is ready for that final crisping. There’s also a storage note for leftovers and a few easy swaps if you need to work with what’s already in the kitchen.
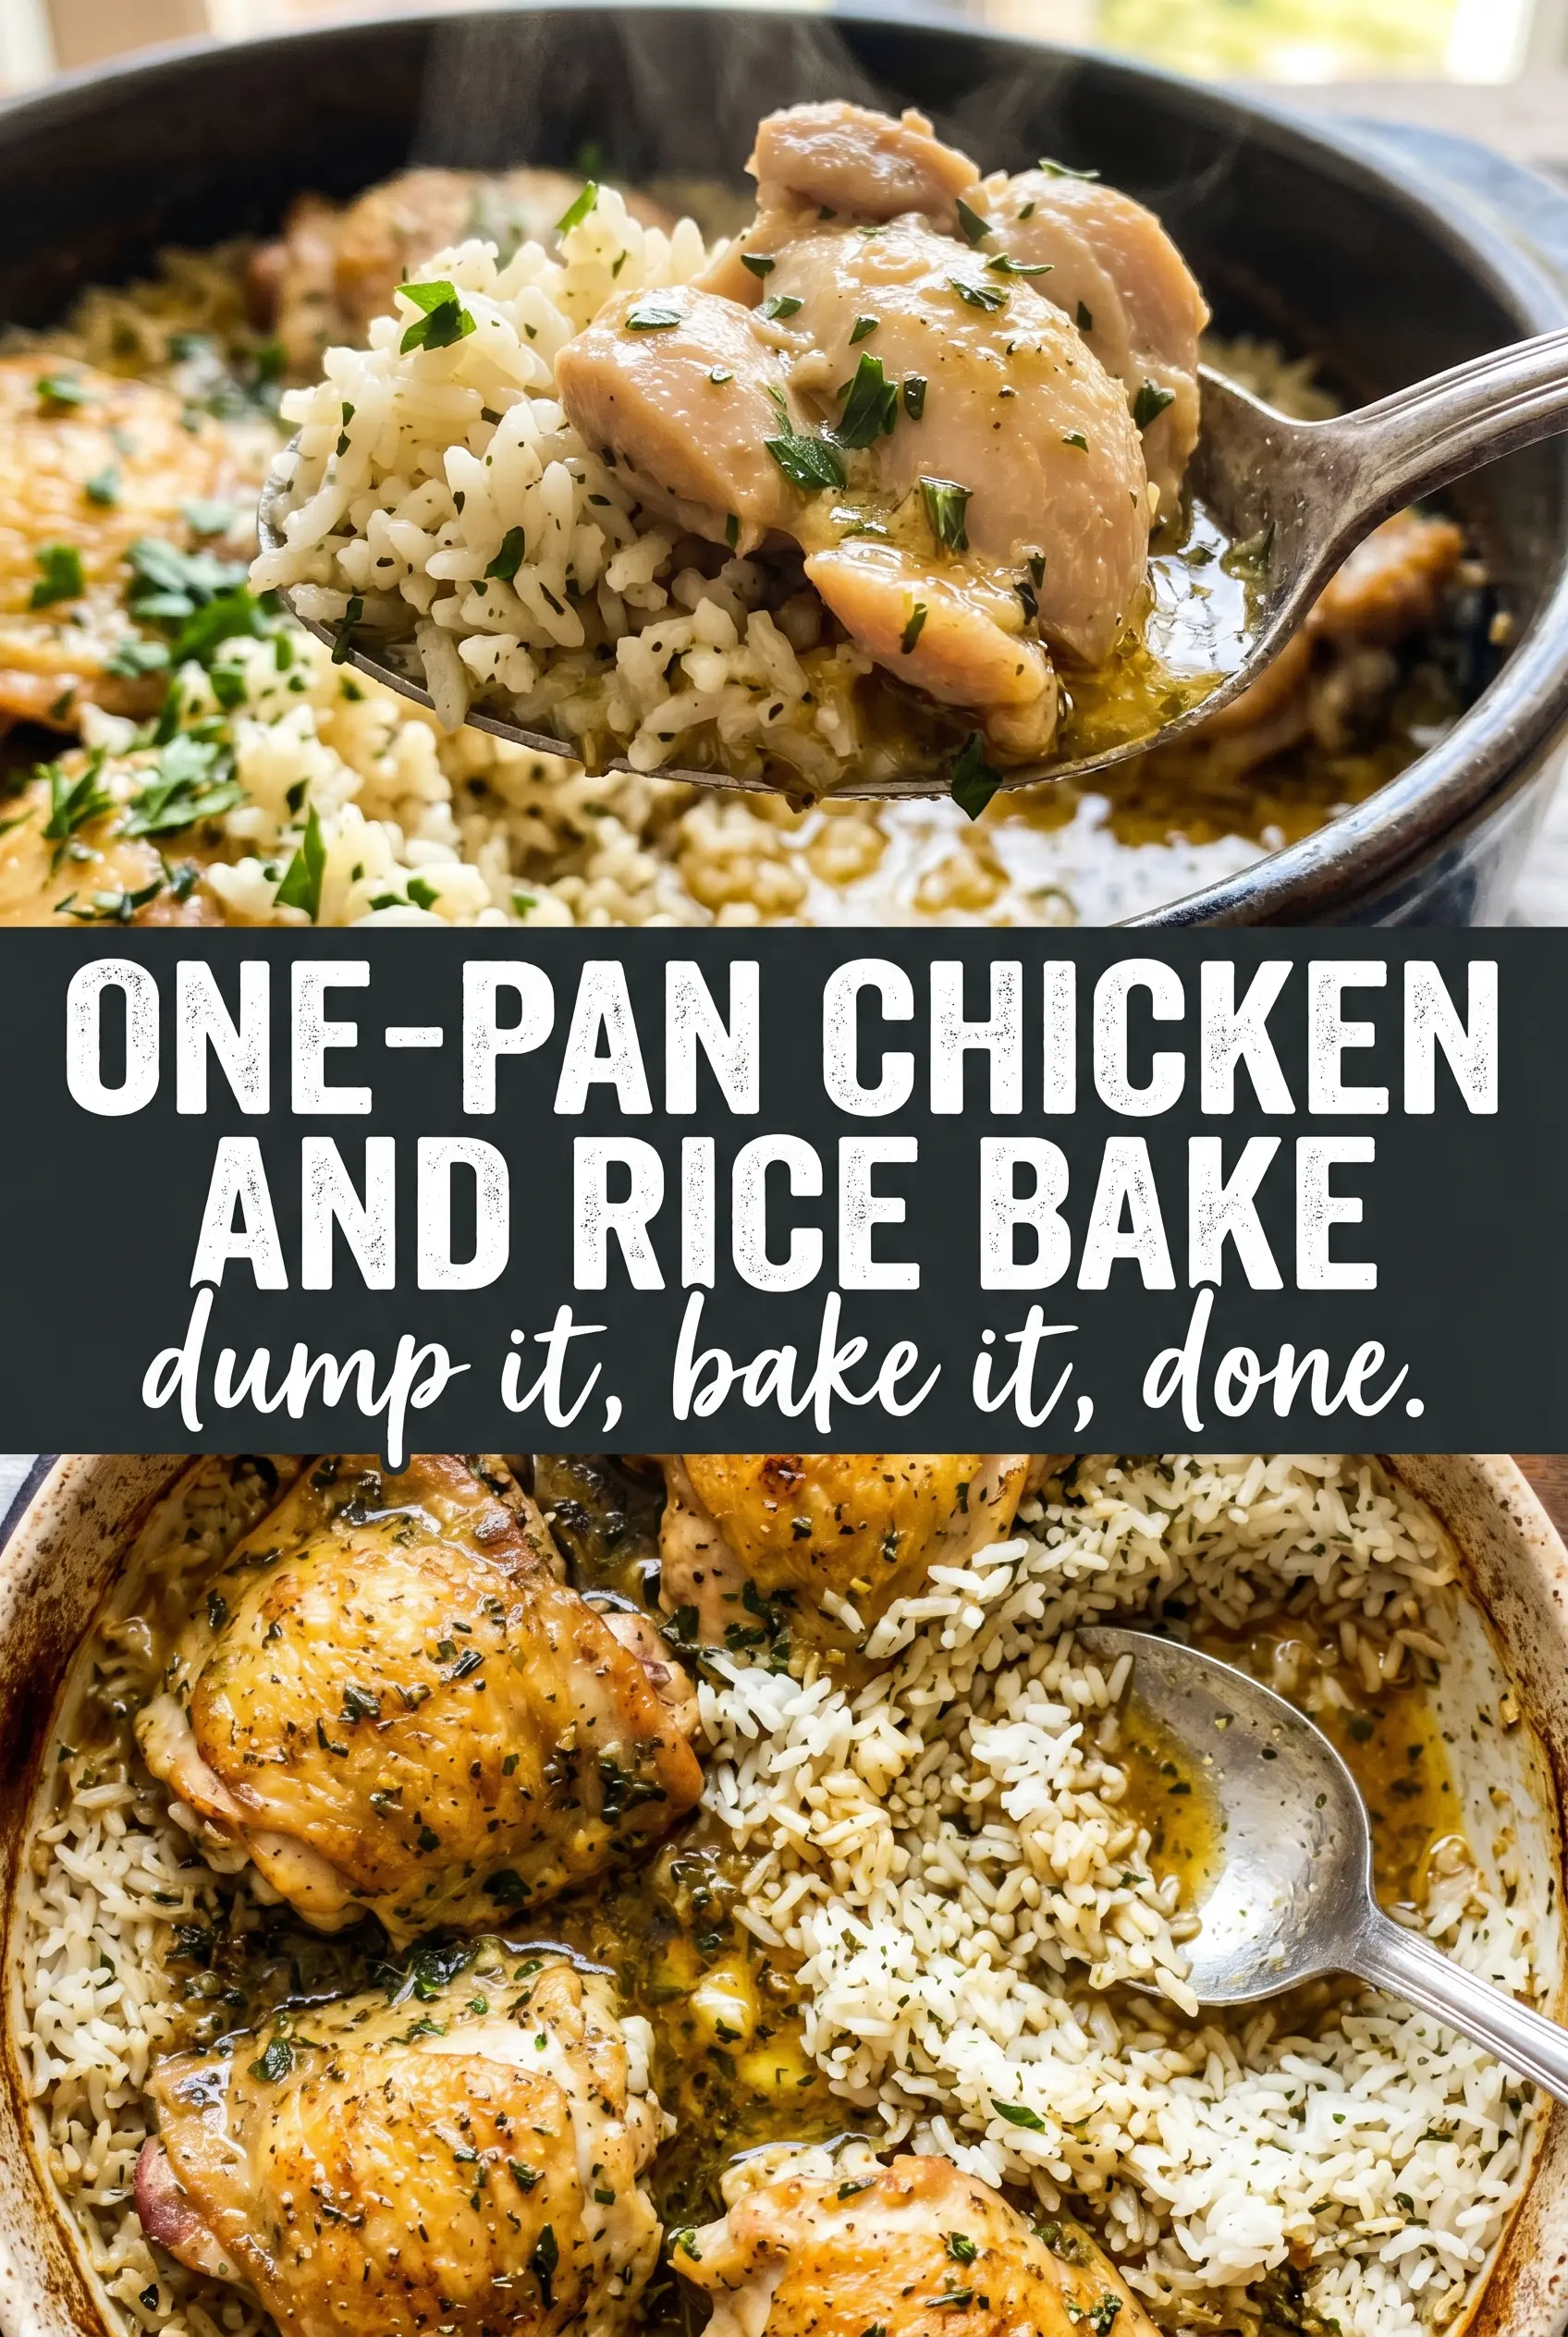
The rice came out fluffy instead of sticky, and the chicken skin actually crisped up when I took the foil off. My husband kept scraping the browned bits from the edges of the pan.
Save this one-pan chicken and rice bake for a night when you want crispy skin, fluffy rice, and one baking dish to clean.
The Secret to Rice That Steams, Not Turns Gummy
The biggest mistake with a chicken and rice bake is treating the rice like stove-top pilaf. In the oven, the rice needs uninterrupted steam first, then direct heat at the end. If you lift the foil too early, the top grains dry out before the center has finished absorbing liquid, and you end up with a patchy pan: soggy underneath, tough on top.
Long-grain white rice is the right choice because it holds its shape through the bake. Short-grain rice softens too quickly and can clump, while brown rice needs a longer cook time and more liquid than this formula gives it. The foil matters just as much as the rice; it traps the steam that cooks the grains evenly before the chicken skin gets its final burst of heat.
- Long-grain white rice — It stays fluffy and separate. Rinse it only if your brand is especially starchy; otherwise, the pan liquid is enough to keep the texture tender without washing away too much of the seasoning.
- Bone-in, skin-on chicken thighs — They’re forgiving in the oven and give the rice flavor as the fat renders. Boneless thighs will cook faster, but they won’t baste the rice the same way, and the finish won’t be as rich.
- Chicken broth — This is what seasons the rice from the inside. Homemade or boxed both work; if yours is salty, hold back a little on the added salt so the finished dish doesn’t taste flat and over-seasoned at the same time.
- Foil seal — This is the difference between steamed rice and baked dry rice. Crimp it tightly around the dish so the moisture stays inside until the last 15 minutes.
What Each Ingredient Is Actually Doing in the Pan
- Chicken thighs — These are the main event and the source of the drippings that season the rice. Use skin-on thighs if you want the best texture contrast; chicken breasts can work in a pinch, but they dry out sooner and don’t enrich the rice as much.
- Rice — The uncooked rice cooks right in the broth and chicken juices, which is what gives the dish its one-pan payoff. Don’t swap in instant rice; it turns soft before the chicken is finished.
- Onion and garlic — They build the base flavor under the chicken and keep the rice from tasting like plain broth. Dice the onion small so it softens completely during the covered bake.
- Thyme and Italian seasoning — These herbs give the rice a roasted, savory edge that works with the chicken without taking over. If you only have one of them, use it, but the combination tastes fuller and more complete.
- Olive oil — A light drizzle helps the chicken skin brown during the uncovered finish. You don’t need much; too much oil can puddle on top of the rice instead of helping the skin crisp.
Building the Bake So the Chicken Stays Juicy and the Top Gets Crisp
Mixing the Rice Base
Stir the uncooked rice, broth, onion, garlic, herbs, and salt directly in the baking dish so the seasonings are distributed before the chicken goes on top. The rice should look loose and evenly moistened, not packed down. If the onion pieces are too large, they stay a little firm at the end, so keep the dice small and even.
Arranging the Chicken
Season the thighs generously on all sides, then nestle them skin-side up on the rice without pressing them deep into the liquid. The skin should sit above the surface so it can brown later instead of steaming the whole time. If the chicken sinks, the top skin turns soft and pale instead of crisp.
Covered Baking Time
Cover the dish tightly with foil and bake until the rice has absorbed most of the liquid and the chicken is nearly cooked through. At this stage the whole pan should smell deeply savory, and the rice should look plump rather than wet. If you pull it from the oven too early, the center of the rice stays hard; if you wait until the liquid is fully gone under foil, the bottom can start to catch.
The Final Uncovered Finish
Remove the foil and bake until the chicken skin turns golden and the surface of the rice looks dry at the edges with a few browned spots. This last stretch is where the dish gets its best texture, so don’t shorten it. If the skin is still pale, give it a few more minutes and watch the rice around the edges for color, not just the timer.
How to Adapt This Bake When You Need to Work With What’s in the Kitchen
Use chicken breasts instead of thighs
Boneless chicken breasts can work, but they need a gentler hand. Lay them over the rice and start checking a little earlier, because they dry out before thighs do. You’ll lose some richness in the rice, but the dish still holds together if you keep the foil sealed and don’t overbake.
Make it dairy-free without changing the texture
This recipe is naturally dairy-free as written, which is one reason it works so well for a crowd. Keep the broth and olive oil as the fat and moisture sources, and you won’t lose any of the creamy-feeling richness that comes from the chicken drippings into the rice.
Swap in a different grain only if it cooks at the same pace
Basmati can work with similar results, though it ends up a little more fragrant and less plump. Brown rice needs more liquid and a longer bake, so it isn’t a straight swap here. If you use anything other than long-grain white rice, expect to adjust both the broth and the timing.
Add vegetables without watering down the pan
Peas, diced carrots, or small mushrooms can go in with the rice mixture, but keep the additions modest so the liquid ratio stays balanced. Watery vegetables like zucchini release too much moisture and can make the rice soft instead of fluffy.
Storage and Reheating
- Refrigerator: Store leftovers in an airtight container for up to 4 days. The rice firms up as it chills, but it reheats well.
- Freezer: It freezes decently for up to 2 months, though the rice softens a little after thawing. Portion it before freezing so you can reheat just what you need.
- Reheating: Warm covered in the oven or microwave with a splash of broth to loosen the rice. The common mistake is blasting it uncovered, which dries out the chicken before the rice has a chance to steam again.
Answers to the Questions Worth Asking
One-Pan Chicken and Rice Bake
Ingredients
Equipment
Method
- Preheat oven to 375°F.
- Add long-grain white rice, chicken broth, diced medium onion, minced garlic cloves, dried thyme, dried Italian seasoning, and salt to a 9x13 baking dish, then stir to combine.
- Season bone-in skin-on chicken thighs generously on all sides with pepper, garlic powder, paprika, and Italian seasoning.
- Nestle the chicken thighs skin-side up on top of the rice mixture.
- Drizzle olive oil over the chicken.
- Cover tightly with foil and bake for 40 minutes at 375°F.
- Remove foil and bake for 15 minutes at 375°F, until chicken skin is golden and the rice has absorbed all liquid.
- Garnish with fresh parsley and serve from the baking dish.