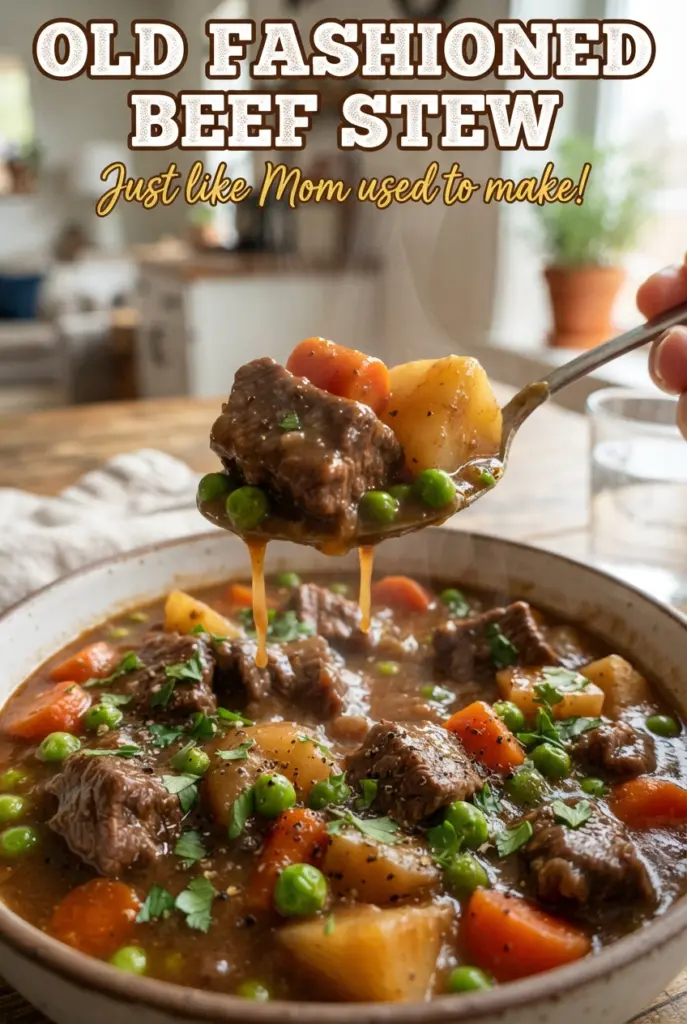
Old fashioned beef stew earns its place on the table by turning a few humble ingredients into something deep, thick, and deeply satisfying. The beef goes soft without falling apart, the potatoes hold their shape, and the broth cooks down into a gravy that clings to the spoon instead of running off the plate. It’s the kind of meal that tastes like it took all day because, honestly, that slow simmer does all the work.
The trick is building flavor in layers. Browning the floured beef first gives the stew its backbone, and those browned bits left in the pot are what make the broth taste cooked instead of plain. Tomato paste, Worcestershire, paprika, and thyme add quiet depth without pushing the stew into tomato-soup territory. Adding the potatoes and carrots later keeps them intact, so you end up with a pot of tender beef and vegetables instead of mush.
Below, I’m walking through the spots where this stew can go right or wrong: how dark the beef should get before you stop browning, why the liquid should just barely simmer, and how to thicken the pot without making it pasty.
The beef came out fork-tender and the gravy thickened up just right after the potatoes went in. My husband kept going back for “just one more bowl” until the Dutch oven was basically empty.
Save this old fashioned beef stew for the nights when you want fork-tender beef, chunky vegetables, and a rich gravy from one Dutch oven.
The Browned Bits Are What Give This Stew Its Depth
The stew starts tasting like beef stew long before the liquid goes in. That’s because the flour-coated beef is browned in batches until the surface is deeply caramelized, not just tan. If you crowd the pot, the meat steams and the fond stays pale, which means the broth never gets that rich, savory base. Take the extra time here; this is the part that separates a good stew from a flat one.
The other place people lose flavor is by rushing the simmer. This stew wants a gentle bubble, not a rolling boil. Hard boiling tightens the meat and clouds the broth, while a low simmer gives the chuck time to relax and turn tender while the flour and vegetables help thicken the liquid naturally.
What Each Ingredient Is Actually Doing in the Pot
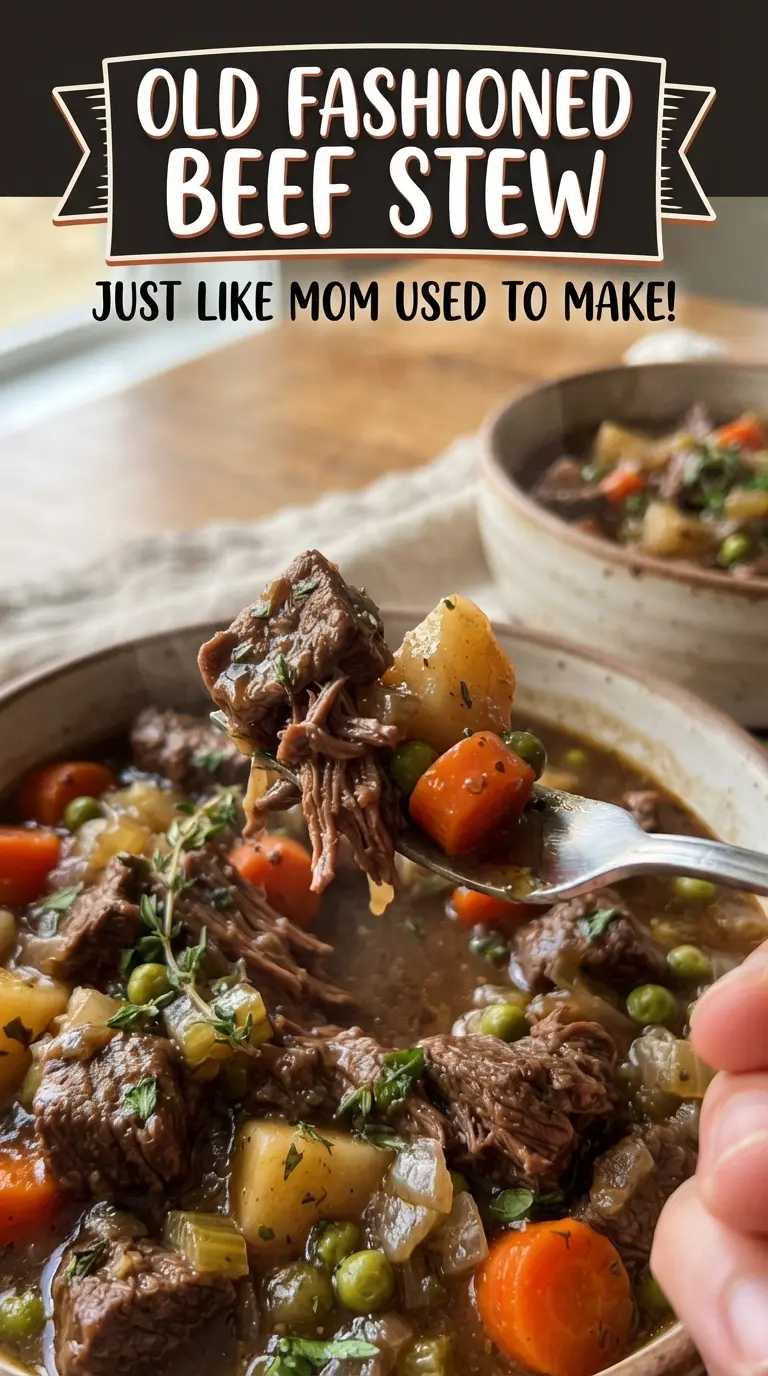
- Beef chuck — This cut has enough connective tissue to become tender during the long simmer. Leaner beef gets dry and stringy before the vegetables are done.
- Flour — It helps the beef brown and gives the stew a little body as it simmers. You can use a gluten-free 1:1 flour blend here, but the gravy may need a few extra minutes to thicken.
- Tomato paste — Just a spoonful deepens the color and adds a background savoriness that keeps the broth from tasting thin. Cook it for a minute with the onions so it loses that raw edge.
- Worcestershire sauce — This is the quiet ingredient that makes the broth taste more finished. There isn’t a direct substitute that does the same thing, but soy sauce can cover some of the same salty, umami ground in a pinch.
- Russet potatoes — They soften just enough to help thicken the stew without dissolving completely. Cut them into big chunks so they survive the final simmer.
- Pearl onions — Frozen pearl onions save peeling time and give you little sweet pops in the finished stew. Stir them in near the end so they stay intact.
Building the Stew So the Meat Stays Tender
Brown the Beef in Real Batches
Toss the beef with the flour, salt, and pepper, then brown it in hot oil with space around each piece. You want a dark crust on the outside and raw-looking spots gone from the flour, but not a burnt surface. If the pot looks crowded, pull some meat out and do another round; a crowded pot gives you gray beef and a thin stew. Keep the browned pieces moving only enough to keep them from scorching, not enough to stop the crust from forming.
Cook the Aromatics Until the Tomato Paste Darkens
Once the beef is out, cook the onion until it softens and starts picking up the color left in the pot. Add the garlic and tomato paste for a minute and stir often so the paste darkens slightly and loses its raw sweetness. This small step matters because tomato paste that never cooks tastes sharp instead of rich. When you add the liquid, scrape the bottom of the pot hard; the browned bits dissolve into the broth and carry most of the flavor.
Simmer Gently, Then Add the Vegetables Later
Return the beef to the pot, cover it, and keep the heat low enough that only a few lazy bubbles break the surface. After about two hours, the beef should be starting to relax when you press it with a spoon. Add the potatoes, carrots, and pearl onions after that, not at the beginning, or they’ll collapse before the beef is ready. The stew is done when the potatoes are tender, the carrots are cooked through, and the gravy coats the back of a spoon.
How to Adapt This Stew Without Losing the Good Parts
Gluten-Free Stew With the Same Thick Gravy
Swap the all-purpose flour for a gluten-free 1:1 blend and coat the beef the same way. The stew will still thicken, but it may need a few extra minutes of uncovered simmering at the end to reach the same gravy-like texture.
Make It Even Heartier With Red Wine
Replace 1 cup of the beef broth with dry red wine after the tomato paste cooks. The wine adds a deeper, rounder finish, but it needs to simmer for a minute before the rest of the liquid goes in so the sharp alcohol note cooks off.
Slow Cooker Version for Busy Days
Brown the beef and cook the onion mixture on the stove first, then move everything to the slow cooker and cook on low for 7 to 8 hours. Add the potatoes, carrots, and pearl onions during the last 2 hours so they don’t turn to mush. The flavor is still there, but the broth is a little looser than the stovetop version.
Storage and Reheating
- Refrigerator: Store for up to 4 days. The stew thickens as it chills, so it may look almost too dense straight from the fridge.
- Freezer: It freezes well for up to 3 months. Cool it completely first, then freeze in airtight containers with a little space at the top for expansion.
- Reheating: Warm it slowly on the stovetop over low heat with a splash of broth or water if needed. Don’t boil it hard or the beef can tighten up and the potatoes can start breaking apart.
Answers to the Questions Worth Asking
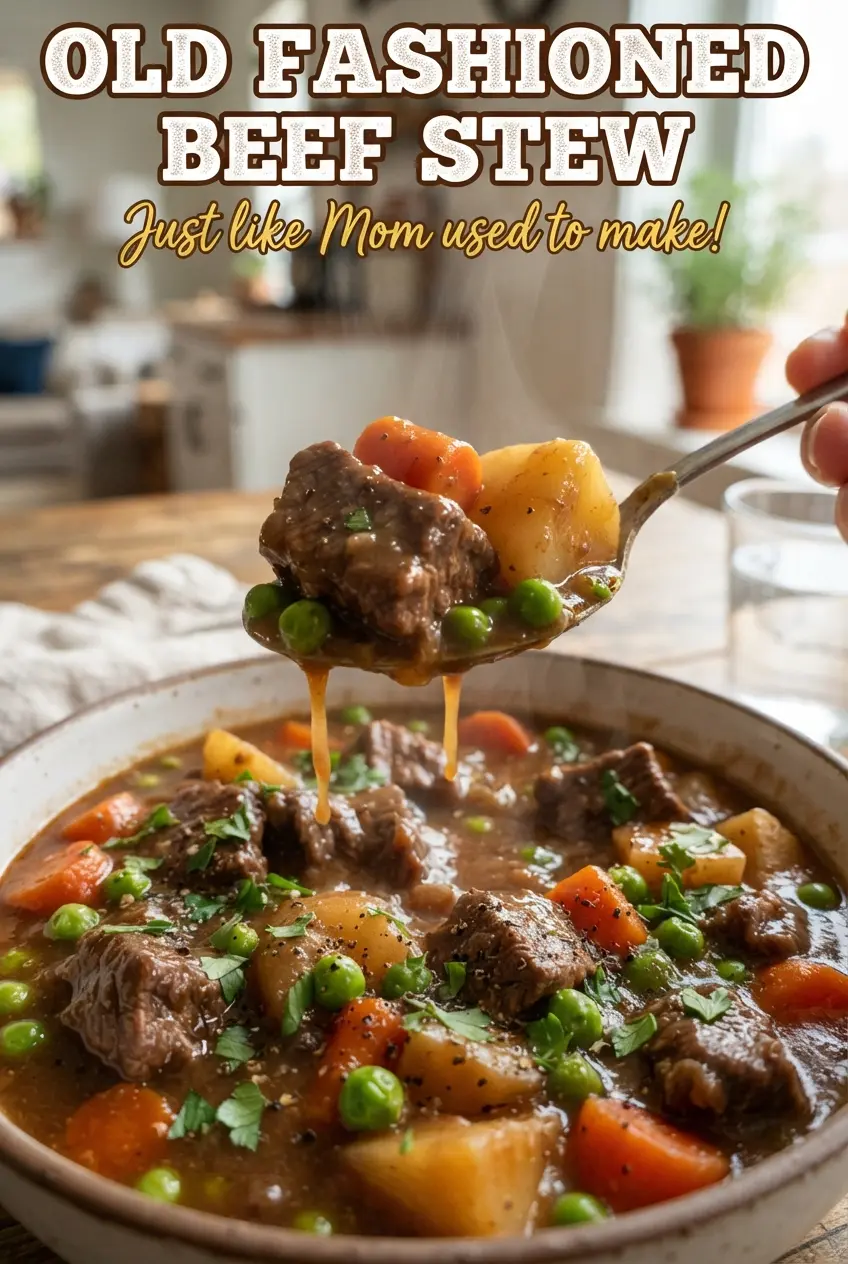
Old Fashioned Beef Stew
Ingredients
Equipment
Method
- Toss beef with flour, salt, and black pepper to coat evenly, then set aside while you heat the Dutch oven. Heat vegetable oil in the Dutch oven until hot, then brown the beef in batches until deep brown on all sides, 8 to 10 minutes total per batch, with visible caramelized crust before removing.
- Add chopped onion to the same Dutch oven and cook, stirring, for 5 minutes until softened. Stir in minced garlic and tomato paste and cook for 1 minute, until fragrant and the tomato paste looks slightly darker.
- Pour in beef broth, water, Worcestershire sauce, sugar, paprika, dried thyme, and bay leaves, then scrape up the browned bits from the bottom with a spatula. Bring to a simmer, then return all browned beef to the pot and cover.
- Simmer the stew gently for 2 hours, keeping a steady low bubble and ensuring the beef is tender, about 2 hours. Check occasionally and stir so nothing sticks to the bottom.
- Add potatoes, carrots, and frozen pearl onions to the pot, then cover and simmer for 45 minutes until the vegetables are tender. Continue until the gravy visibly thickens and coats the back of a spoon, with the stew looking glossy rather than watery.
- Remove bay leaves, then taste and season to preference with additional salt and black pepper if needed. Let the stew rest 5 to 10 minutes off the heat so the gravy thickens slightly before serving.