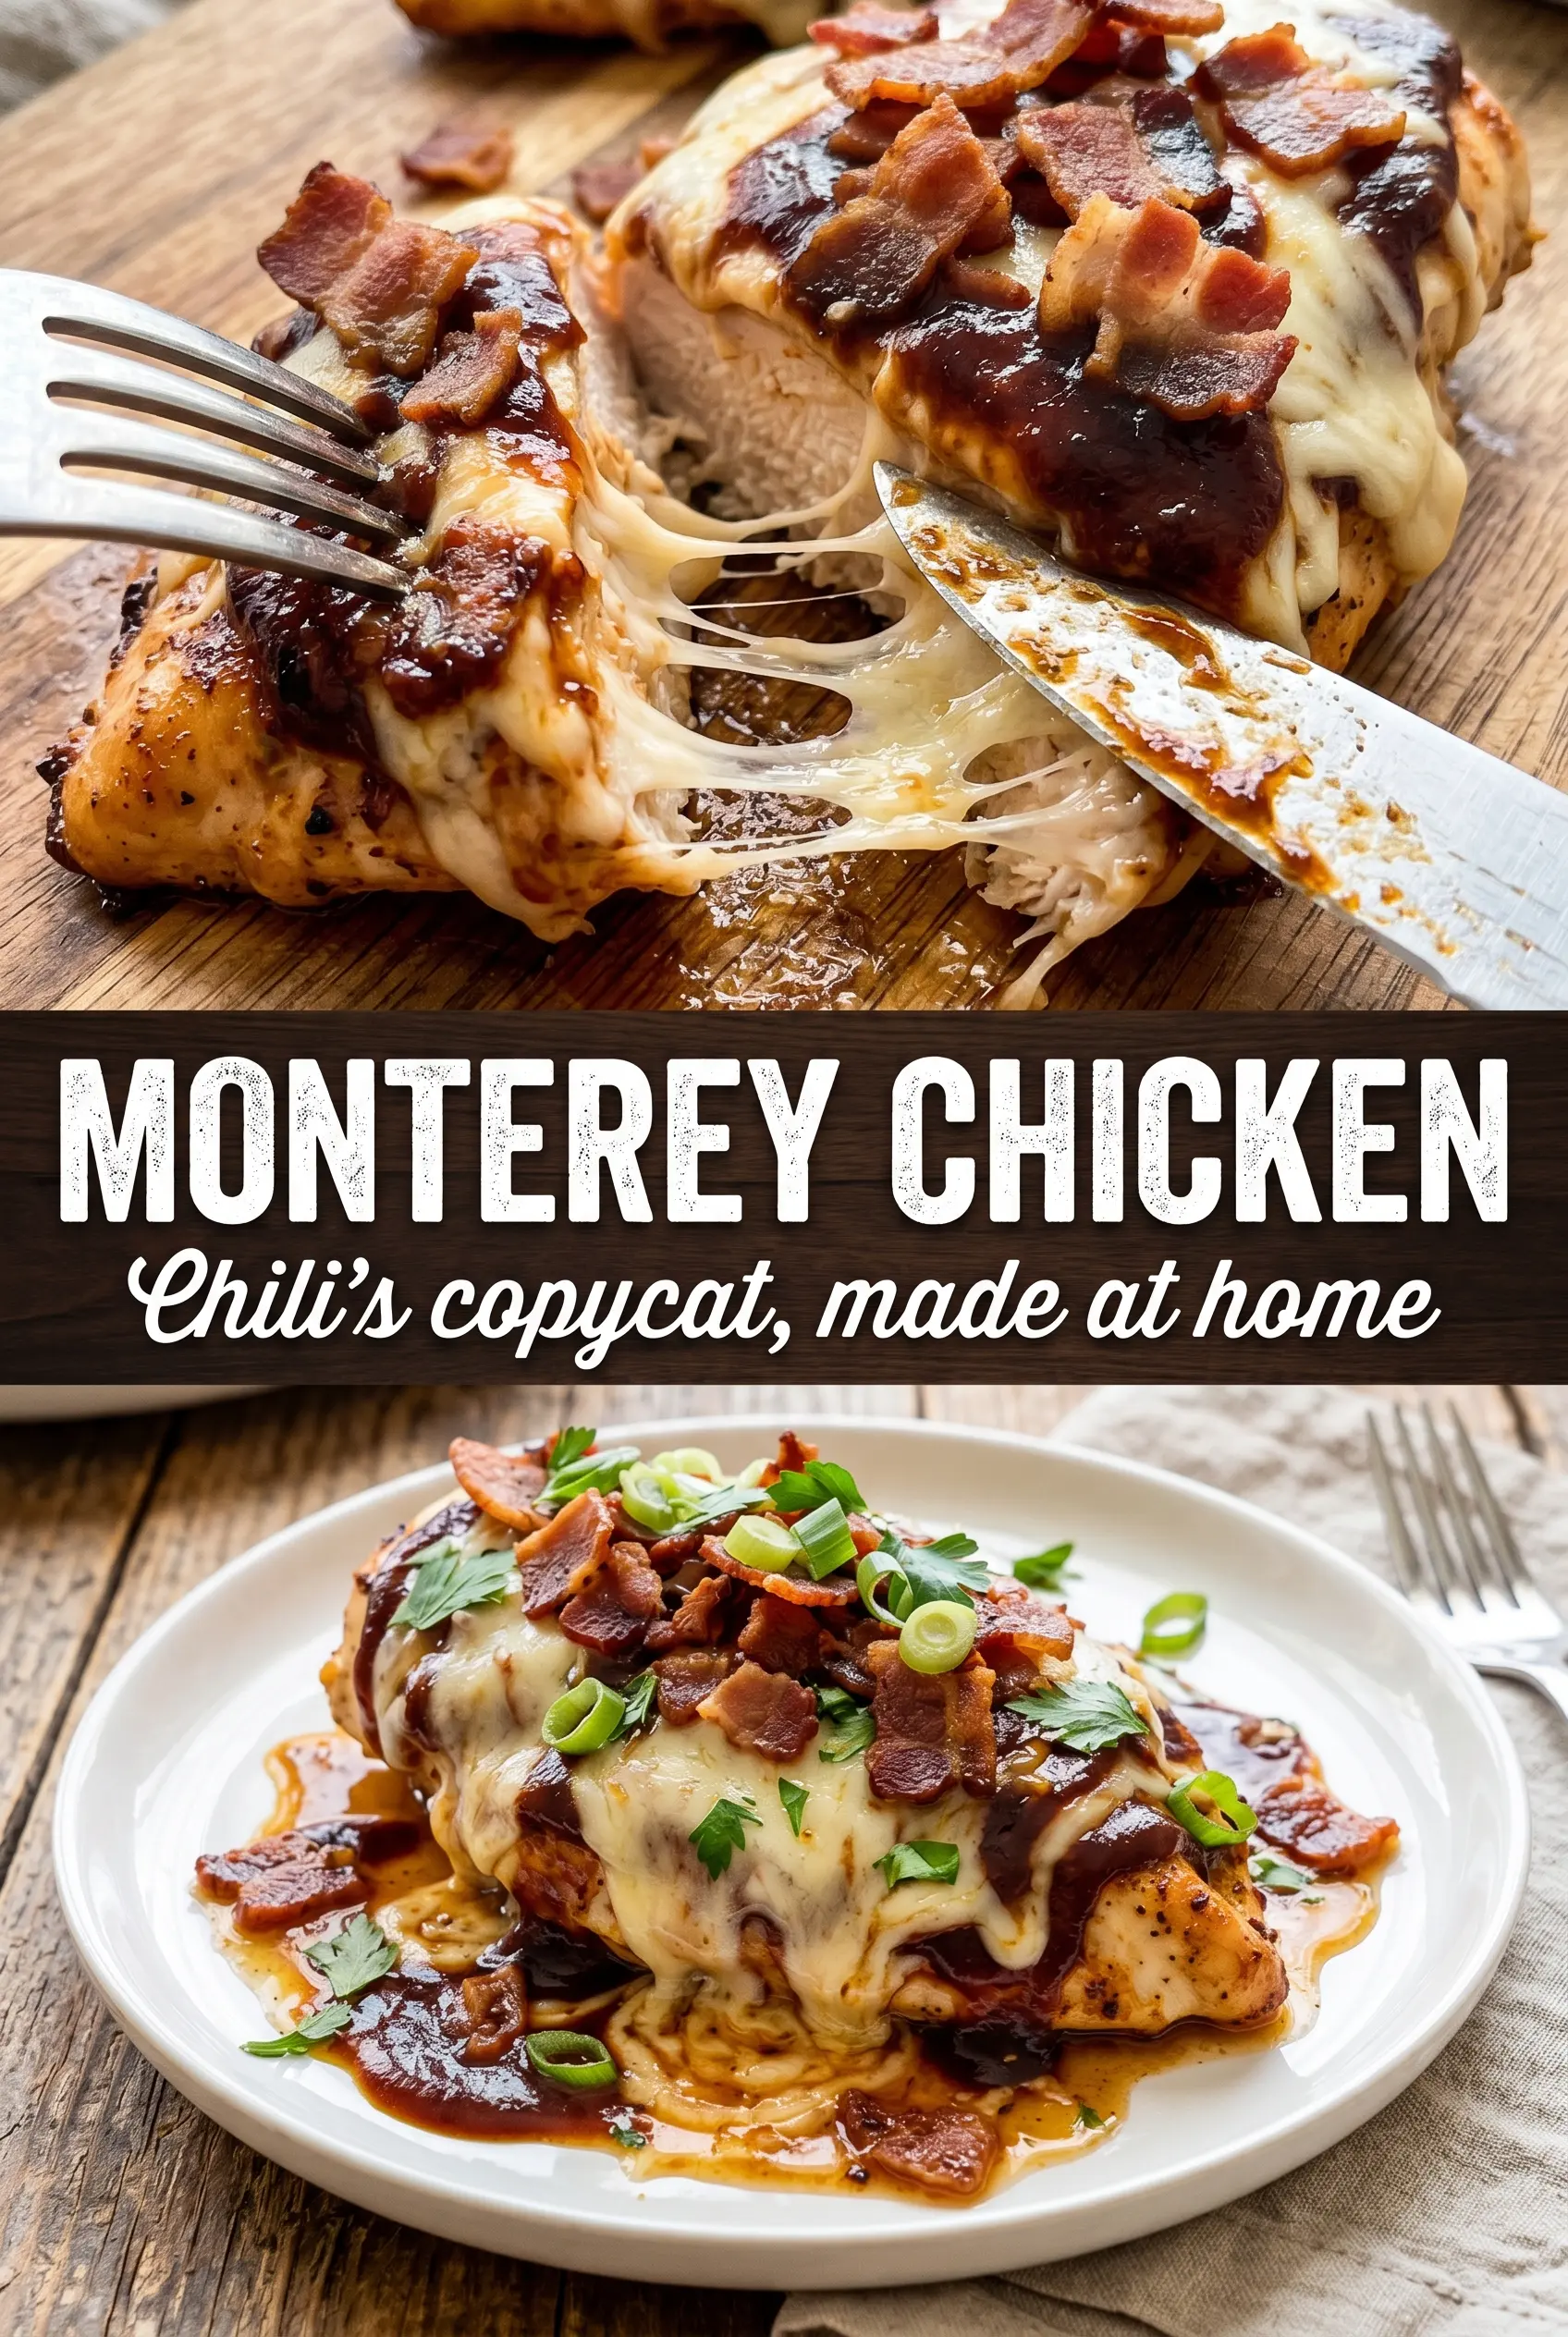
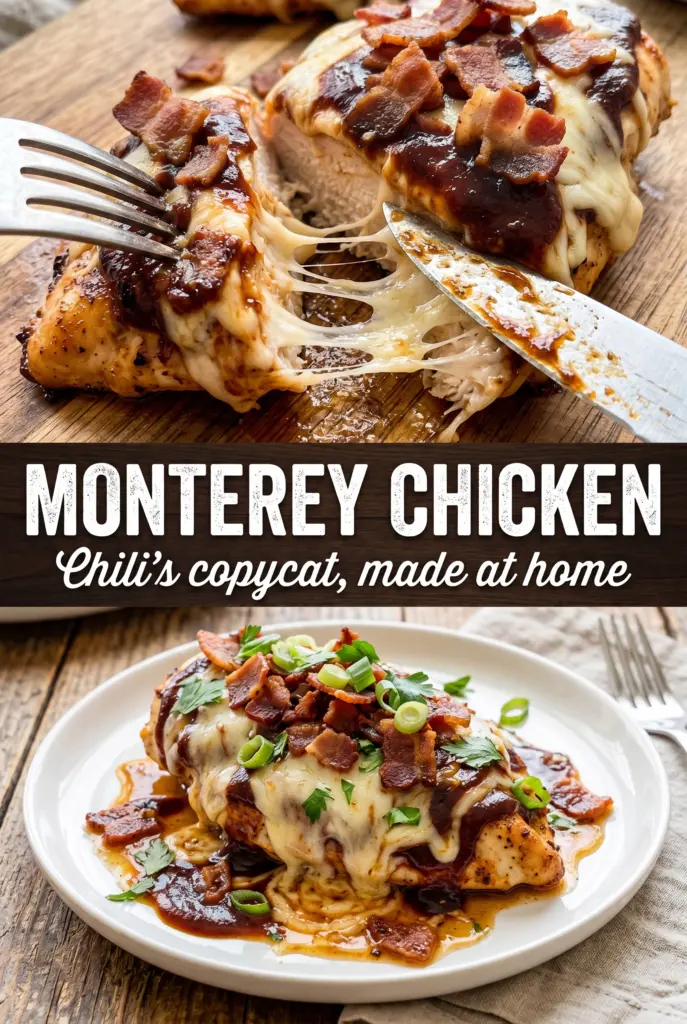
Golden chicken breasts with melted Monterey Jack, smoky bacon, and tangy BBQ sauce hit that perfect spot between restaurant-style and weeknight practical. The chicken stays juicy, the onions turn sweet in the skillet, and the broiler finishes everything with that bubbling, slightly browned cheese top that makes people head for the table fast.
What makes this version work is the way each layer gets its own job. A short 10-minute sauce rest gives the chicken surface flavor without muddying the sear, and the oven-safe skillet keeps every bit of fond in play for the final build. The bacon brings salt and crunch, the caramelized onions add sweetness, and the Monterey Jack melts cleanly instead of turning greasy.
Below you’ll find the small details that keep the chicken from drying out, the cheese from scorching, and the whole dish tasting like something you meant to make again.
The BBQ sauce browned under the cheese instead of sliding off, and the onions got sweet enough that my husband kept picking at the pan before dinner was even served.
Save this Monterey Chicken for the nights when you want smoky BBQ, crispy bacon, and melty Monterey Jack in one skillet meal.
The Broiler Finish Is What Gives Monterey Chicken Its Restaurant Look
Most home versions of Monterey chicken fall apart in the last few minutes. The chicken is cooked, the toppings go on, and then the cheese either burns before it melts or melts into an oily blanket. The fix is to keep the broiler close and the cheese piled high enough to soften before it colors. That short blast of heat is what gives you the bubbly, bronzed top that looks like it came from a grill cook who knows exactly when to pull the pan.
Another place this recipe goes sideways is the sauce. Too much BBQ sauce before searing can make the chicken steam instead of brown. A thin coating before the skillet gives you flavor on the surface, then the second brush after cooking keeps the sauce bright and sticky under the cheese.
- Chicken breasts — Pound them lightly if one side is much thicker than the other. Even thickness matters here because the topping adds weight and the broiler stage is short.
- Monterey Jack cheese — This is the cheese that melts into a smooth blanket without fighting the BBQ sauce. Pre-shredded works, but freshly shredded melts faster and more evenly.
- BBQ sauce — Use one you already like the taste of straight from the bottle. Since it reduces under heat, a sauce that tastes balanced and slightly tangy before cooking usually tastes best on the finished chicken.
- Bacon and caramelized onions — These aren’t just garnish. The bacon gives salt and crunch, and the onions soften the sharpness of the sauce. If you’re short on time, cook the bacon first and use a little of the rendered fat to start the onions.
What Each Ingredient Is Actually Doing in This Chicken Dish

- Chicken (bone-in or boneless, skin-on or skinless) — Each cut has different cooking times and flavor profiles. Let thighs reach 165°F; breasts dry out if overcooked past that.
- Sauce or braising liquid (the moisture keeper) — This prevents the chicken from drying out and adds flavor. Don’t skip it even if the recipe seems moist.
- Aromatics (garlic, onion, herbs) — These add depth and complexity. Cook them with fat so they soften and sweeten instead of staying sharp.
- Cream or butter (optional richness) — These make the dish luxurious. Add to the sauce off the boil so it stays smooth instead of breaking.
- Cheese (if using) — This adds umami and richness. Mix into the sauce or sprinkle on top; either works depending on the dish.
- Acid (lemon, vinegar, wine, or tomato) — This prevents heavy sauces from tasting flat. Add at the end so the brightness doesn’t cook off.
- Proper temperature (165°F is perfect) — Use a thermometer to avoid guessing. Pull slightly early if the chicken will rest or finish in residual heat.
- Resting time (at least 5 minutes) — This lets juices redistribute so the meat stays moist when you cut into it instead of running dry.
Getting the Chicken Browned Before the Cheese Goes On
Seasoning and the Short Marinade
Coat the chicken with salt, pepper, garlic powder, smoked paprika, and half the BBQ sauce, then let it sit for about 10 minutes. That short rest is enough to cling to the surface without drawing out too much moisture. If you leave it swimming in sauce too long, the sugars can make the skillet stick and the chicken can lose that clean browned crust.
Searing in the Oven-Safe Skillet
Heat the olive oil until it shimmers, then lay the chicken in and leave it alone for the first few minutes. You want an actual sear, not pale poaching in oil, so don’t crowd the pan. Flip when the first side releases easily and has a deep golden edge; cook until the chicken reaches 165°F in the thickest part.
Building the Topping Layer
Brush on the remaining BBQ sauce while the chicken is still hot, then add the caramelized onions and bacon. The heat from the chicken helps the sauce spread and keeps the toppings from feeling separate from the meat. Put the cheese on last in a generous layer so it melts down over the bacon instead of slipping off the sides.
Broiling to Finish
Set the pan under the broiler for 2 to 3 minutes and watch it closely. The cheese should look fully melted, with little browned spots appearing at the highest points. If you walk away even briefly, the sugars in the sauce can go from golden to scorched fast, so keep the oven door cracked just enough to stay on top of it.
How to Adapt Monterey Chicken for Different Kitchens and Diets
Dairy-Free Version
Use a good melting dairy-free cheese and keep the layer generous so it has enough time to soften under the broiler. The texture won’t be quite as stretchy as Monterey Jack, but the BBQ sauce, bacon, and onions still carry the dish. Watch the top carefully because dairy-free cheeses can go from soft to dry faster.
Gluten-Free Monterey Chicken
This is naturally close to gluten-free, but the BBQ sauce is the part to check. Some brands use wheat-based thickeners or malt vinegar, so read the label before you start. Once the sauce is confirmed, the rest of the recipe stays exactly the same.
Make It With Thighs Instead of Breasts
Boneless skinless thighs stay juicier and forgive a little extra time in the pan. They’re smaller and uneven in shape, so use them only if you’re comfortable checking several pieces instead of one even cut. You’ll get a richer bite and a slightly more rustic presentation.
Storage and Reheating
- Refrigerator: Store leftovers in an airtight container for up to 3 days. The cheese will firm up and the onions will soften a bit more, but the flavor holds well.
- Freezer: Freeze only if you need to. The chicken itself freezes fine, but the cheese and onions can turn a little watery after thawing, so the texture won’t be as nice as fresh.
- Reheating: Reheat covered in a 325°F oven until hot through, then uncover for the last minute if you want the cheese to loosen again. The biggest mistake is blasting it in the microwave, which tightens the chicken and makes the cheese greasy.