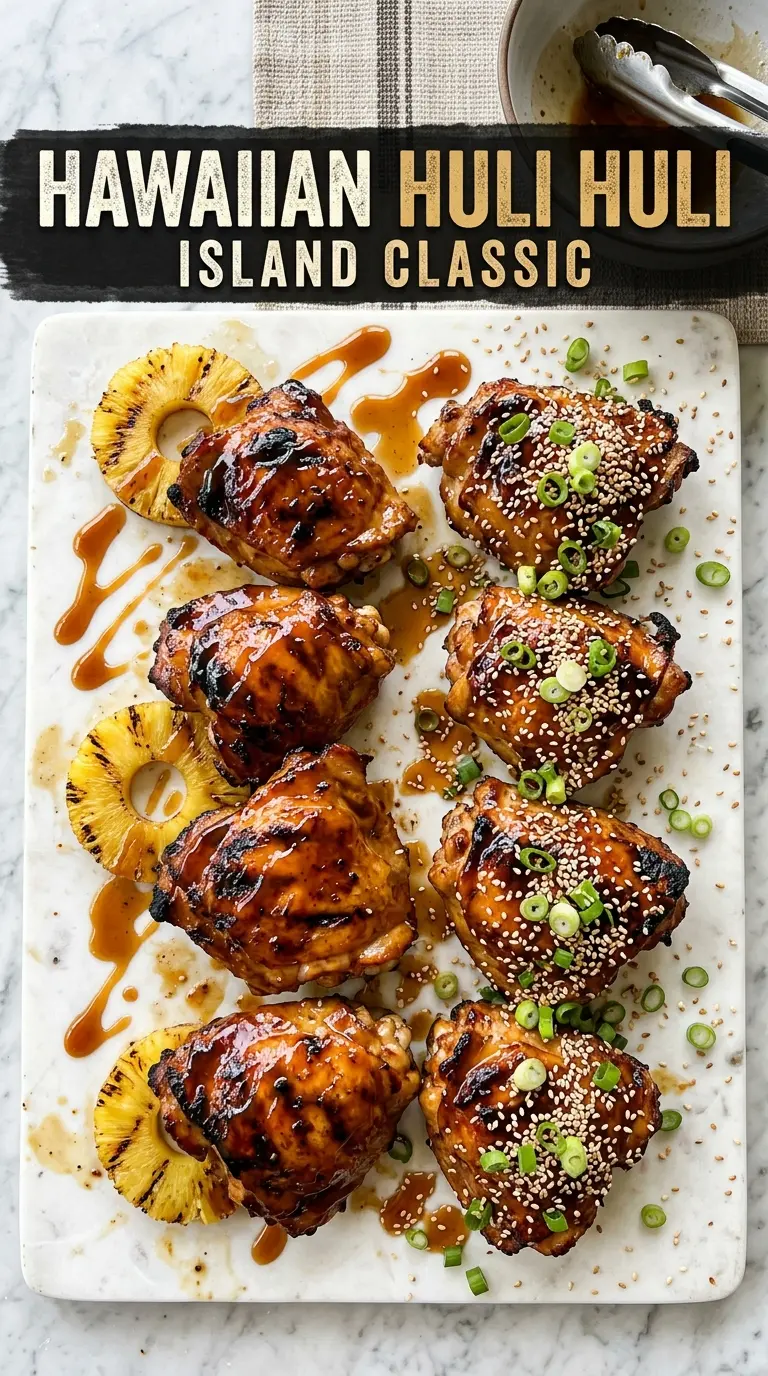
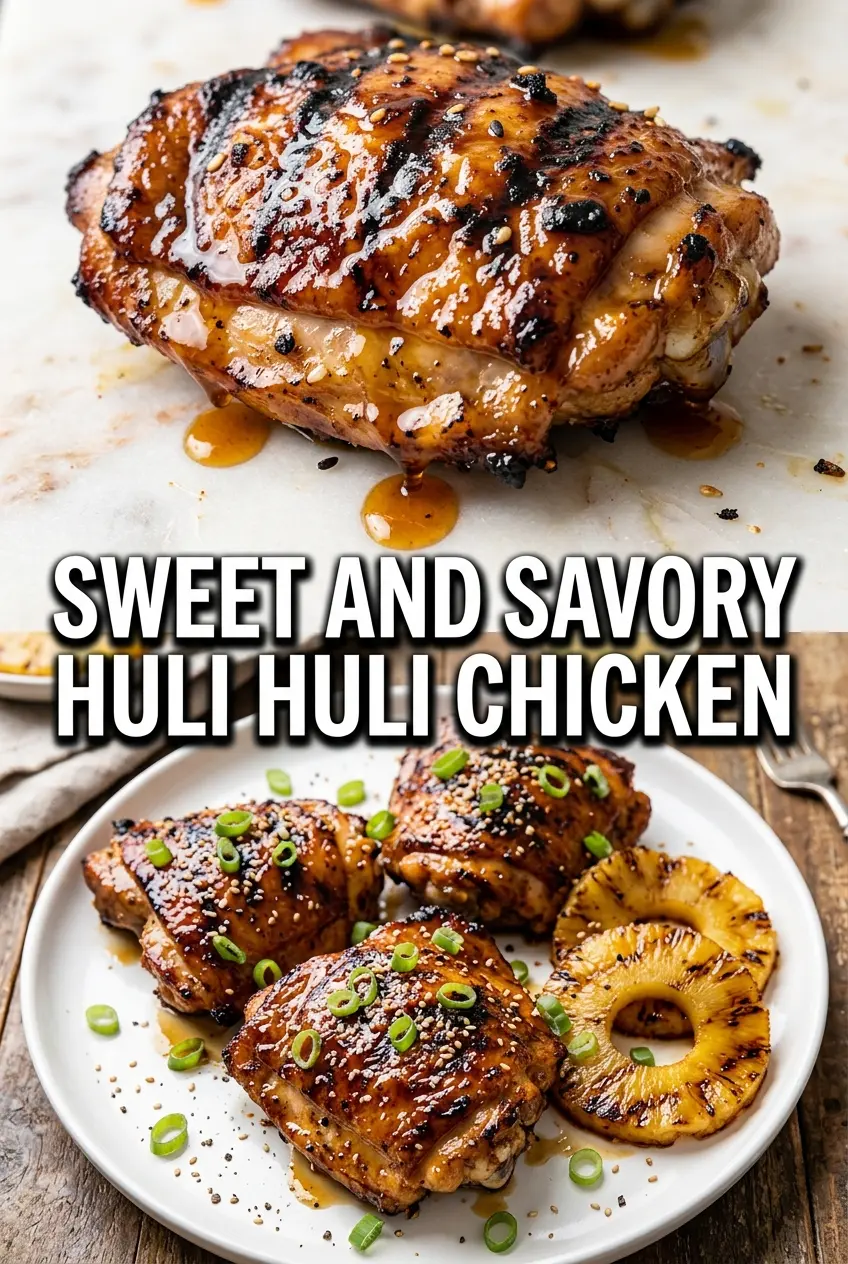
Sticky, charred Grilled Huli Huli Chicken earns its place in the summer rotation because it hits that sweet spot between lacquered barbecue and savory teriyaki. The glaze clings to the chicken instead of sliding off, and the edges turn deep brown and a little smoky while the inside stays juicy. It’s the kind of grill recipe that looks like you worked harder than you did.
The trick is in the balance. Brown sugar and pineapple juice bring the shine and caramelization, but soy sauce, garlic, ginger, and a little sesame oil keep the sauce from tasting flat or cloying. Reserving part of the marinade for basting matters here, too, because it builds layers of flavor as the chicken cooks instead of dumping all the sweetness on at the start. Use thighs or legs if you can; they handle the repeated turning and basting better than lean cuts.
Below, I’ll walk through the part that matters most: how to keep the glaze from burning before the chicken cooks through, plus a few smart swaps if you need to work with what’s already in your kitchen.
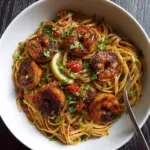
The chicken stayed juicy even with all the basting, and the glaze turned sticky and caramelized without burning. We served it with rice and pineapple, and the whole pan was gone fast.
Love the sticky grilled edges on this Huli Huli Chicken? Save it to Pinterest for your next island-style barbecue night.
The Part That Keeps Huli Huli Chicken Sticky Instead of Scorched
Huli Huli Chicken only works when the sugar in the marinade has time to caramelize without turning bitter. That means medium heat, not a screaming-hot grill, and frequent turning so the glaze builds in thin layers instead of sitting in one thick sugary coat that burns before the chicken is done. The repeated flipping is the whole point of huli, which means turn, and it’s what keeps the outside glossy instead of blackened.
The other thing people miss is that the reserved marinade is for basting, not for serving raw. Once it’s been in contact with chicken, it needs to hit the grill and cook along with the meat. If your grill runs hot in spots, move the chicken around as you cook so the sugar doesn’t get trapped over the hottest flame. You want deep color, sticky edges, and a clean read on the thermometer at 165°F.
What the Marinade Is Doing Beyond Just Sweetening the Chicken
- Soy sauce — This brings the salt and the deep savory backbone. There isn’t a substitute that tastes exactly the same, but tamari works well if you need a gluten-free version.
- Brown sugar — This is what gives the chicken that glossy, caramelized finish. Light brown sugar is fine; dark brown sugar adds a little more molasses depth and a darker glaze.
- Pineapple juice — It brightens the sauce and helps the glaze taste tropical instead of just sweet. Use real pineapple juice if possible, not a cocktail blend, which can make the marinade taste vague and overly sugary.
- Ginger and garlic — Fresh is worth it here. Powder won’t give you the same punch or fragrance, and this recipe depends on those sharp edges to keep the sauce lively.
- Chicken thighs or legs — These are the right cuts for this kind of grilling because they stay juicy through the longer cook and repeated basting. Breasts can work, but they dry out faster and don’t handle the sugar in the marinade as gracefully.
- Sesame oil — You only need a little, but it adds a toasted note that makes the whole marinade taste more finished. Don’t swap in a neutral oil unless you’re fine losing that background flavor.
How to Build the Glaze Without Losing the Chicken
Mixing the Marinade
Whisk the soy sauce, brown sugar, ketchup, pineapple juice, sherry, ginger, garlic, and sesame oil until the sugar starts dissolving and the mixture looks glossy. If the sugar stays grainy, give it another minute or two; that helps the marinade cling more evenly later. Reserve half a cup before the chicken goes in, because once raw chicken touches the bowl, that portion is off-limits for anything except basting on the grill.
Marinating for the Right Amount of Time
Let the chicken sit in the marinade for at least 2 hours and up to 8. Less time and the flavor stays on the surface; much longer and the salt can start to change the texture of the meat in a way that works against the juicy finish you want. If you’re using thighs, they tolerate the full range well. Pat the chicken lightly before it goes on the grill so the glaze doesn’t slide off in a watery layer.
Grilling and Basting in Layers
Set the grill to medium heat and place the chicken over the heat, turning it often instead of leaving it alone. Brush on the reserved marinade each time the surface starts to look dry and the sugars begin to darken. If flare-ups happen, move the chicken off the hottest spot for a minute; that’s the difference between caramelized and burned. Pull the chicken when it reaches 165°F at the thickest point and the glaze looks sticky, dark, and set.
Tamari Instead of Soy Sauce
Tamari gives you the same salty backbone with a slightly rounder flavor, and it makes the recipe gluten-free without changing the structure of the glaze. The chicken still caramelizes the same way, so this is the cleanest swap if you need one.
Using Chicken Breasts Instead of Thighs
Breasts work, but they need closer attention because the sugar in the marinade can burn before the center is done. Keep the heat lower and start checking early; the payoff is a leaner bite, but you’ll lose some of the juicy margin that thighs naturally give you.
Alcohol-Free Version with Chicken Broth
Use chicken broth in place of sherry if that’s what you have. You’ll lose a little of the subtle sharpness that wine brings, but the marinade still tastes balanced because the pineapple, ginger, and soy carry most of the flavor.
Storage and Reheating
- Refrigerator: Store leftovers for up to 4 days. The glaze will firm up a bit in the fridge, but the chicken stays flavorful.
- Freezer: This freezes well for up to 2 months. Wrap portions tightly or freeze them in a sealed container, and thaw overnight in the refrigerator before reheating.
- Reheating: Warm gently in a covered skillet over low heat with a splash of water or broth, or in a 300°F oven until heated through. High heat dries out the chicken and makes the sugary glaze stick to the pan instead of the meat.
Answers to the Questions Worth Asking
Grilled Huli Huli Chicken
Ingredients
Equipment
Method
- Whisk together soy sauce, brown sugar, ketchup, pineapple juice, sherry, ginger, garlic, and sesame oil until the sugar dissolves and the mixture looks glossy.
- Reserve 1/2 cup of the marinade for basting in a separate container.
- Add the chicken to the remaining marinade and refrigerate for 2-8 hours, flipping once halfway so the surface stays evenly coated.
- Preheat the grill to medium heat, then place chicken on the grates and grill while turning (huli) frequently.
- Baste the chicken with the reserved marinade as it cooks, brushing on each time you turn so the glaze clings and thickens.
- Continue grilling for 25-30 minutes, until the internal temperature reaches 165°F and the glaze is caramelized with a charred, sticky sheen.