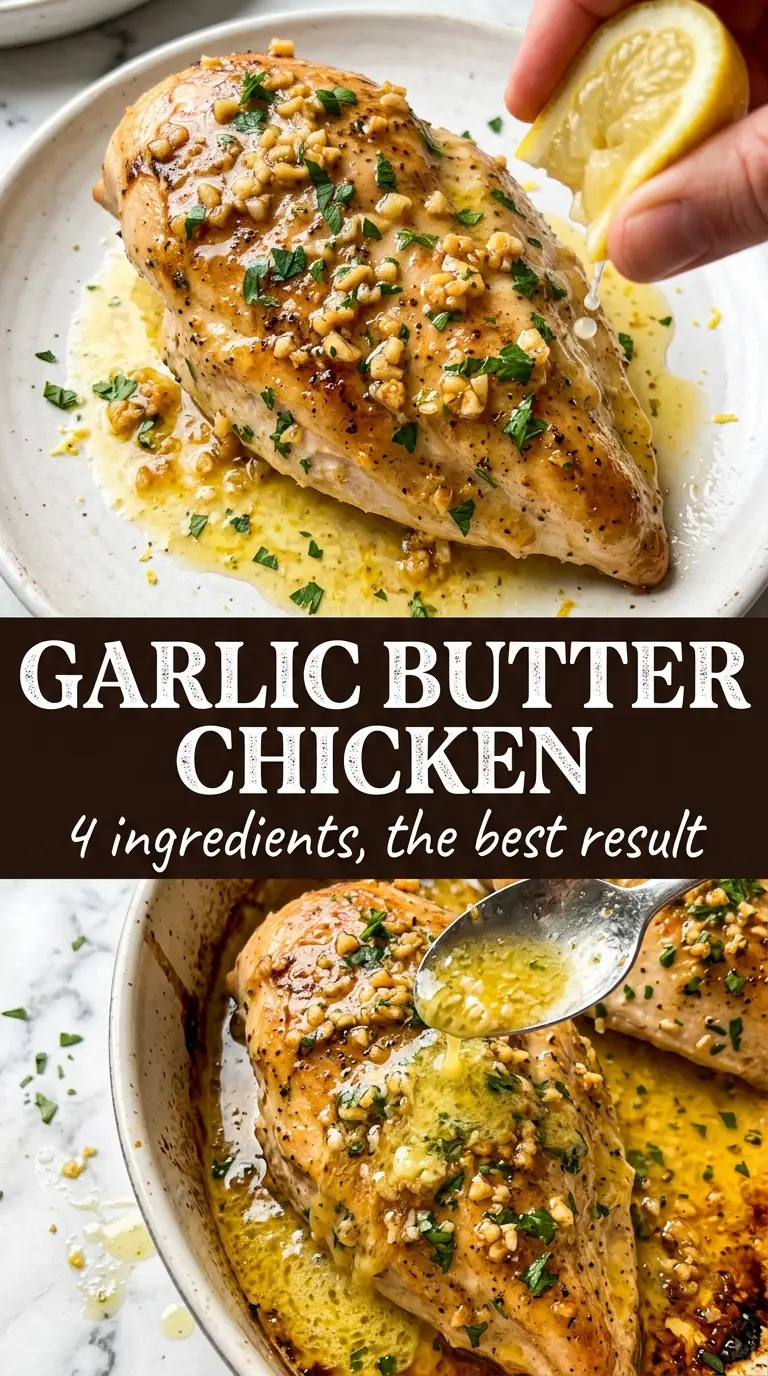
Garlic butter baked chicken breast comes out best when the butter is treated like a baste, not a blanket. The chicken stays juicy, the edges pick up a little color, and the pan juices turn into the kind of spoonable sauce that makes plain chicken feel like dinner worth sitting down for. What you get is tender meat with a glossy, savory finish and enough garlic-herb flavor to carry the whole plate.
The trick is keeping the butter mixture balanced so it perfumes the chicken without burning in the oven. Fresh garlic, parsley, thyme, rosemary, and lemon juice give the butter some brightness, while the smoked paprika on the chicken helps build color and keeps the flavor from tasting flat. Baking at a higher temperature also helps the breasts cook through before they dry out, which matters more here than it does with thighs.
Below, I’ve included the one timing detail that keeps the chicken from going stringy and a few practical swaps in case you need to work with what’s already in your kitchen.
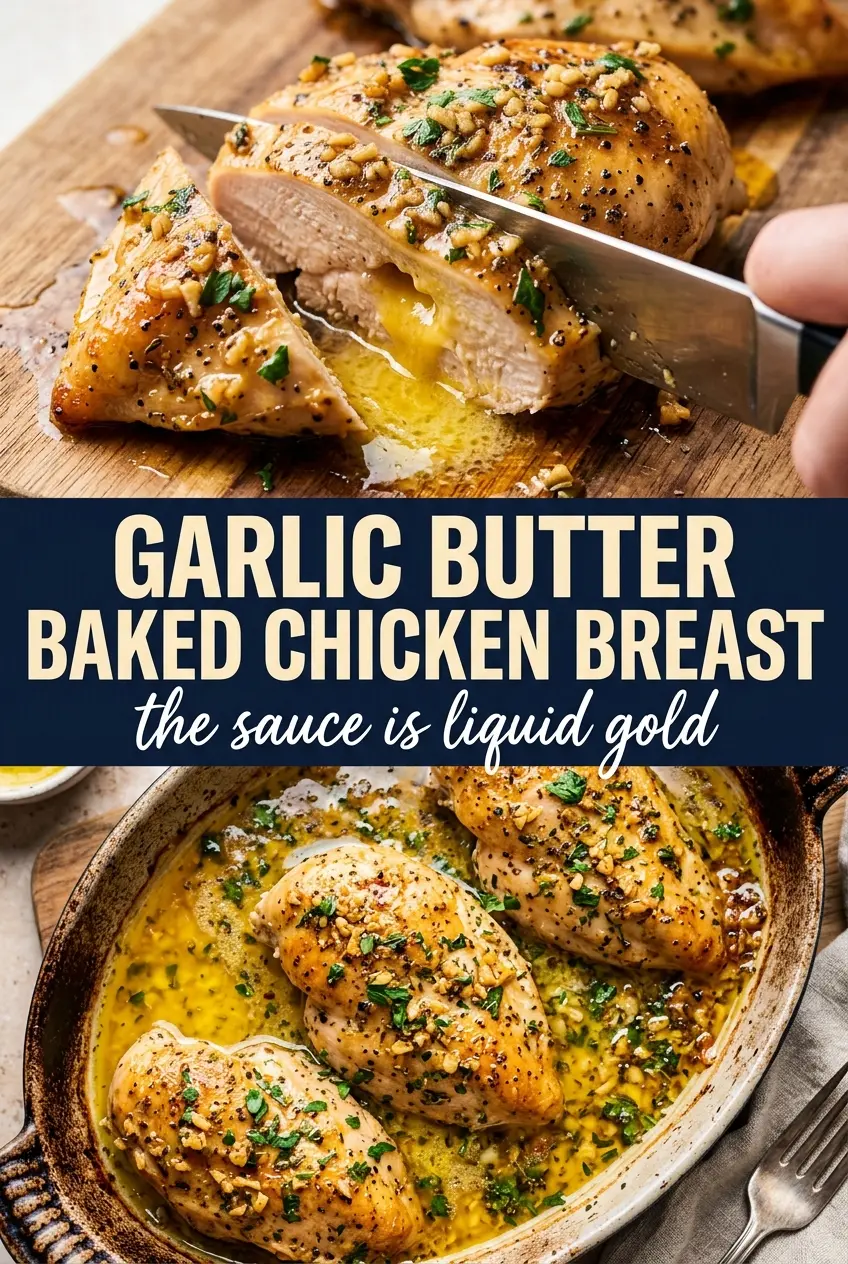
The butter coated every piece evenly and the chicken stayed juicy all the way through. Basting halfway through made the pan juices taste rich instead of greasy, and the lemon at the end pulled it all together.
Save this garlic butter baked chicken breast for a juicy, lemony dinner with a glossy pan sauce.
The Reason Chicken Breasts Go Dry Before They’re Done
Chicken breast dries out when the oven is trying to finish the center long after the outer layers have already tightened up. That’s why the two things that matter most here are even thickness and a hot oven. If one end of the breast is much thicker than the other, the thin end overcooks before the thick end reaches temperature.
Butter helps here, but not because it magically seals in juices. It carries flavor, encourages browning, and keeps the surface from tasting blunt. The real fix is using the oven for speed and pulling the chicken the moment the thickest part hits 165°F, then letting it rest so the juices settle back into the meat.
- Even thickness — If your chicken breasts are very thick on one side, pound them lightly or slice the larger ones horizontally so they bake at the same rate.
- High heat — 425°F gives the surface enough energy to develop color before the chicken dries out.
- Rest time — Those 5 minutes off the heat are not optional; they keep the juices from running out the second you cut in.
What Each Part of the Butter Is Actually Doing
- Butter — This is the base of the sauce and the browning agent. Melted butter coats the chicken more evenly than softened butter would, and it collects the pan juices into something you can spoon over rice, potatoes, or vegetables.
- Fresh garlic — Fresh garlic gives the dish its sharp, fragrant backbone. Jarred garlic works in a pinch, but it can taste flatter and a little bitter once baked, so use fresh if you can.
- Parsley, thyme, and rosemary — These herbs keep the butter from tasting one-note. Fresh herbs matter here because dried herbs can turn dusty in the butter and won’t give you the same bright finish.
- Lemon juice — A small amount keeps the butter from feeling heavy and helps the whole dish taste cleaner. Too much will make the sauce taste thin, so keep it measured.
- Smoked paprika — This builds color and gives the chicken a subtle roasted note. Regular paprika will work, but smoked paprika gives more depth without adding extra effort.
How to Keep the Butter from Splitting and the Chicken from Overcooking
Seasoning the Chicken First
Start by seasoning both sides of the chicken breasts before the butter goes on. Salt and spices on the meat itself give the chicken flavor all the way through, instead of leaving all the seasoning stuck in the pan. If the breasts are wet on the surface, pat them dry first or the butter slides right off and you lose browning.
Mixing the Herb Butter
Stir the garlic, herbs, and lemon juice into melted butter while it’s warm, not scorching. Hot enough to melt, not hot enough to cook the garlic, is the target here. If the garlic starts sizzling hard in the bowl, you’ve pushed it too far and it can taste harsh after baking.
Basting at the Halfway Point
Spoon the pan juices over the chicken once halfway through the bake. That does two things: it keeps the top from drying out and it redistributes the butter, garlic, and herbs so the flavor stays even. Don’t keep opening the oven every few minutes, though, because that drops the heat and stretches the cooking time.
Checking for Doneness
Use an instant-read thermometer and pull the chicken at 165°F in the thickest part. If you wait for it to climb much higher in the oven, the texture turns chalky fast. The juices should run clear, and the top should look lightly bronzed with the butter bubbling around the edges.
Resting Before Serving
Let the chicken sit for 5 minutes before slicing. That short pause keeps the juices in the meat instead of on the cutting board. Spoon the pan juices over the top right before serving so every bite gets that garlic-herb finish.
How to Adapt This When You Need a Different Dinner Plan
Use chicken thighs instead
Boneless thighs work well if you want a richer, more forgiving cut. They usually need a few extra minutes in the oven, and they won’t dry out as quickly, but you’ll lose the lean, sliceable look of chicken breast.
Make it dairy-free
Swap the butter for a good olive oil or a plant-based butter that melts cleanly. Olive oil gives you a lighter finish and less of that glossy pan sauce, while dairy-free butter keeps the richer mouthfeel closer to the original.
Skip the fresh herbs with dried ones
You can replace the parsley, thyme, and rosemary with dried herbs, but use about one-third of the amount because dried herbs concentrate as they bake. The flavor will be earthier and less bright, which works, but it won’t taste as fresh at the finish.
Add it to a low-carb plate
This recipe already fits a low-carb dinner as written, so the main move is in what you serve with it. Spoon the buttery pan juices over cauliflower mash, sautéed greens, or roasted broccoli and you’ll get the same satisfying sauce without adding starch.
Storage and Reheating
- Refrigerator: Store leftovers in an airtight container for up to 4 days. The butter will firm up, but the flavor stays strong.
- Freezer: It freezes fairly well for up to 2 months, though the texture softens a little after thawing. Freeze the chicken with some of the pan juices so it doesn’t dry out.
- Reheating: Warm gently in a covered baking dish at 300°F until just heated through, or use short bursts in the microwave at medium power. High heat is what turns leftover chicken breast rubbery, so go slow.
Answers to the Questions Worth Asking
Garlic Butter Baked Chicken Breast
Ingredients
Equipment
Method
- Preheat the oven to 425°F and lightly grease a baking dish so it’s ready for the chicken.
- Pat chicken breasts dry, then season both sides with salt, pepper, garlic powder, and smoked paprika.
- Melt the butter, then stir in minced garlic, chopped parsley, thyme leaves, minced rosemary, and fresh lemon juice until combined and fragrant.
- Place the chicken breasts in the prepared dish and pour the garlic herb butter over each breast, coating thoroughly so the surface glistens.
- Bake for 20-25 minutes at 425°F, basting with the pan juices once at the halfway point until the butter is golden and fragrant and the chicken reaches 165°F internal temperature.
- Rest the chicken for 5 minutes so the juices settle, then serve with the pan juices spooned over and lemon wedges alongside.