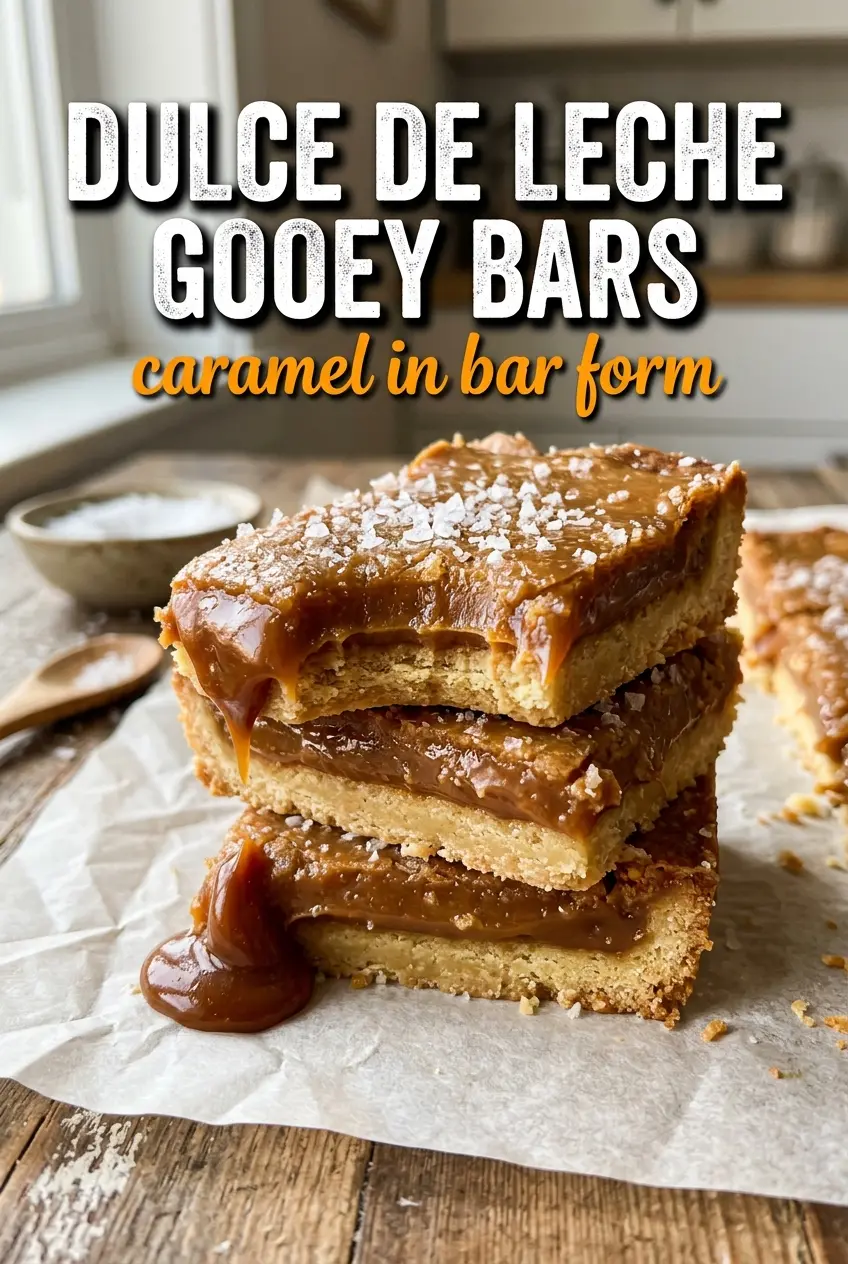
Golden shortbread, glossy dulce de leche, and a thin cap of dark chocolate make these bars the kind of dessert people hover around the pan for. The crust stays buttery and firm enough to hold its shape, but the center gives you that soft, caramel pull that makes each square feel richer than it looks. The little finish of fleur de sel matters here; it sharpens the sweetness instead of letting the bars taste flat.
The crust works because it gets baked first until it’s just set and lightly golden, then the dulce de leche goes on while it’s still warm enough to meld without turning the base soggy. A quick chocolate layer on top keeps the bars balanced and gives the caramel something bitter to lean against. Once they’ve chilled, the squares cut cleanly and the filling stays plush instead of running everywhere.
Below, you’ll find the timing that keeps the layers distinct, the one texture cue that tells you the crust is ready, and a few smart swaps if you need to work with what’s in the pantry.
The crust stayed sturdy and the dulce de leche set up perfectly after chilling. I loved the dark chocolate on top because it kept the bars from being too sweet, and the fleur de sel made each bite taste finished.
Dulce de Leche Gooey Bars with a buttery shortbread base and salted chocolate top are the kind of dessert that disappears fast.
The Secret to Clean Layers Instead of a Sticky Mess
The biggest mistake with gooey bars is rushing the layering. If the crust is underbaked, it softens too much once the dulce de leche goes on. If the chocolate goes on before the caramel layer has warmed the surface, it can slide around instead of setting into a neat top.
These bars solve that by using heat in stages. The baked crust gives you structure first, then the warm base helps the dulce de leche settle into an even layer, and the final bake just firms up the chocolate without cooking the caramel into toffee. That sequence is what keeps the bars sliceable after chilling.
- A firm pre-baked crust — This is what keeps the bars from collapsing when you cut them. Press it firmly into the pan; loose crumbs bake into a weak base.
- Warm dulce de leche — It spreads more evenly than cold caramel and won’t tear the crust. If yours is stiff, stir it in a bowl for a minute before spreading.
- Chilling time — Don’t skip it. The filling firms as it cools, and that’s what gives you clean squares instead of a soft puddle.
What Each Ingredient Is Actually Doing in These Bars
- All-purpose flour — This gives the shortbread its structure. A gluten-free 1:1 baking blend can work here, but the crust will be a little more delicate when sliced.
- Butter — Softened butter is what makes the crust tender and rich. Use real butter here; margarine won’t give the same clean, sandy crumb.
- Granulated sugar — Just enough to sweeten and help the crust brown. You don’t need brown sugar because the dulce de leche is already carrying the caramel note.
- Dulce de leche — This is the center of the whole dessert, so quality matters. Thick, spoonable dulce de leche sets better than a thinner caramel sauce, which can leak or stay loose.
- Dark chocolate chips — The slight bitterness keeps the bars from becoming one-note sweet. Semi-sweet chips work too, but milk chocolate makes the final bars much sweeter.
- Butter in the chocolate layer — It helps the chocolate melt smoothly and spread without cracking into hard shards when the bars are chilled.
- Fleur de sel — A few flakes on top wake everything up. If you only have kosher salt, use it sparingly; too much will overpower the caramel.
Building the Layers Without Breaking the Bars
Mixing and Pressing the Crust
Work the flour, softened butter, sugar, and salt until the mixture looks sandy and starts clumping when you squeeze it. Press it firmly and evenly into the pan, especially into the corners, because thin spots bake too fast and crumble later. Bake until the edges are just turning golden and the center no longer looks wet. If it stays pale, it won’t have enough structure to hold the filling.
Spreading the Dulce de Leche
As soon as the crust comes out, spread the dulce de leche over it while it’s still warm. The warmth helps the caramel glide into an even layer without tearing the base. Use an offset spatula or the back of a spoon and work gently from the center outward. If you press too hard, you’ll drag crumbs into the filling and lose that clean middle layer.
Finishing With Chocolate and a Short Bake
Melt the chocolate chips with the butter until the mixture is glossy and smooth, then spread or drizzle it over the dulce de leche. Put the pan back in the oven just long enough for the chocolate to set around the edges and lose its shine. Don’t bake until it looks completely dry; that’s how you end up with a hard top instead of a soft bite. Cool the pan fully before chilling, or condensation can make the surface sticky.
Chilling and Cutting Clean Squares
Refrigerate the bars until the filling feels firm to the touch, then lift them out if you can and cut on a board with a sharp knife. Wipe the blade between cuts for neat edges. If the bars stick, the caramel isn’t cold enough yet. A little patience here gives you those tidy squares with defined layers.
Three Ways to Make These Bars Fit What You Have
Gluten-Free Version
Swap the flour for a good 1:1 gluten-free baking blend with xanthan gum already included. The bars will still slice well, but the crust may be a touch more tender and sandy than the original.
Milk Chocolate Instead of Dark
Use the same amount of milk chocolate chips if you want a sweeter, softer-tasting top. The bars will lose a little contrast, so the fleur de sel matters even more to keep the flavor balanced.
Dairy-Free Adaptation
Use plant-based butter in the crust and in the chocolate layer, then choose a dairy-free dulce de leche-style spread made for baking. The texture can be a little softer, so chill the bars longer before cutting.
Make Them More Salty-Sweet
If you like a sharper finish, add a tiny pinch of flaky salt to the chocolate layer before it sets. That extra hit of salt makes the caramel taste deeper, but keep it light so the bars don’t drift into savory territory.
Storage and Reheating
- Refrigerator: Store in an airtight container for up to 5 days. The bars stay neat and sliceable, though the chocolate will firm up.
- Freezer: Freeze tightly wrapped squares for up to 2 months. Separate layers with parchment so the chocolate top doesn’t scuff.
- Reheating: These are best served at room temperature, not reheated. If they’ve been chilled hard, let them sit out 15 to 20 minutes so the caramel softens before serving.
Questions I Get Asked About This Recipe
Dulce de Leche Gooey Bars
Ingredients
Equipment
Method
- Mix all-purpose flour, butter, granulated sugar, and salt until the mixture looks crumbly.
- Press the crumbly mixture firmly into an 8x8 baking dish to create an even, compact layer.
- Bake at 350°F for 12-15 minutes until the crust turns golden.
- Spread the dulce de leche over the warm crust in an even layer.
- Melt the dark chocolate chips with the 2 tablespoons of butter, then drizzle or spread over the dulce de leche.
- Bake at 350°F for another 8-10 minutes until the chocolate is set.
- Cool completely at room temperature before chilling to help the layers set cleanly.
- Refrigerate for at least 30 minutes so the bars hold their shape.
- Cut into 16 squares, then sprinkle with fleur de sel.
- Serve at room temperature or chilled for the gooey caramel texture.