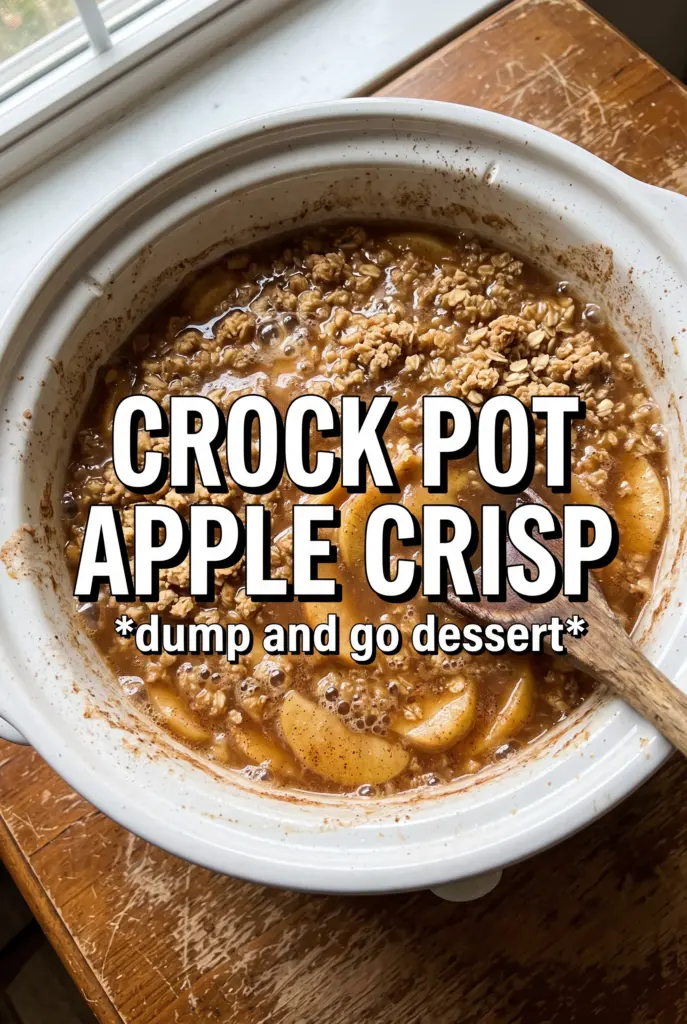
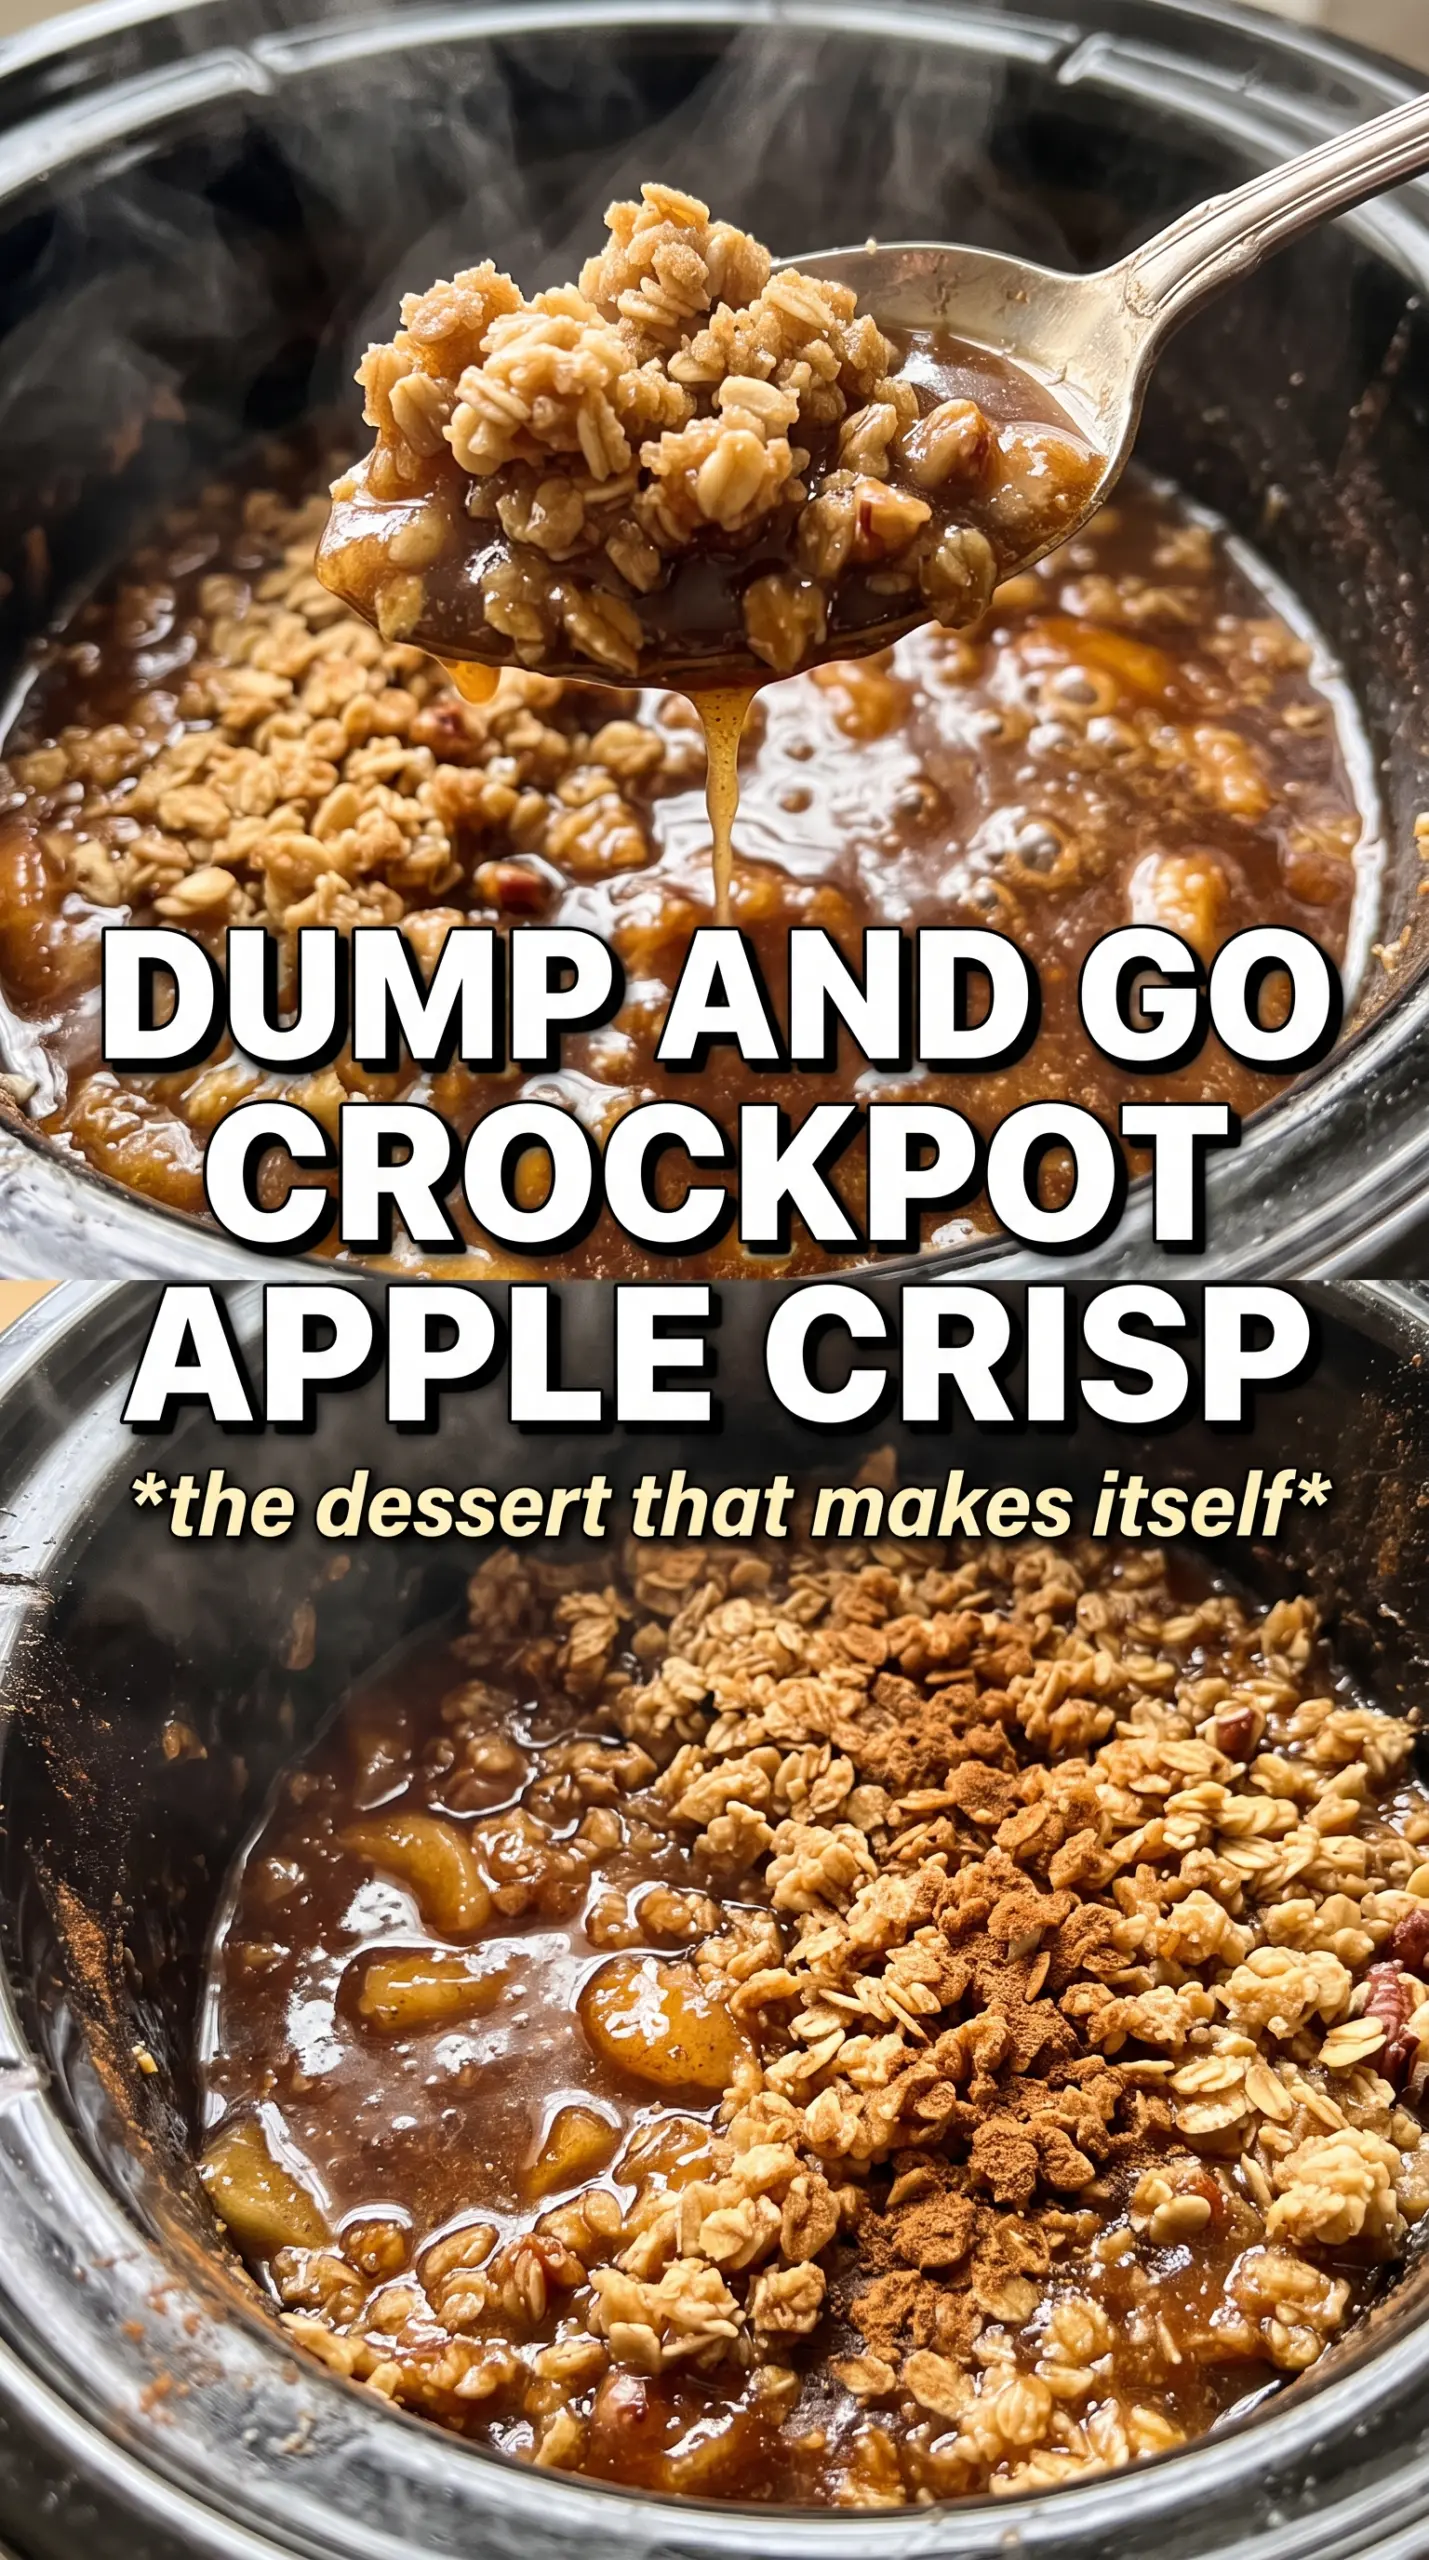
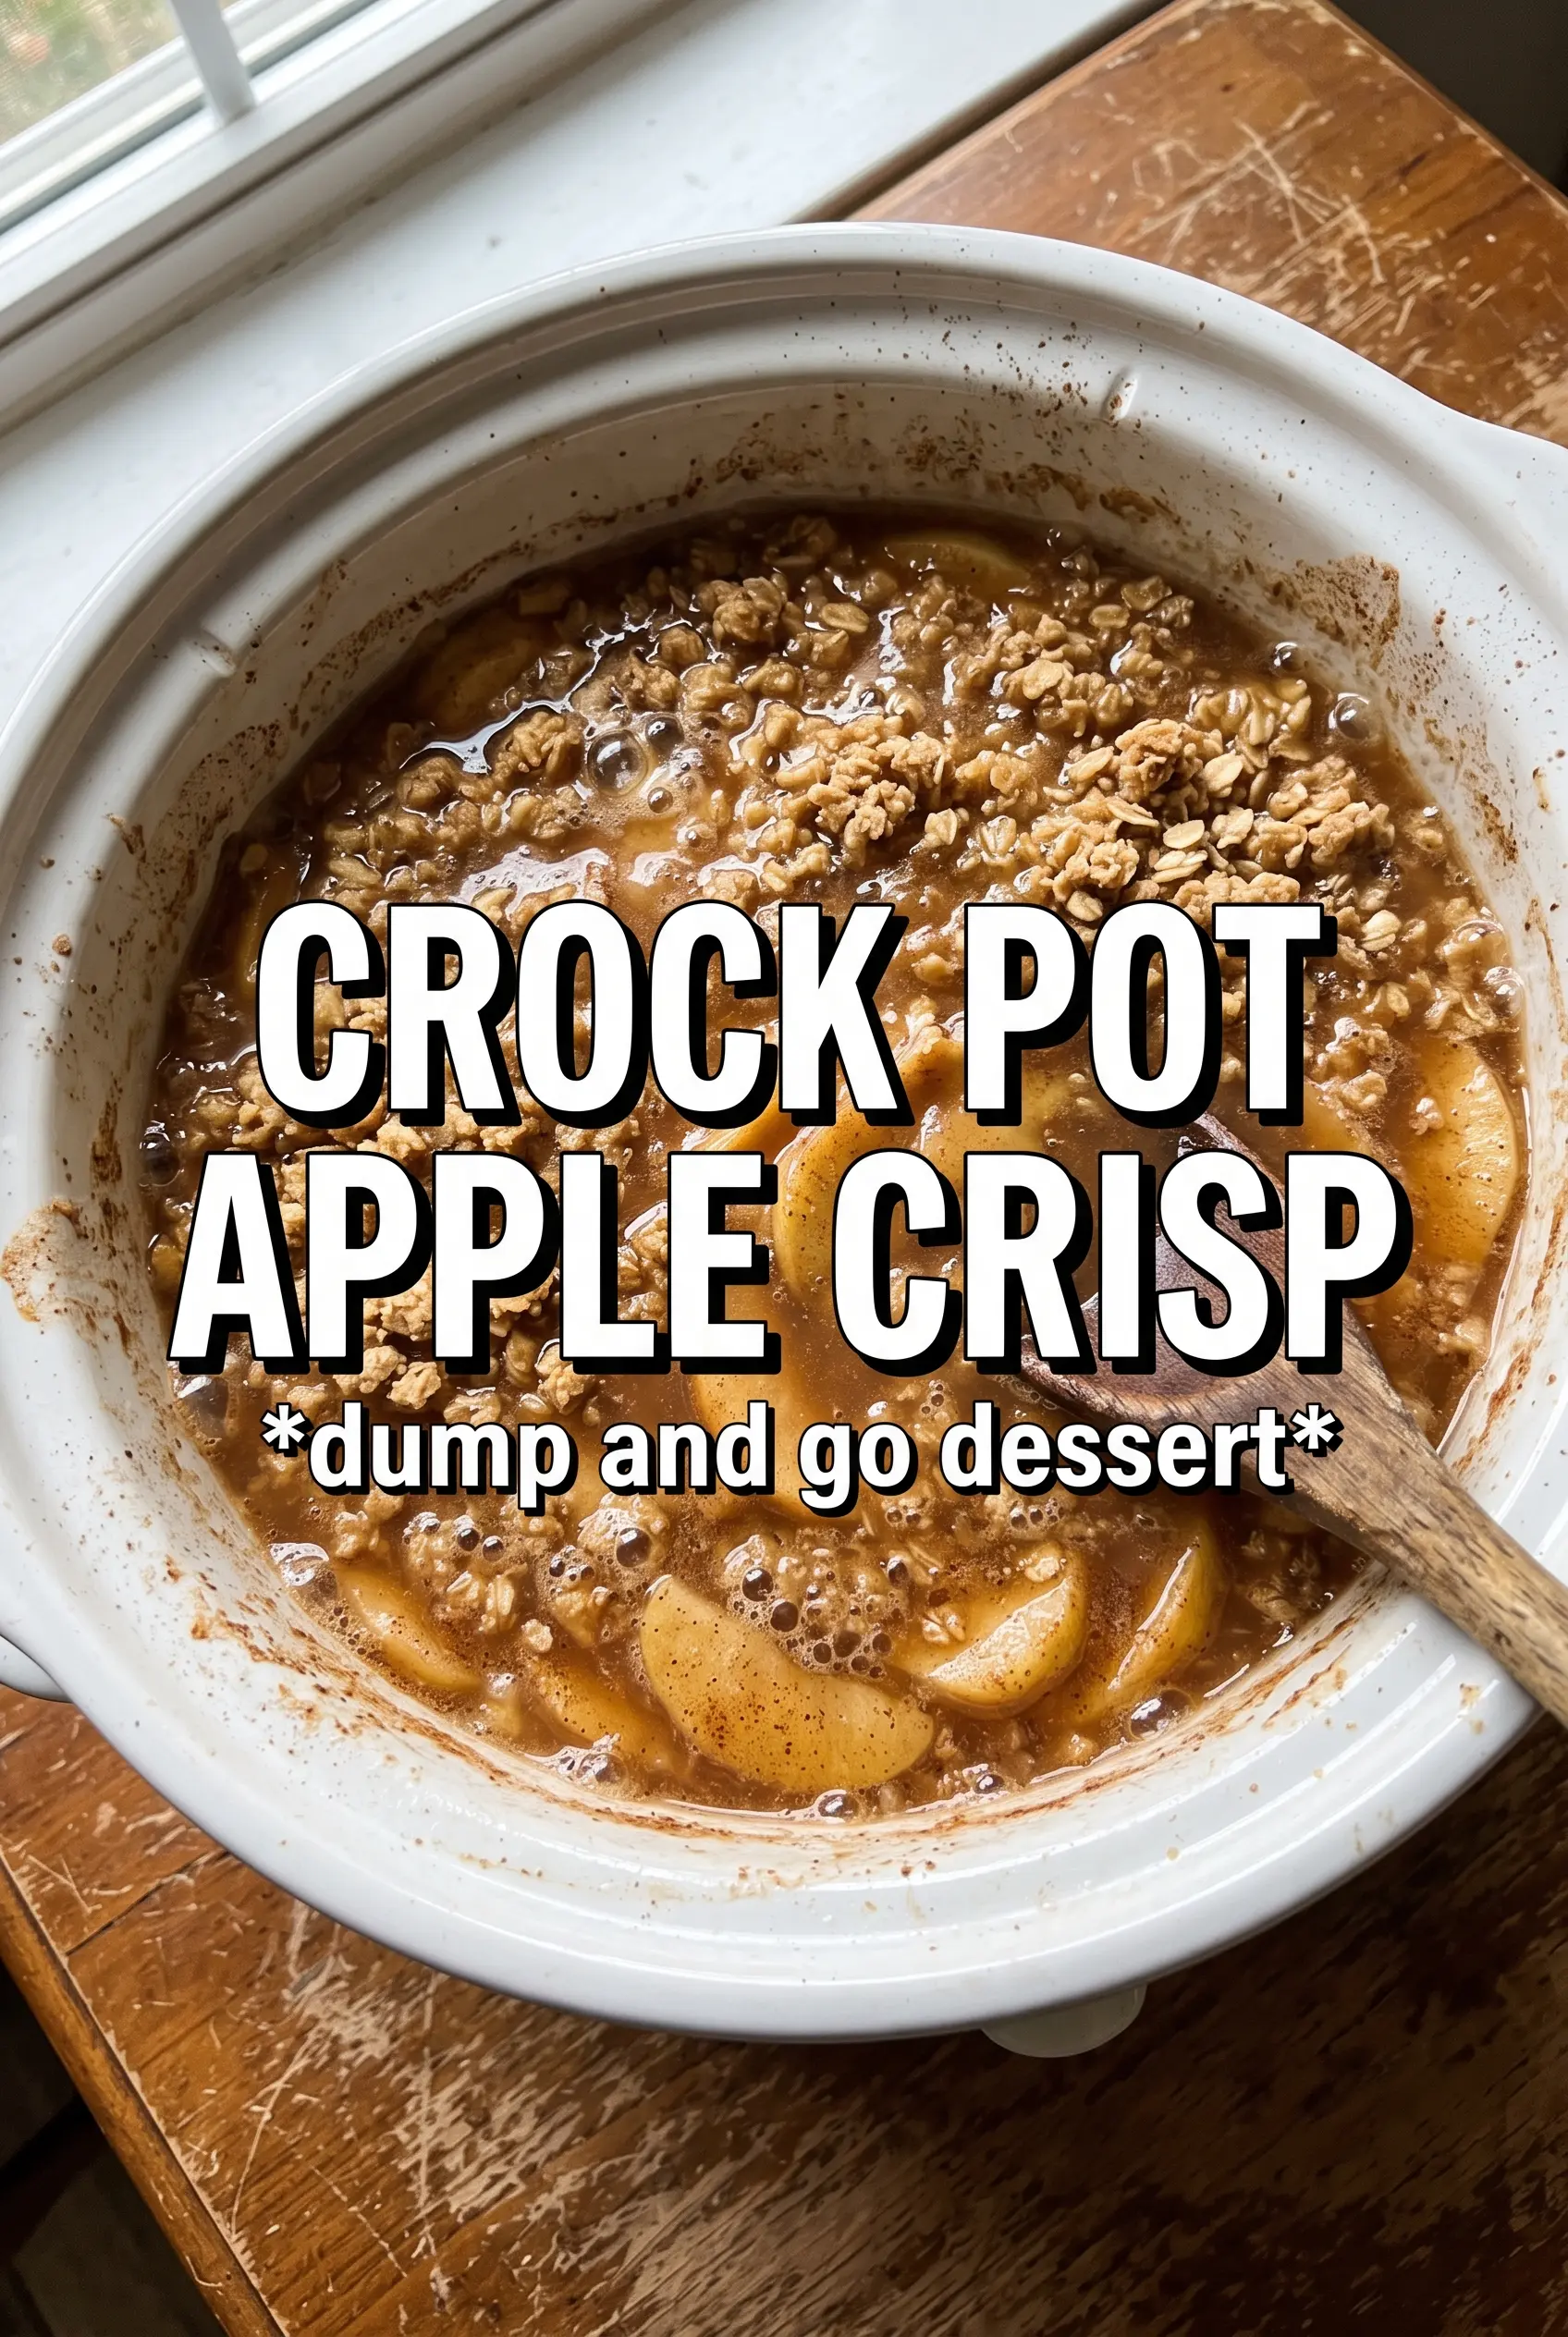
Crock Pot apple crisp turns tender, cinnamon-spiced apples into a warm dessert with a soft, jammy base and a buttery oat topping that stays clumpy instead of sinking into the fruit. The slow cooker does the part that matters most here: it coaxes the apples into a spoonable filling without drying them out, and it keeps the kitchen smelling like you’ve been baking all afternoon even though the work is minimal.
The trick is keeping the topping separate from the fruit and leaving it alone once it goes in the pot. Stirring turns a crisp into mush. A double layer of paper towels under the lid pulls back a lot of the moisture that would otherwise collect and soften the topping, which is the difference between an okay slow cooker dessert and one worth serving with ice cream.
Below, I’m walking through the part that matters most for texture, the ingredient swaps that actually work, and the one finishing step that gives you a crisper top if you want it.
The apples came out tender without turning to sauce, and the oat topping stayed in little buttery clumps instead of disappearing. I did the paper towel trick and it made a huge difference.
Save this Crock Pot Apple Crisp for an easy dessert with tender spiced apples and a buttery oat topping that finishes beautifully under vanilla ice cream.
The Part That Keeps the Topping Crisp Instead of Soggy
The biggest problem with slow cooker apple crisp is steam. Apples release liquid as they cook, and the lid traps it, which is how a topping that starts out sandy and buttery can end up damp and heavy. The double paper towel layer changes that by catching condensation before it drops back onto the crisp. That small step matters more than people expect.
The other detail that protects the texture is not stirring after the topping goes on. The fruit softens underneath on its own while the oats bake into a loose crust on top. If you mix them together, the topping disappears into the filling and you lose the contrast that makes apple crisp worth making in the first place.
- Apples — Use firm baking apples that hold their shape, like Honeycrisp, Granny Smith, Braeburn, or a mix. Softer apples break down faster and turn the filling mushy before the topping has time to set.
- Lemon juice — This keeps the apples bright and balances the sweetness. It doesn’t make the dessert taste lemony; it just stops the filling from tasting flat.
- Rolled oats — Old-fashioned oats give you the right crumble. Quick oats get pasty, and steel-cut oats won’t soften enough in the time this cooks.
- Butter — Melted butter is what pulls the topping into clumps. If you use a reduced amount, the topping turns dusty instead of crisping into little nuggets.
What Each Ingredient Is Actually Doing in This Recipe
- Primary ingredient (the star) — Quality matters most. Choose the best you can find.
- Cooking medium (oil, butter, or broth) — This carries flavors and prevents dryness.
- Seasonings (salt, pepper, spices, herbs) — Layer flavors so nothing overpowers. Build depth gradually.
- Aromatics (garlic, onion, herbs) — Cook with fat to bloom flavors. Become the foundation.
- Supporting ingredients — Complement the main ingredient without overpowering it.
- Sauce or liquid (if applicable) — Brings flavors together. Balance richness with acid.
- Acid (lemon, vinegar, wine, or other) — Brightens and prevents flat-tasting results.
- Final finish (garnish, glaze, or sauce) — Prevents one-dimensional taste and adds visual appeal.
Building the Crisp So the Apples Cook Before the Topping Fails
Coating the Apples
Toss the sliced apples with the sugars, cinnamon, nutmeg, and lemon juice until every piece looks lightly coated. The sugar starts pulling juice out of the fruit right away, which helps create the saucy base under the topping. If you skip the coating or leave dry pockets, the filling cooks unevenly and you’ll get bland bites mixed with oversweet ones.
Mixing the Oat Topping
Combine the oats, flour, brown sugar, cinnamon, and salt, then drizzle in the melted butter and stir until the mixture forms damp clumps. You’re looking for pebble-sized crumbs, not a wet batter. If it looks sandy, it needs a little more mixing with the back of a spoon so the butter coats the dry ingredients evenly.
Slow Cooking Without Stirring
Scatter the topping over the apples and leave it alone. Put a double layer of paper towels under the lid, then cook on Low until the apples are tender and the topping looks set on top. If the lid isn’t covered, extra moisture collects and softens the crust, and if you stir halfway through, the topping disappears into the filling.
Finishing for a Firmer Top
If you want more crunch, spoon the finished crisp into an oven-safe dish and broil it for a few minutes until the top darkens at the edges. Watch it closely; the sugar in the topping goes from browned to burnt fast under the broiler. This is the quickest way to rescue a topping that’s set but not as crisp as you want.
Make it gluten-free
Swap the all-purpose flour for a 1:1 gluten-free baking blend. The topping still clumps and browns well, but the texture will be a touch more tender and less crisp around the edges.
Make it dairy-free
Use melted coconut oil or a good vegan butter instead of regular butter. Coconut oil gives a slightly different flavor and a firmer crumble once cooled, while vegan butter keeps the topping closest to the original.
Use pears with the apples
Replace up to half the apples with firm pears. You’ll get a softer, more fragrant filling, but pears cook faster, so check for tenderness a little earlier.
Storage and Reheating
- Refrigerator: Store covered for up to 4 days. The topping softens a bit as it sits, but the flavor stays good.
- Freezer: Freeze in portions for up to 2 months. Wrap well and thaw in the refrigerator before reheating so the topping doesn’t get gummy.
- Reheating: Warm individual servings in the microwave, or reheat larger amounts in a 325°F oven until hot. The oven keeps the topping in better shape; the microwave is fine, but it softens the crumble.
Questions I Get Asked About This Recipe
Crock Pot Apple Crisp
Ingredients
Equipment
Method
- Toss the sliced apples with granulated sugar, brown sugar, cinnamon, nutmeg, and lemon juice, then place them in the slow cooker.
- Lay a double layer of paper towels under the lid to absorb excess moisture.
- Combine rolled oats, all-purpose flour, packed brown sugar, cinnamon, and salt in a bowl.
- Drizzle the melted unsalted butter into the oat mixture and stir until it forms clumps.
- Scatter the oat topping over the apples in the slow cooker, and do not stir.
- Cook on Low for 2.5-3 hours, until the apples are tender and the topping is set.
- Transfer the crisp to an oven-safe dish for a crispier topping, then broil for 3-4 minutes.
- Serve warm with vanilla ice cream.