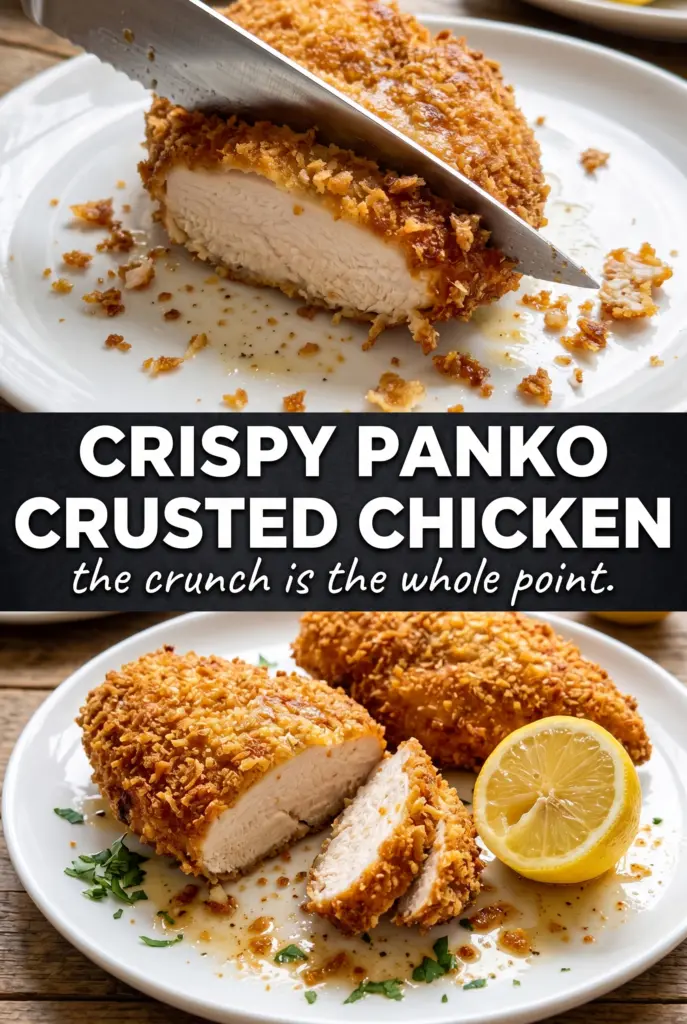
Crispy panko crusted chicken breasts earn their place in the regular dinner rotation because the crust stays light, shattery, and golden instead of turning heavy or soggy. The panko bakes up with an almost fried texture, but the chicken stays juicy underneath, which is exactly what you want when you’re trying to get a weeknight dinner on the table without sacrificing crunch.
The trick is in the layering. A dry seasoning on the chicken itself builds flavor all the way through, while flour gives the egg something to cling to and the Parmesan in the breadcrumb mix adds extra browning and a little salty depth. I also like using a wire rack so air can move around the chicken as it bakes; that’s one of the easiest ways to keep the bottom from steaming.
Below I’ll walk through the part that matters most: how to press the coating on so it actually stays put, how to tell when the crust is done before the chicken dries out, and a few swaps that keep this recipe flexible without losing the crunch.
The crust came out unbelievably crisp in the oven, and it stayed crunchy even after I sliced it. I was worried the panko would fall off, but pressing it on firmly made all the difference.
Love that deep golden panko crust? Save these crispy baked chicken breasts for the night you want big crunch without frying.
Why Panko Stays Crisp When Regular Breadcrumbs Go Soft
Panko has a drier, flakier structure than standard breadcrumbs, which is why it bakes up with that airy, jagged crunch instead of a dense coating. The crumbs don’t absorb oil the same way, so the crust sets faster and keeps more of its texture in the oven.
The biggest failure point with breaded chicken is moisture. If the chicken is wet, or if the coating isn’t pressed on firmly, the breading slides off before it has a chance to set. A thin layer of flour solves the sticking problem, the egg gives the crumbs something tacky to grab, and the Parmesan helps the top brown before the chicken overcooks.
The other detail that matters is airflow. Baking on a rack keeps hot air circulating underneath the chicken, which means the bottom crust has a chance to dry and crisp instead of stewing in its own steam.
What Each Ingredient Is Actually Doing in This Crust
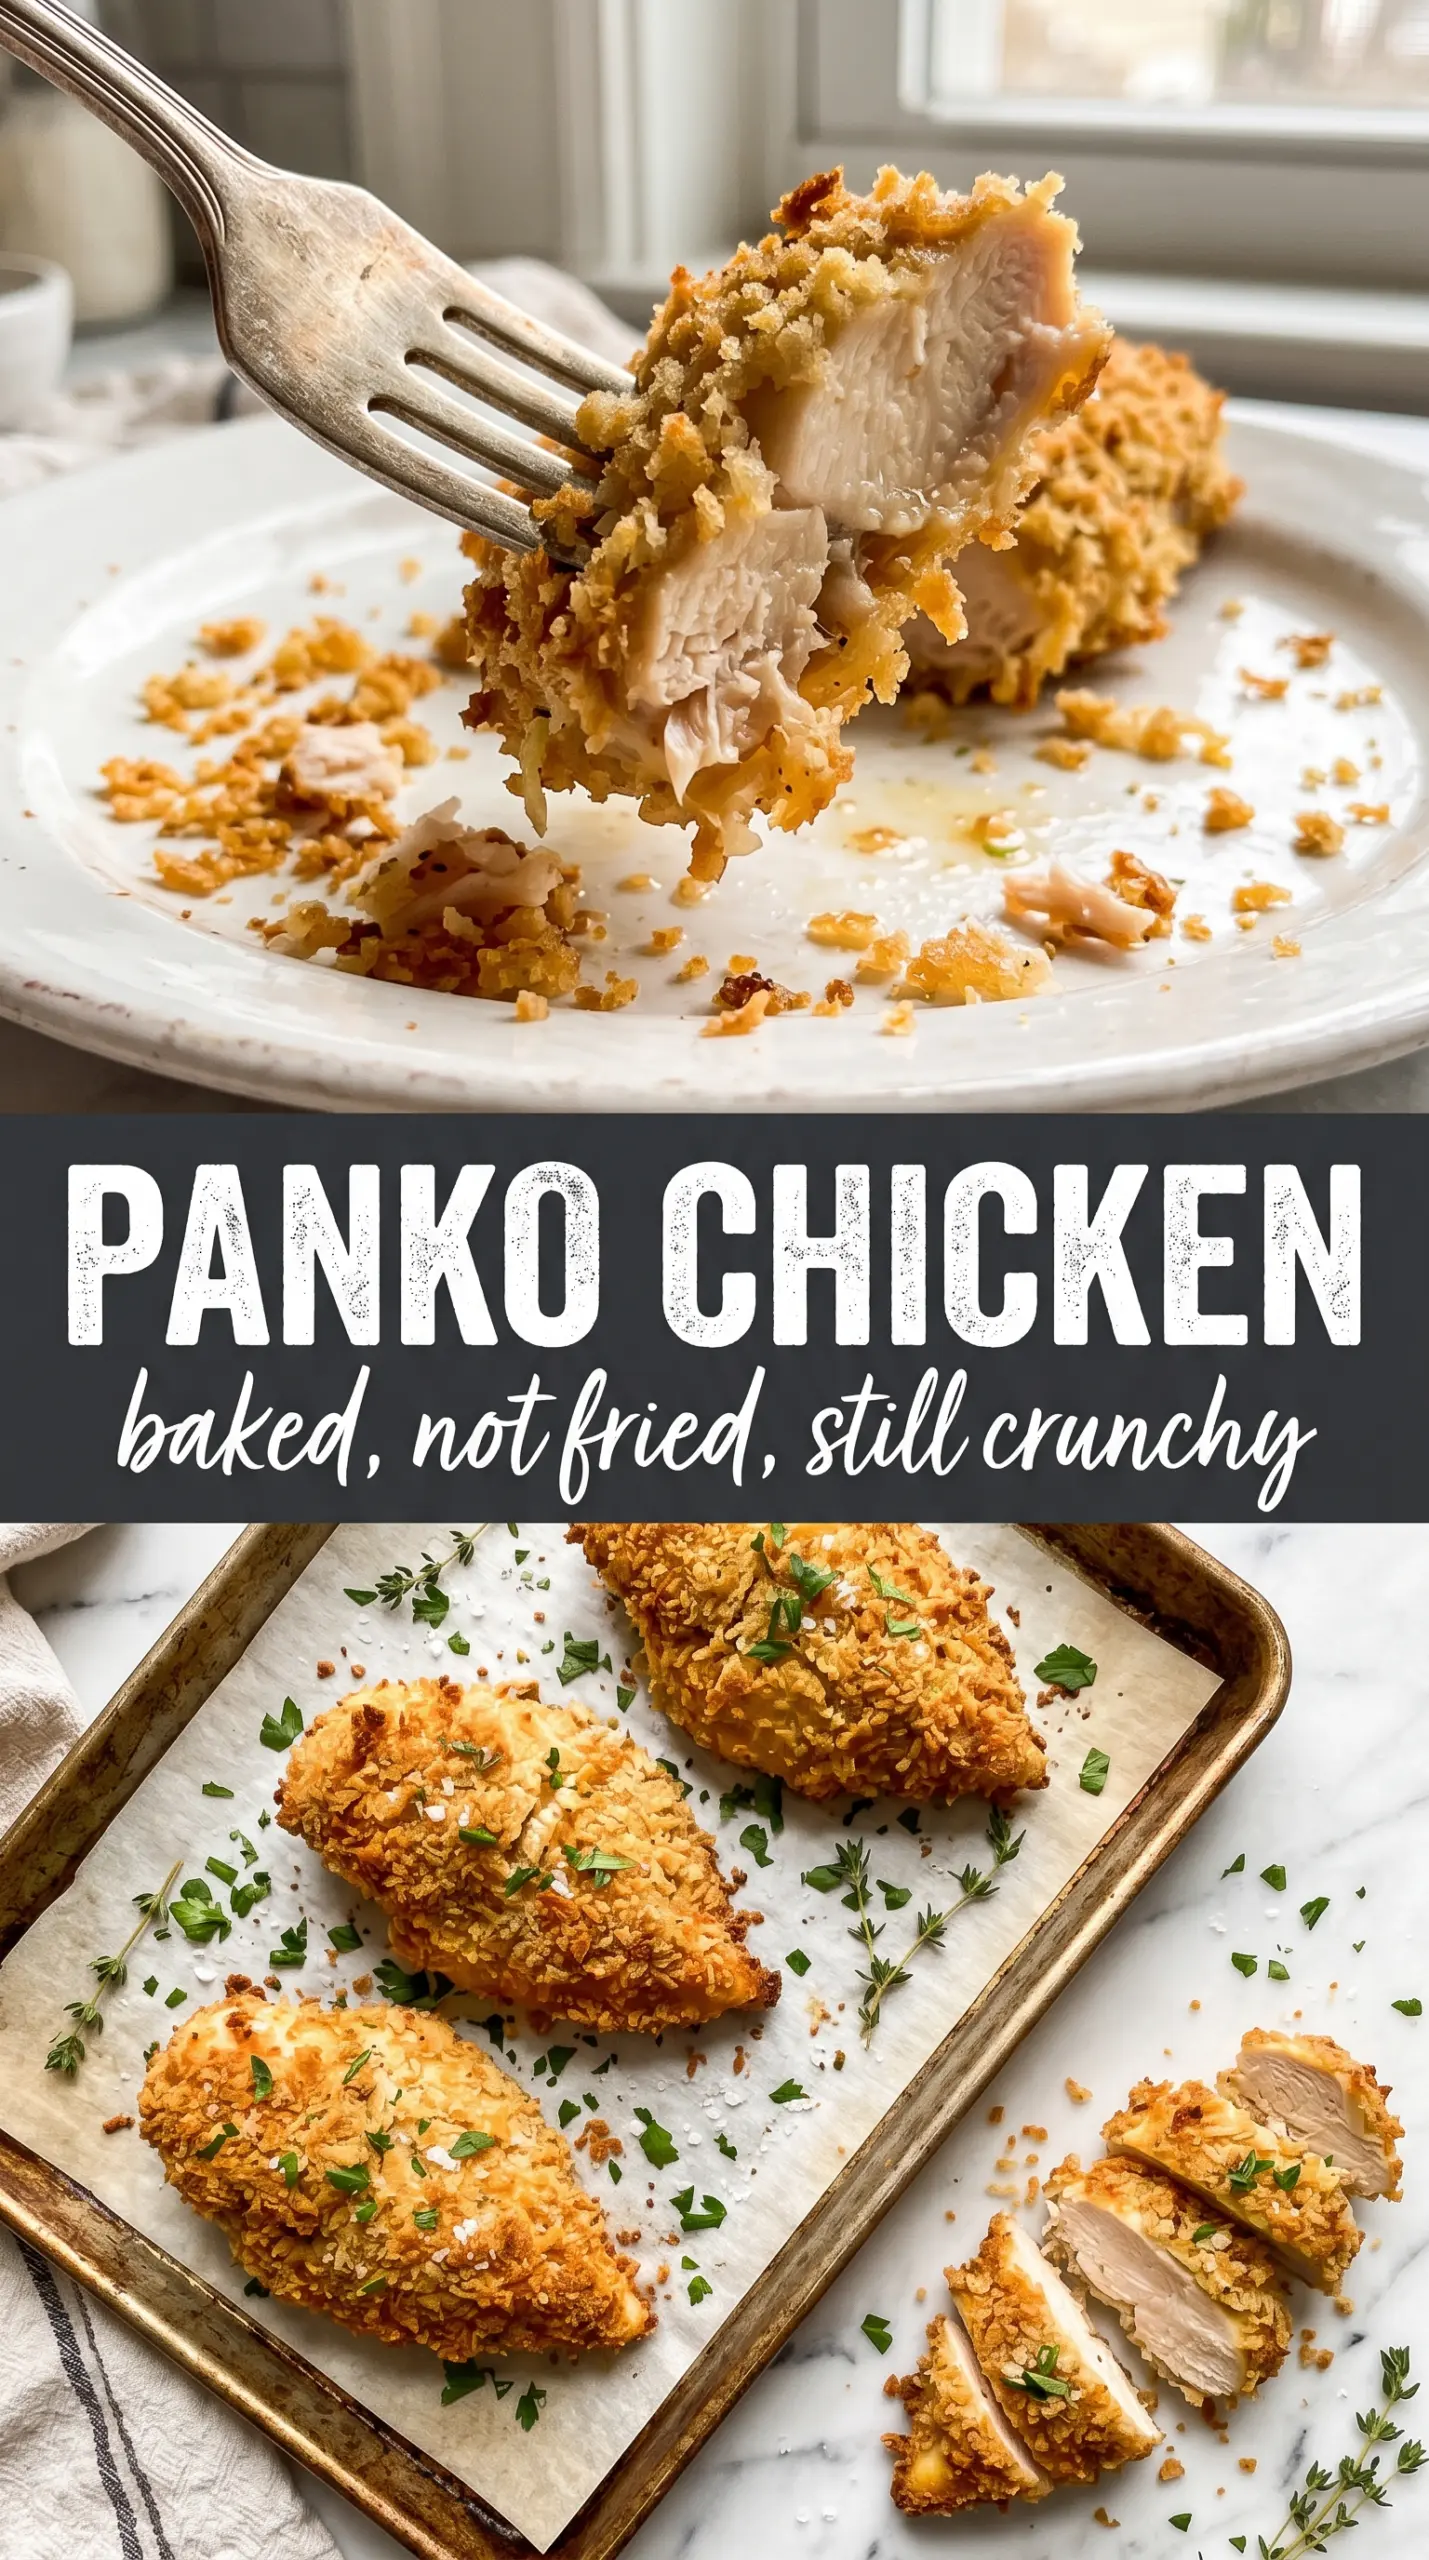
- Chicken breasts — Pounding them to even thickness is what keeps the thicker end from drying out while the thin end cooks through. If you skip that step, the crust will be done before the center is.
- Panko breadcrumbs — This is the ingredient that gives you the airy, crisp shell. Regular breadcrumbs will work in a pinch, but they make a tighter, softer crust.
- Parmesan — Parmesan adds salt, browning, and a slightly nutty edge that plain crumbs can’t match. Use finely grated Parmesan, not a thick shredded version, so it blends evenly into the coating.
- Olive oil or cooking spray — A little fat on the outside is what turns the crumbs deep golden bronze in the oven. If you undercoat the top, you’ll get pale patches instead of an even crunch.
- Italian seasoning, garlic powder, smoked paprika — These season the crust itself, not just the chicken, so every bite tastes finished. Smoked paprika is subtle here, but it helps the breading look and taste more toasted.
Building the Coating So It Actually Stays On
Season the Chicken First
Pat the chicken dry, then season it before it ever touches the breading stations. Salt, pepper, and garlic powder on the meat itself keep the chicken from tasting like plain white meat under a crunchy shell. If the surface is damp, the flour turns gummy and the coating can lift later in the bake.
Use the Flour-Egg-Panko Order
Drag the chicken through flour first, then egg, then the panko mixture. That sequence matters because flour gives the egg something to grip, and the egg acts like glue for the crumbs. Press the coating on with your hand so it forms a thick, even layer; a light dusting will fall off in the oven.
Finish With Fat and Heat
Drizzle or spray the tops with oil before baking. That small amount of fat is what helps the crust blister and turn bronze instead of staying pale and dusty. Bake at 425°F until the coating is deeply golden and the chicken reaches 165°F in the thickest part, then rest it for a few minutes so the juices settle instead of running out the second you cut in.
How to Adapt This for Gluten-Free, Dairy-Free, or a Bigger Batch
Gluten-Free Panko Chicken
Use gluten-free panko and a cup-for-cup gluten-free flour blend in place of the all-purpose flour. The texture stays crisp and light, though some gluten-free crumbs brown a little faster, so watch the color near the end of the bake.
Dairy-Free Version
Skip the Parmesan and add an extra tablespoon of panko plus a pinch of salt to the breadcrumb mix. You’ll lose a little savory depth and browning power, but the crust still bakes up crisp if you use enough oil on top.
Chicken Cutlets for Faster Cooking
Slice each breast in half horizontally or pound them thinner for quicker, more even cooking. The coating gets even crisper because the thinner pieces spend less time in the oven, but you’ll need to start checking for doneness a few minutes early.
Make-Ahead for a Busy Night
Bread the chicken up to 8 hours ahead and keep it uncovered on a rack in the refrigerator. That short chill actually helps the crust dry out a bit, which makes the finished coating cling better and crisp more evenly in the oven.
Storage and Reheating
- Refrigerator: Store leftovers in an airtight container for up to 3 days. The crust softens a little, but it still holds up well.
- Freezer: Freeze cooked chicken on a sheet pan first, then move it to a freezer bag for up to 2 months. The coating won’t be quite as crisp after thawing, but this method protects it better than freezing in a stack.
- Reheating: Reheat on a rack in a 375°F oven or air fryer until hot and crisp again. The mistake most people make is microwaving, which turns the coating limp and steamy before the chicken warms through.
Questions I Get Asked About This Recipe
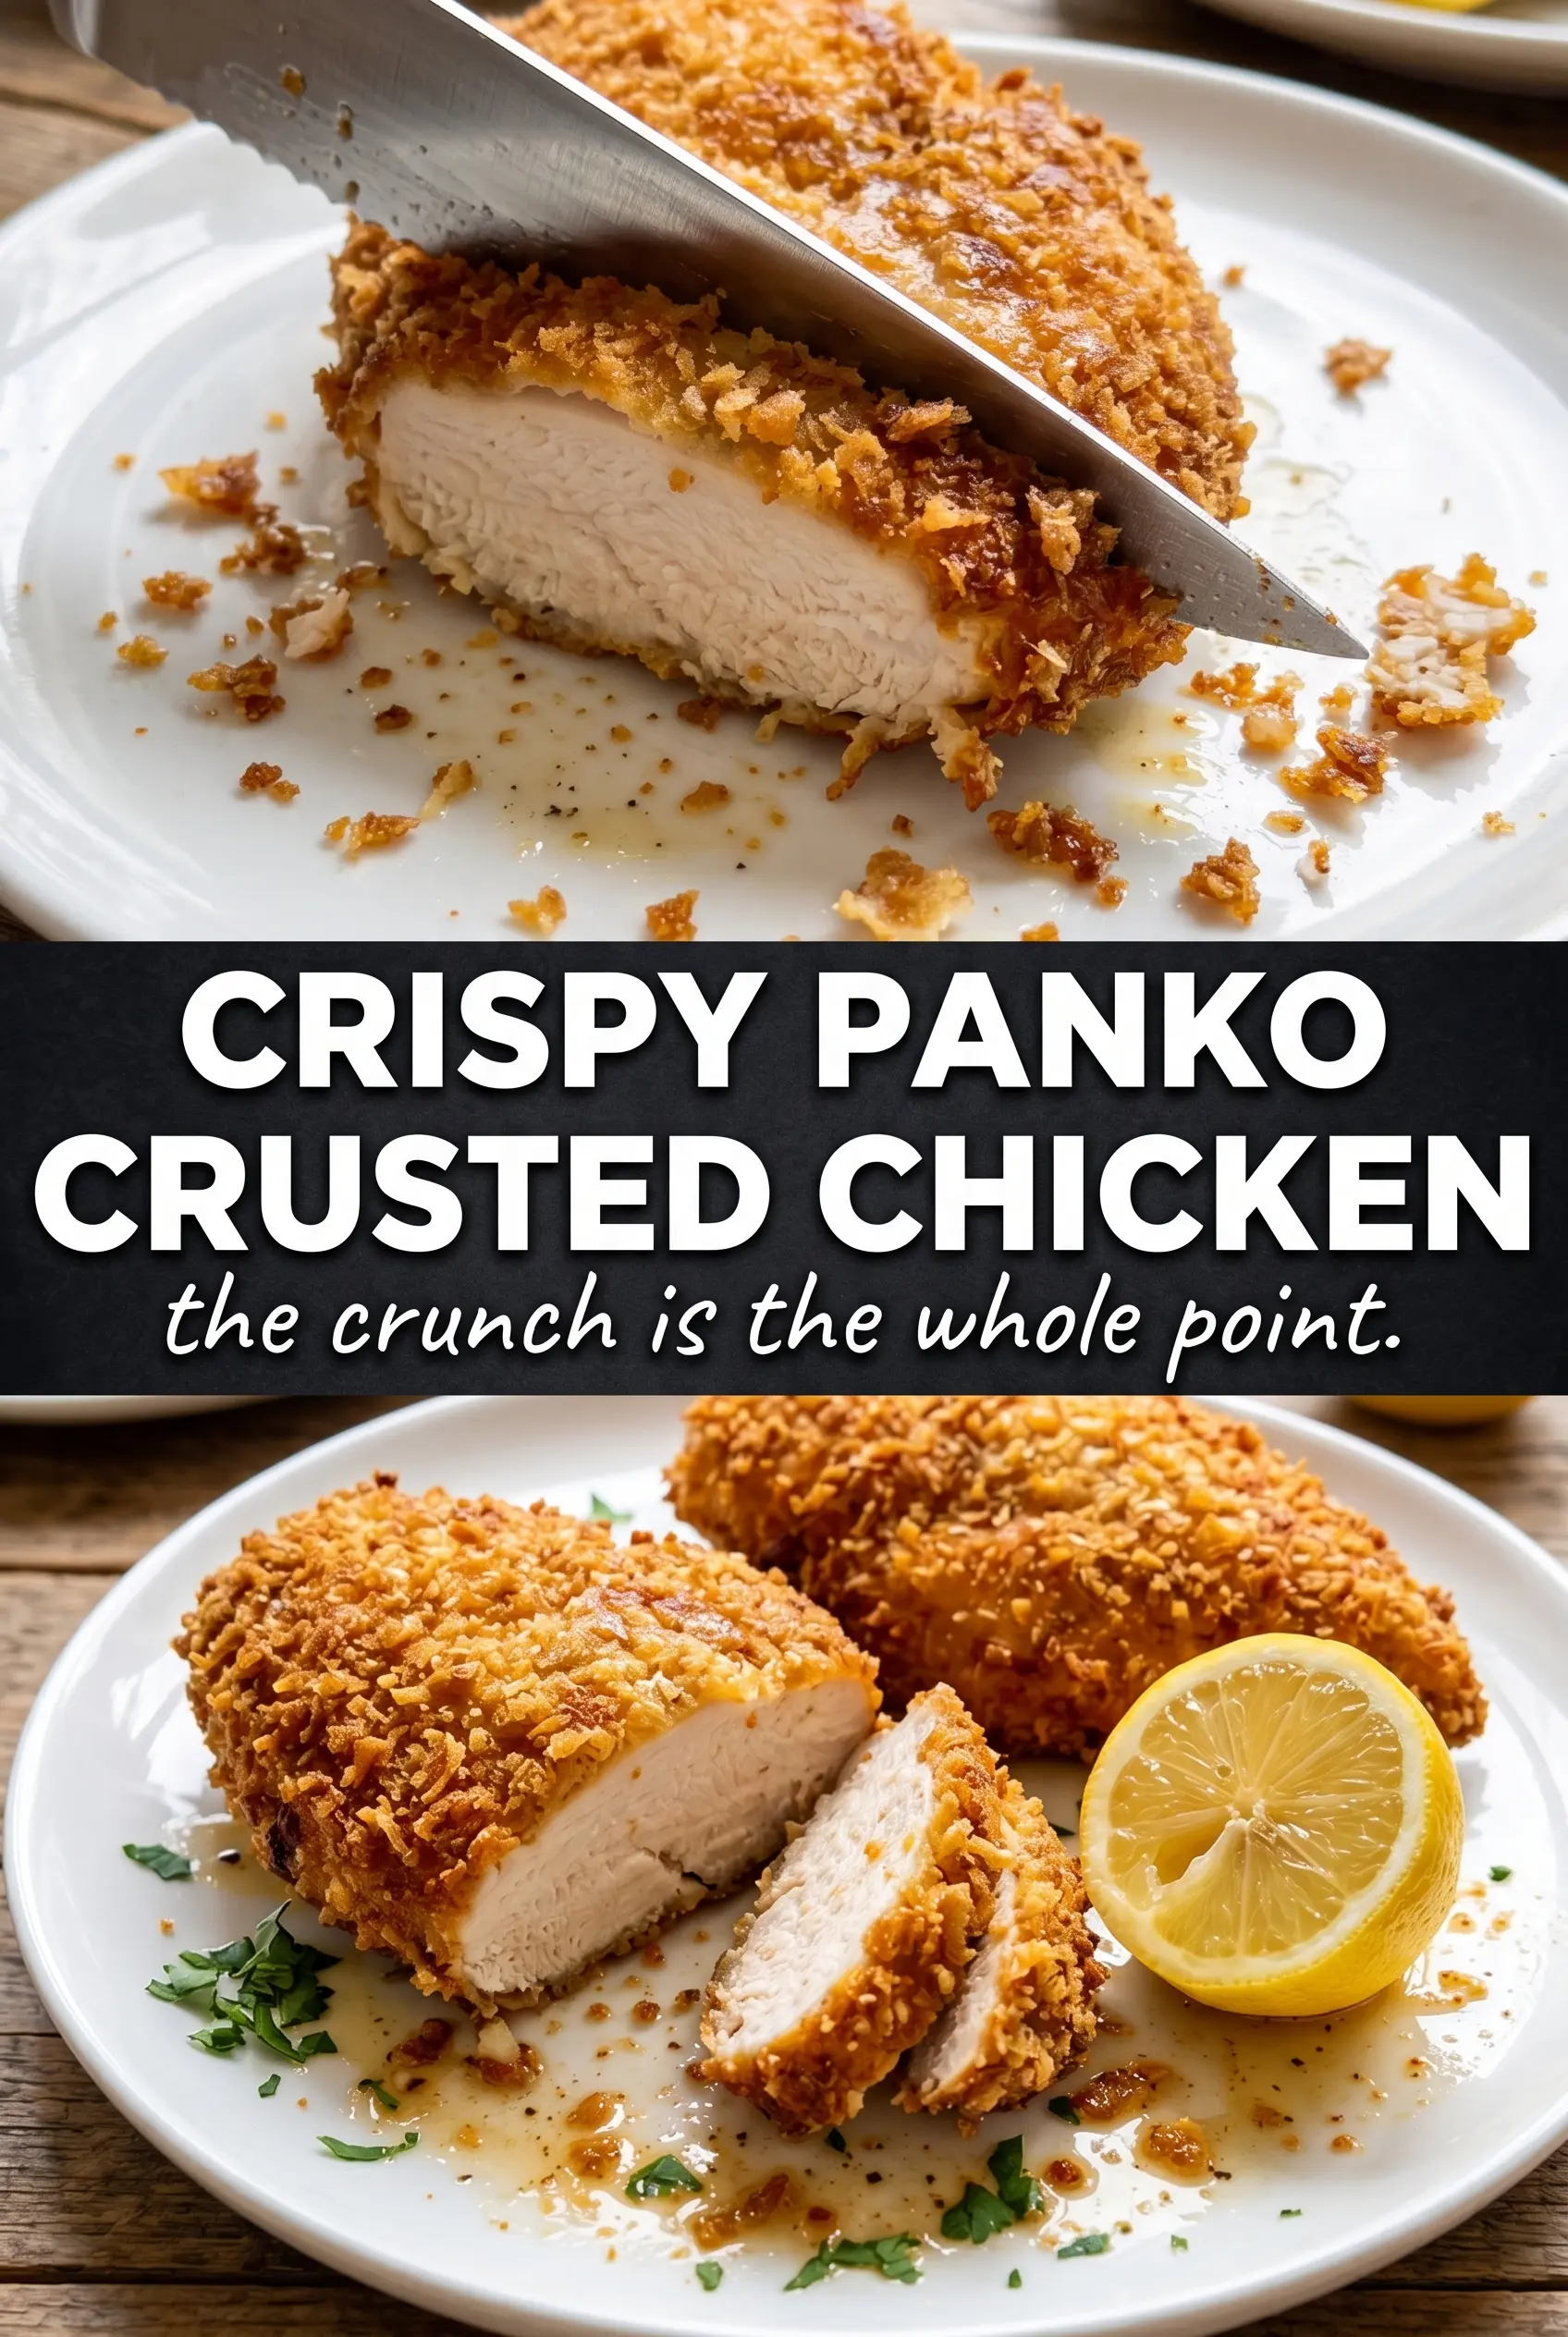
Crispy Panko Crusted Chicken Breasts
Ingredients
Equipment
Method
- Preheat oven to 425°F and line a baking sheet with a wire rack, then spray the rack with cooking spray so the crust can crisp underneath.
- Season the chicken with salt, pepper, and garlic powder to taste, then set up three stations with flour, beaten eggs, and the panko mixture (panko, Parmesan, Italian seasoning, garlic powder, and smoked paprika).
- Dredge each chicken breast in flour, then dip into the beaten egg, keeping it fully coated.
- Press the chicken firmly into the panko coating on all sides so the breadcrumbs adhere and form an even, crunchy layer.
- Drizzle or spray the breaded chicken with olive oil or cooking spray, then place on the prepared rack.
- Bake at 425°F for 20-22 minutes until the crust is deep golden brown and the internal temperature reaches 165°F.
- Rest the chicken for 3 minutes, then garnish with fresh parsley and serve with lemon wedges.