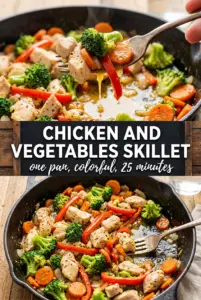
Golden chicken, blistered peppers, and caramelized onion make this skillet dinner feel like more than the sum of its parts. The chicken stays juicy because it gets seared first and pulled out before the vegetables go in, and the vegetables keep their shape instead of turning soft and watery. That contrast is what makes the pan look and taste finished.
The other thing that matters here is heat. A hot skillet gives the chicken a real crust and lets the vegetables pick up some char at the edges before they lose all their texture. The garlic goes in late, just long enough to smell sweet, and the chicken broth loosens the browned bits stuck to the pan so they become part of the sauce instead of staying behind.
Below, I’ll show you how to keep the chicken from overcooking while the vegetables still get color, plus a few smart swaps if you need to work with what’s already in your fridge.
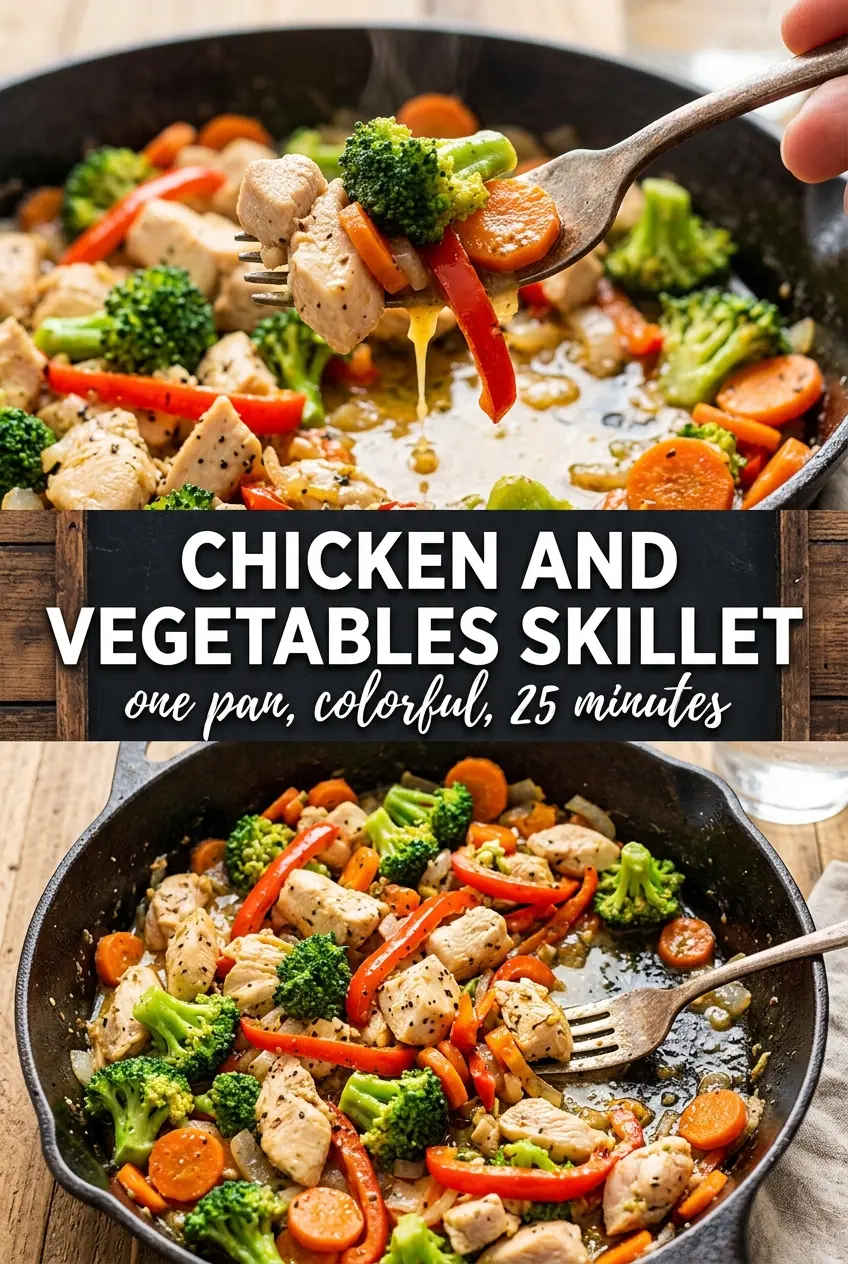
The chicken stayed juicy and the vegetables actually got those little browned edges instead of steaming into a soft pile. I loved how the lemon at the end brightened everything up.
Like this chicken and vegetables skillet? Save it for the nights when you want one pan, browned edges, and a light garlic butter sauce.
The Trick to Keeping the Chicken Golden Instead of Steamed
The biggest mistake in a skillet dinner like this is crowding the pan and hoping the chicken will brown anyway. It won’t. The pieces need space so the surface moisture can cook off fast enough to form a crust before the meat overcooks. If your pan looks wet, the heat is too low or the skillet is too full.
Pulling the chicken out before cooking the vegetables is what keeps both parts right. The vegetables need enough time to blister and pick up color, and the chicken would dry out if it sat through that whole stage. The broth at the end lifts the browned bits from the pan and turns them into a light sauce instead of a dry skillet bottom.
- High heat — This is what gives you those caramelized edges on the chicken and vegetables. Medium heat makes everything soften before it colors.
- Cast iron skillet — It holds heat better than a thin pan, which helps the chicken sear instead of simmer. A heavy stainless pan works too if that’s what you have.
- Chicken broth — Just enough to deglaze the pan and bring the browned bits into the sauce. Water will work in a pinch, but the skillet will taste flatter.
- Butter at the end — It rounds out the sauce and gives the vegetables a glossy finish. Add it after the heat comes down so it melts in instead of separating.
What Each Ingredient Is Actually Doing in This Skillet
Chicken breasts need a short cook over high heat because they can go from juicy to dry fast once they’re cut into strips. If you want to use chicken thighs instead, they’ll stay a little more forgiving and bring a richer bite, but you’ll lose the leaner texture that works well with the vegetables. Cut the strips evenly so they finish at the same time.
The peppers, zucchini, and red onion each pull their weight differently. Peppers stay crisp-tender and give the skillet sweetness; zucchini softens faster, so slice it thick enough that it doesn’t collapse; red onion sweetens as it chars and helps the whole pan taste more rounded. Garlic goes in after the vegetables have already picked up some color, because early garlic burns before the pan is ready for it.
Italian seasoning and smoked paprika are carrying the herb-and-smoke backbone here. You can swap in plain paprika if that’s what you have, but you’ll lose some of the subtle woodsy depth. If your chicken broth is salted, season the pan a little more lightly at the start and adjust at the end after the butter goes in.
Getting the Sear Right and Still Keeping the Vegetables Crisp
Season the Chicken First
Toss the chicken strips with the Italian seasoning, smoked paprika, salt, and pepper before the pan ever heats up. That gives the spices time to cling to the surface and keeps the seasoning even once the chicken starts browning. If the chicken looks wet after seasoning, pat it lightly with a paper towel; too much moisture will block the sear.
Brown the Chicken in One Layer
Heat the olive oil until it shimmers, then add the chicken in a single layer. Let it sit long enough to take on color before stirring, because moving it too early keeps it pale. You’re looking for golden edges and mostly cooked centers, not a deep roast; the chicken finishes later after it goes back into the pan.
Char the Vegetables Without Turning Them Soft
Add the peppers, zucchini, and onion to the same hot skillet and keep the heat up. Stir only enough to expose new surfaces to the pan, because constant stirring traps steam and takes away the color. If the vegetables start to look glossy and limp before they brown, the pan is crowded or the heat dropped too far.
Finish With Garlic, Broth, and Butter
Garlic needs just a minute in the hot pan before the broth goes in. Once you add the broth, scrape the bottom of the skillet so the browned bits dissolve into the liquid, then return the chicken and finish with butter. Pull the pan off the heat as soon as the butter melts through; if it boils hard, the sauce can lose its silky look.
How to Adapt This Chicken and Vegetables Skillet Without Losing the Point
Swap in chicken thighs for a richer result
Boneless skinless thighs stay a little juicier and handle the high heat well. They’ll add a richer flavor, though the skillet will feel slightly heavier than the breast version. Use the same method, but watch the color instead of the clock and cook until the thighs are done through.
Make it dairy-free
Skip the butter and finish with another teaspoon of olive oil or a small splash of extra broth. You’ll lose a little richness, but the skillet still tastes clean and bright, especially if you serve it with lemon. This is the easiest adaptation if you need the dish to stay dairy-free without changing the rest of the recipe.
Use what vegetables you have
Broccoli, snap peas, mushrooms, or asparagus can all work here if you cut them to match the cooking time. Mushrooms need room and heat to brown, while asparagus and snap peas cook quickly and should go in near the end. The goal is the same: color first, softness second.
Make it gluten-free without changing the method
This skillet is naturally gluten-free as written as long as your chicken broth is certified gluten-free. That matters because broth is one of the sneaky places gluten can show up. Everything else in the pan stays exactly the same.
Storage and Reheating
- Refrigerator: Store in an airtight container for up to 4 days. The vegetables will soften a little, but the flavor holds up well.
- Freezer: It freezes, but the zucchini turns softer after thawing. If you plan to freeze it, undercook the vegetables slightly so they don’t go mushy later.
- Reheating: Warm it in a skillet over medium heat with a splash of broth or water. The microwave works in a pinch, but it’s the fastest way to overcook the chicken and turn the vegetables limp.
Answers to the Questions Worth Asking
Chicken and Vegetables Skillet
Ingredients
Equipment
Method
- Season the chicken strips with Italian seasoning, smoked paprika, salt, and pepper.
- Heat olive oil in a large cast iron skillet over high heat and sear the chicken for 4-5 minutes until deeply golden and cooked through to 165°F; remove to a plate.
- Add bell peppers, zucchini, and red onion to the same pan and cook over high heat for 5-6 minutes until blistered and slightly charred.
- Add garlic and cook for 1 minute, then pour in chicken broth and deglaze, scraping up browned bits.
- Return the chicken to the pan and add butter, then toss until everything is coated and glossy.
- Garnish with fresh parsley and serve with lemon wedges.