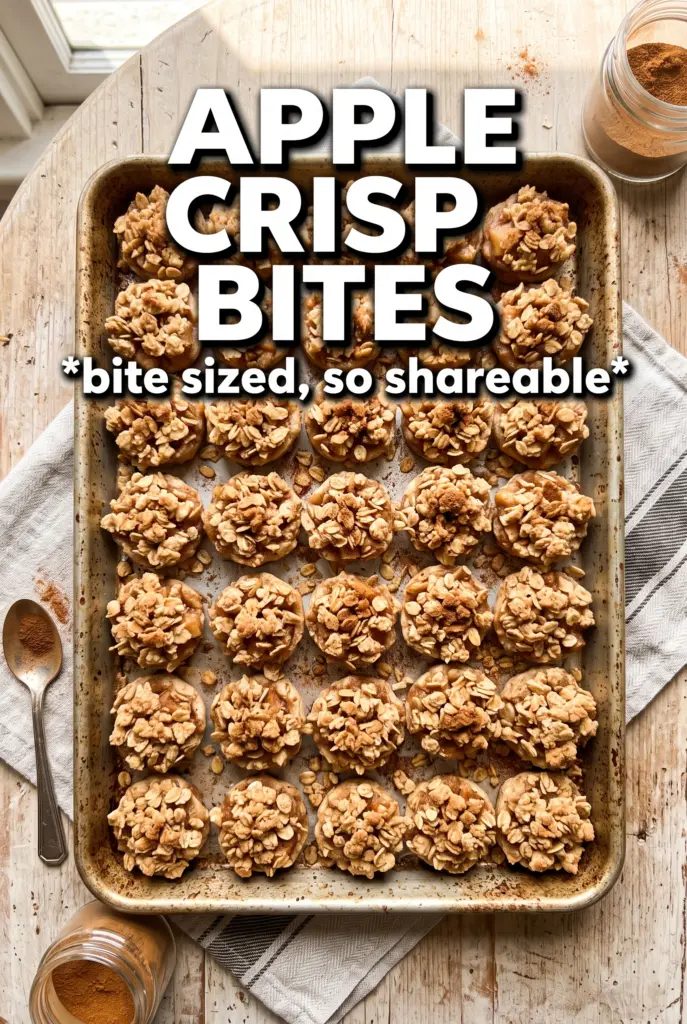
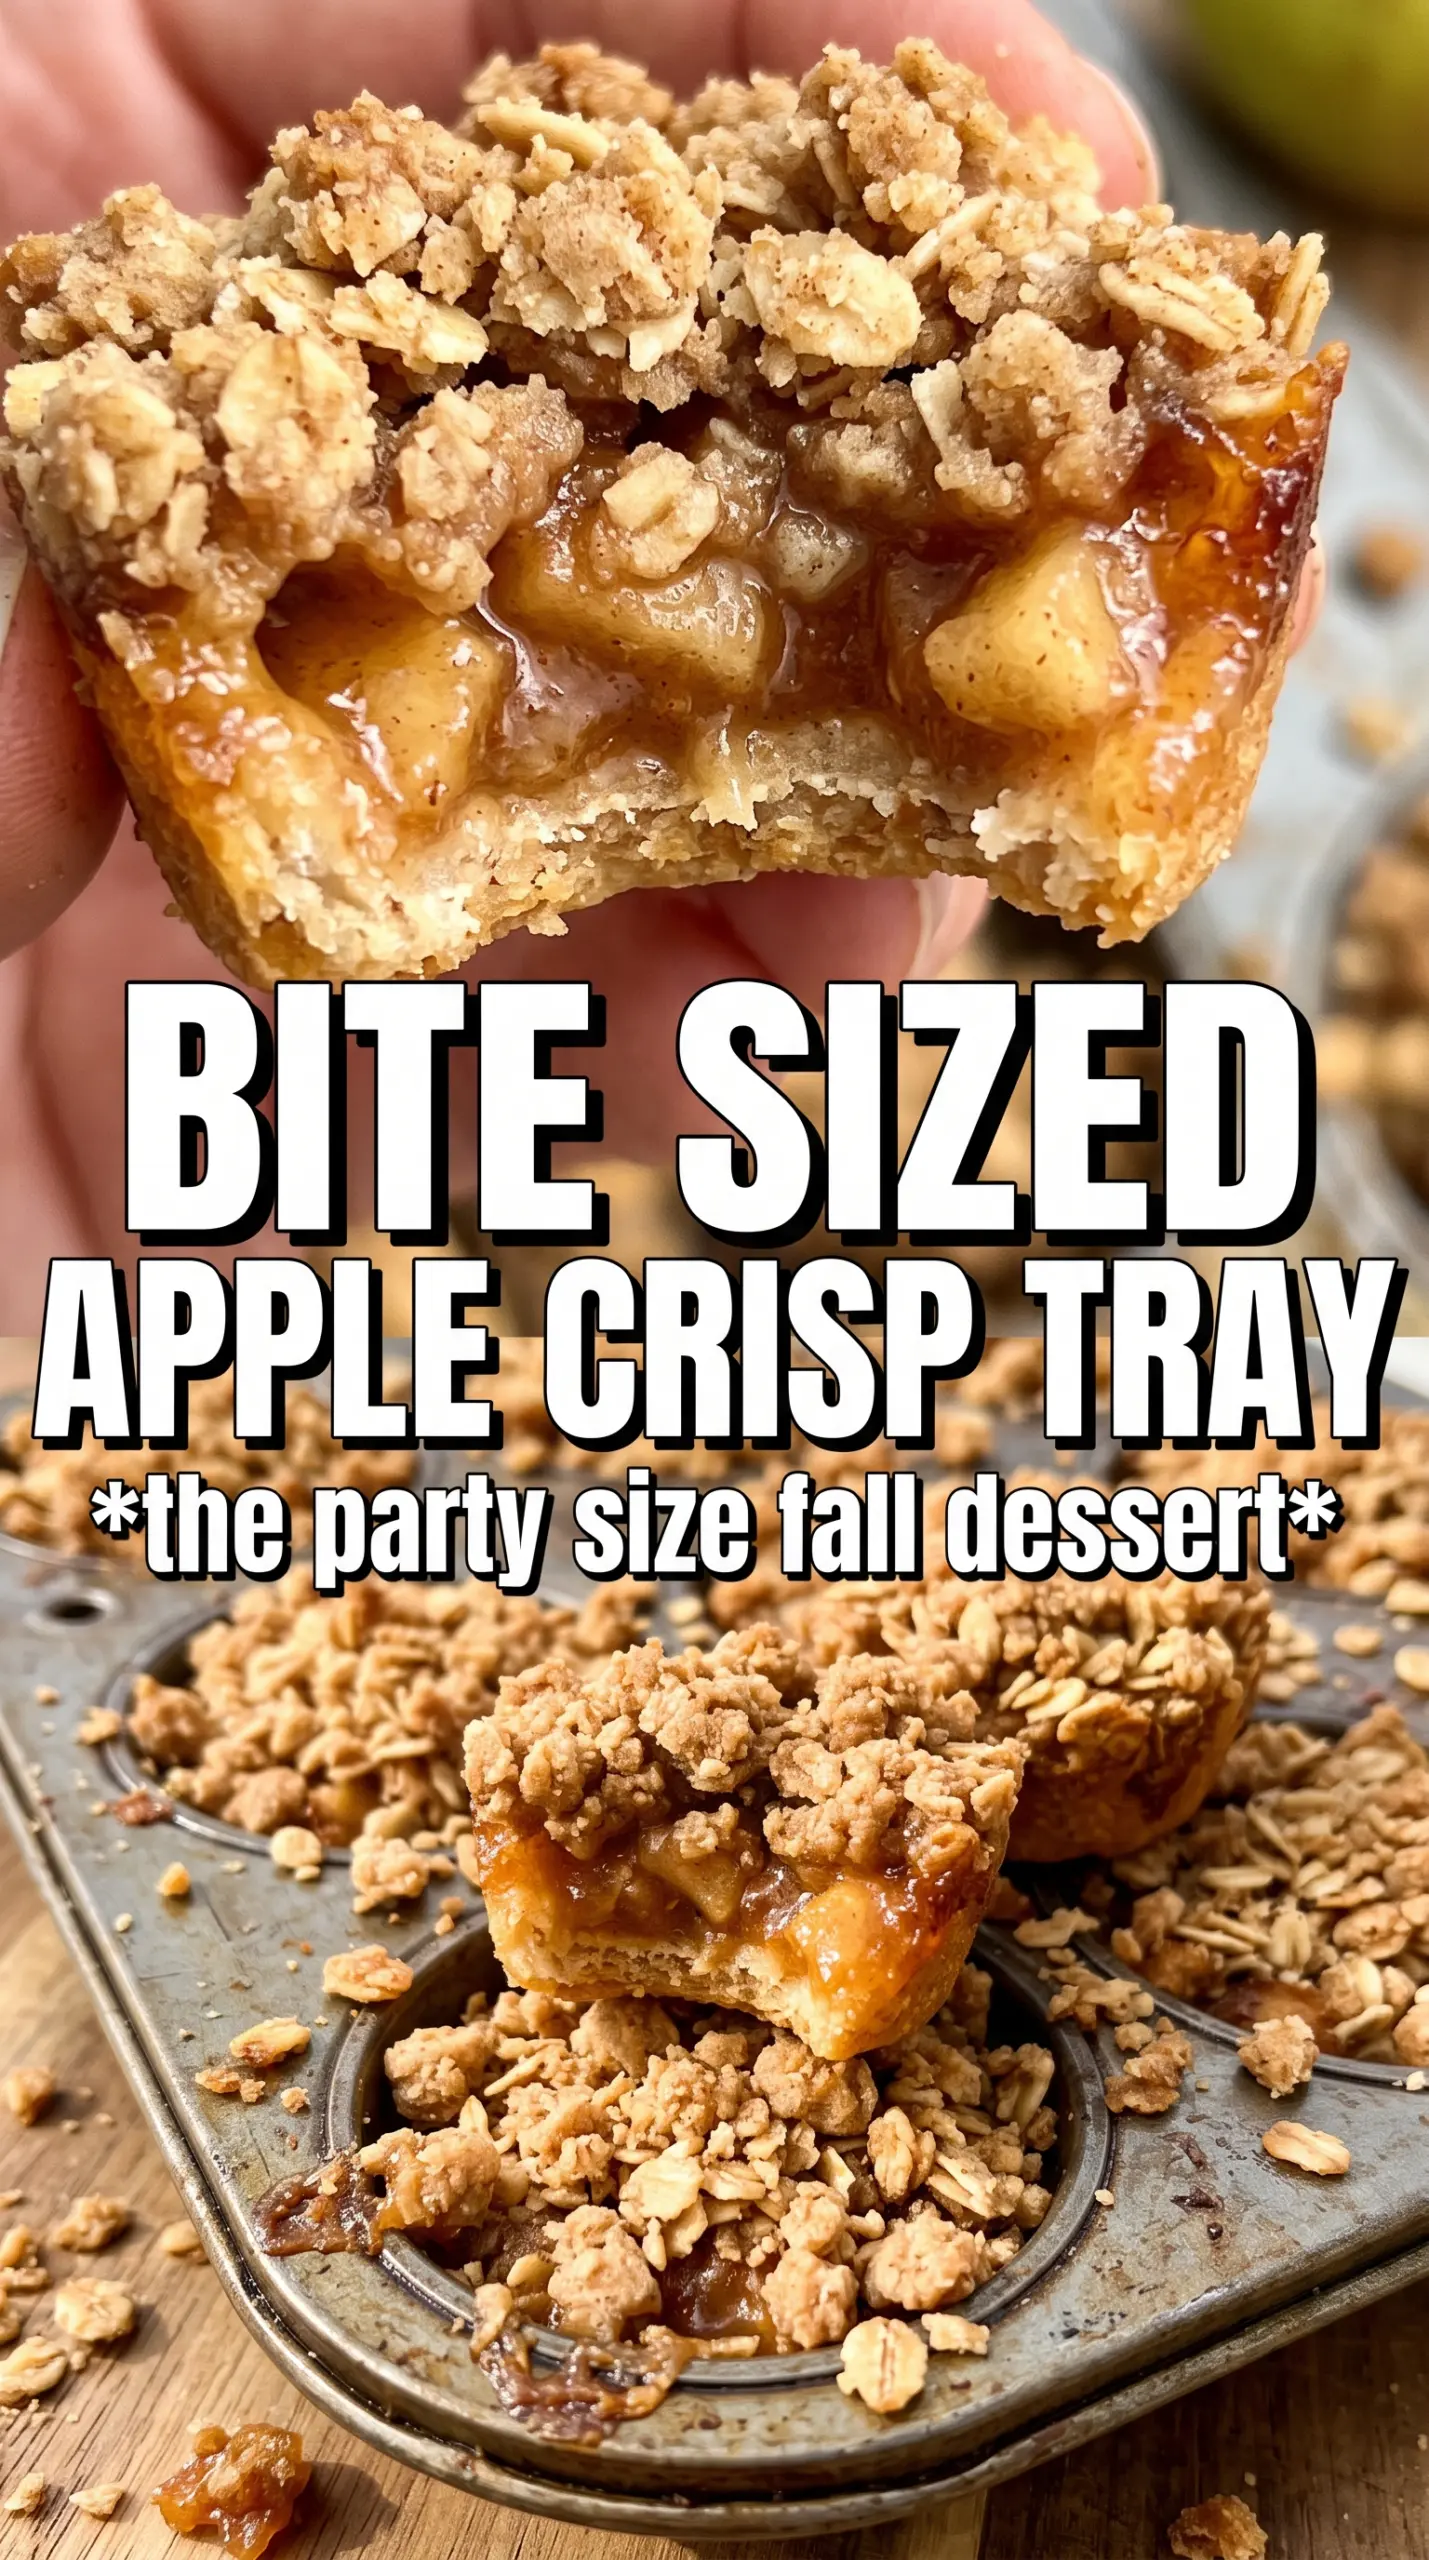
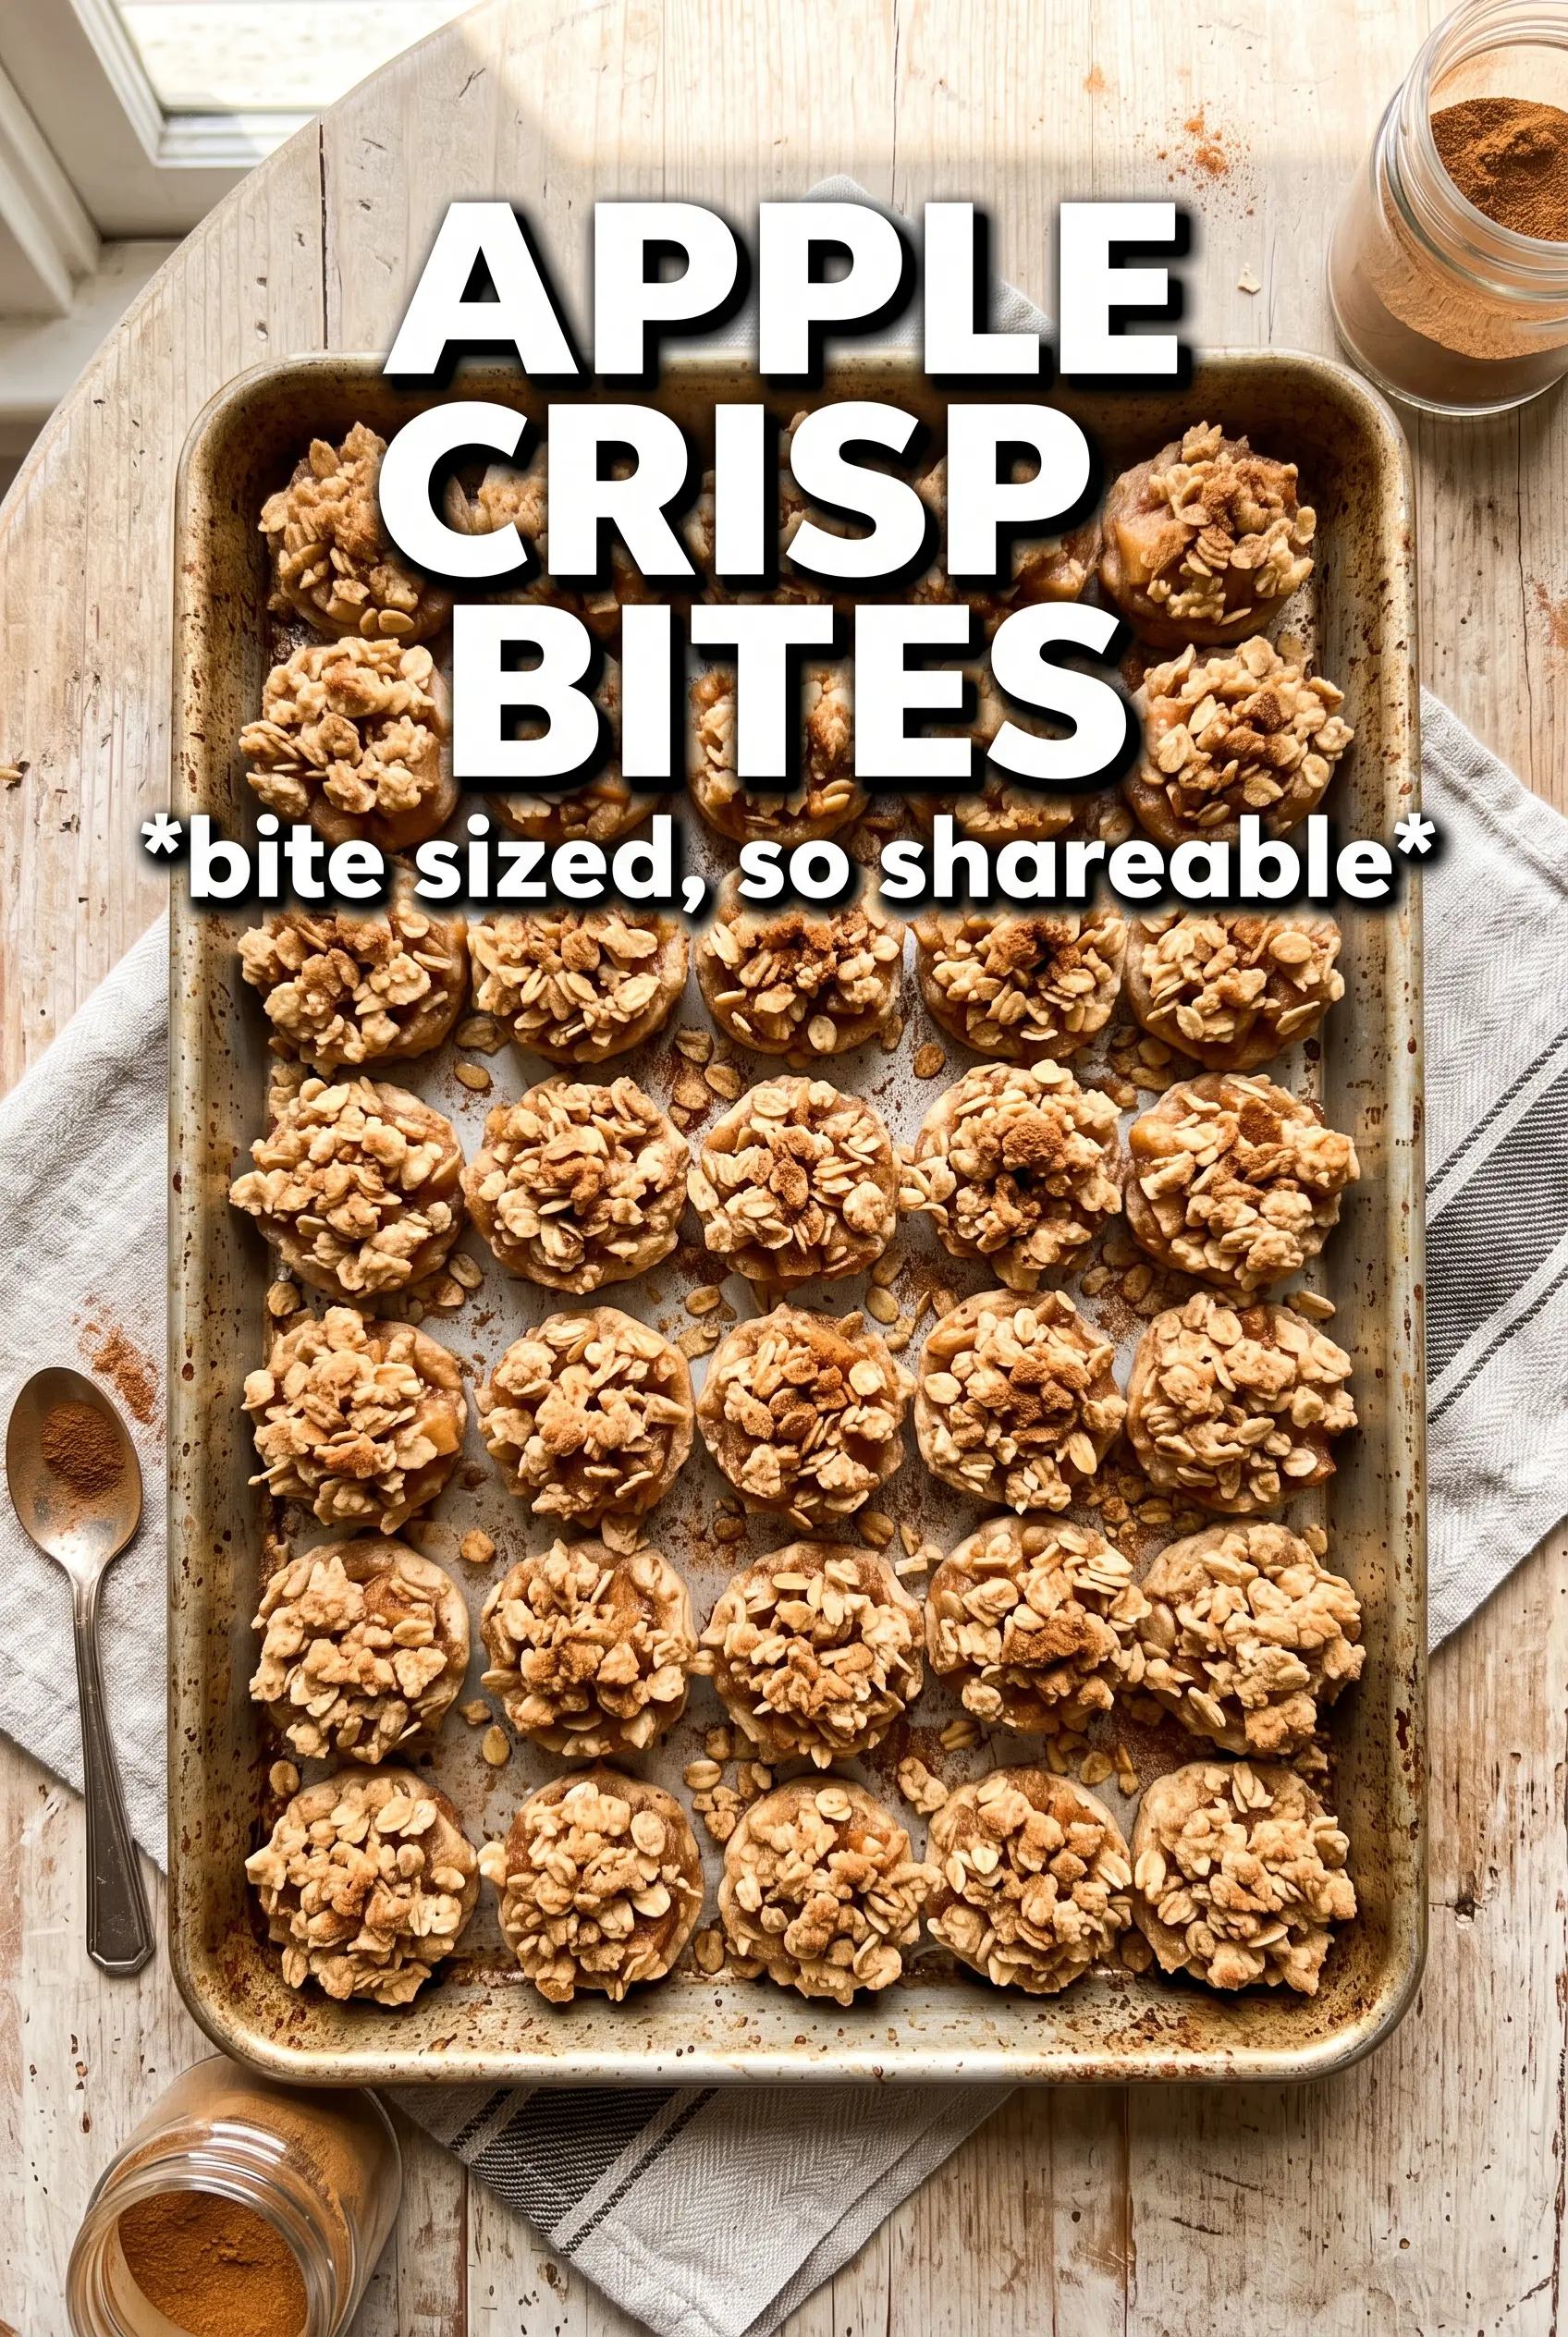
Apple Crisp Bites bake up with a buttery shortbread shell, tender cinnamon apples, and a golden oat crumble that stays crisp on top instead of turning soggy. Each little tart has the same cozy contrast you want from a full-size apple crisp, just in a handful-sized dessert that disappears fast once the caramel hits the surface.
What makes these work is the layering. The shortbread cup gives you a sturdy base that can hold the filling without leaking, and the apples get cooked first so they thicken before they ever go into the oven. That step matters. Raw diced apples release too much juice in the muffin tin and wash out the crust. A quick stovetop cook fixes that and deepens the cinnamon flavor at the same time.
Below, I’ve included the trick for pressing the dough thin enough to stay delicate, plus a few variations if you want to change up the fruit or make them ahead for a party tray.
The apple filling set up beautifully and the oat topping stayed crisp even after I drizzled on caramel. I loved that the crust didn’t get soggy in the muffin tin.
These apple crisp bites are built for that buttery shortbread shell and crunchy oat topping — save them when you want a mini dessert that still tastes like real apple crisp.
The Trick to Keeping the Shortbread Shell Crisp Under Warm Apples
The biggest mistake with mini fruit tarts is underbaking the base or loading it with filling that’s still loose. The shortbread cups here need to look dry and set before you add the apples, and the filling needs to be thick enough to mound instead of pour. That’s what keeps the bottoms from going soft.
Cooking the apples first does two jobs at once. It drives off excess moisture and lets the cornstarch start thickening before the filling goes into the cups. If your apples are still wet in the pan, keep cooking until the juices look glossy and cling to the fruit instead of pooling around it.
The oat topping also matters more than it looks like it should. Cold butter in small pieces creates those sandy, clumpy bits that bake into crisp crumbles. If you work it into a paste, you’ll lose the texture that makes these taste like crisp and not just little apple tarts.
What Each Ingredient Is Doing in These Apple Crisp Bites
- All-purpose flour — This gives the shortbread cups structure and keeps the topping crumbly. A good standard flour works fine here; there’s no special pastry flour payoff needed.
- Powdered sugar — It makes the crust tender and sandy instead of chewy. Granulated sugar won’t behave the same way, so keep the powdered sugar in the dough.
- Cold butter — Cold butter is non-negotiable for both the crust and the topping. It creates tiny pockets that bake into flake and crunch, while warm butter will smear and make the mixture greasy.
- Apples — Use a firm baking apple that holds its shape, not one that breaks down instantly. If you only have a softer variety, cook the filling a minute or two longer so it thickens enough to stay put.
- Cornstarch — This is what turns the apple juices into a glossy filling instead of a runny one. If you skip it, the crust will soften fast.
- Rolled oats — Old-fashioned oats give the topping the best texture. Quick oats work in a pinch, but they make a finer, less craggy crumble.
- Caramel sauce — Add it after baking, not before. If it goes on early, it can soak into the topping and blur the crisp texture you just built.
Building the Filling and Crumble So They Bake at the Same Pace
Pressing the Shortbread Cups
Start with the dough when the butter is still cold and the mixture looks crumbly. Add just enough ice water for it to hold together when pressed. The dough should feel like damp sand, not a sticky ball. Press a thin layer into each mini muffin cup, making the sides even so the shells bake at the same rate. If the bottoms are too thick, they’ll stay pale and doughy while the edges finish.
Cooking the Apples Until They Hold Their Shape
Cook the diced apples with butter, brown sugar, cinnamon, nutmeg, and cornstarch until the liquid turns thick and the apples look glossy. You want softened pieces, not applesauce. Stir often so the sugar doesn’t scorch on the bottom of the pan. If the filling still looks watery, it will run over the crust and keep the bites from releasing cleanly after baking.
Making the Oat Topping Crumbly, Not Paste-Like
Cut the cold butter into the oats, flour, brown sugar, and cinnamon until clumps form but the mixture still looks loose in spots. Those uneven bits bake into the best crunch. If you overmix, the topping bakes into a flat layer instead of a crisp crumble. Stop as soon as you can pinch some together and it holds.
Baking to the Point of Deep Gold
Fill the cups, pile the topping on, and bake until the edges are golden and the topping smells toasted. The centers should look set, not wet. Don’t pull them too early; pale crumbly tops usually mean the butter hasn’t fully baked through, and the shells won’t release as neatly. Let them cool in the pan for a few minutes so the filling settles before you lift them out.
Ways to Change the Fruit, Crust, or Make-Ahead Plan
Make them with pears instead of apples
Use firm pears and cook them a little less than apples, since they soften faster. The flavor turns softer and more floral, and the filling will be slightly juicier, so keep the cornstarch in place.
Gluten-free version
Swap the all-purpose flour in both the crust and topping for a 1:1 gluten-free baking blend. The texture will be a touch more delicate, so let the bites cool before removing them from the tin.
Dairy-free option
Use a plant-based butter that bakes well and stays solid when cold. The result won’t taste exactly the same, but you’ll still get a crisp shell and a crumbly topping if the substitute is firm enough to cut into the dry ingredients.
Storage and Reheating
- Refrigerator: Store in an airtight container for up to 4 days. The topping softens a little after day one, but the flavor stays great.
- Freezer: Freeze baked bites on a tray, then move them to a freezer bag for up to 2 months. Thaw in the fridge before reheating so the shells don’t get soggy.
- Reheating: Warm in a 300°F oven for 8 to 10 minutes. The oven brings the crumble back to life; the microwave will make the topping soft and the crust less crisp.
Questions I Get Asked About These Apple Crisp Bites
Apple Crisp Bites
Ingredients
Equipment
Method
- Preheat oven to 375F and grease a 24-cup mini muffin tin.
- Arrange the greased tin on a sheet pan so it slides in and out of the oven easily.
- In a bowl, combine all-purpose flour, powdered sugar, and salt.
- Cut in cold unsalted butter until the mixture looks like fine crumbs.
- Drizzle in ice water, then press the dough into mini muffin cups to form thin shells.
- Sauté diced apples with butter, brown sugar, cinnamon, nutmeg, and cornstarch for 5-7 minutes, stirring, until thickened.
- Cool the apple filling until it can be handled, then use it to fill the shortbread cups.
- Combine rolled oats, flour, brown sugar, and cinnamon.
- Cut in cold butter until the mixture forms clumpy oat crumble.
- Fill each shortbread cup with apple filling.
- Top each with oat crumble, pressing lightly so it adheres.
- Bake for 18-20 minutes at 375F until the bites are golden.
- Drizzle caramel sauce over the hot bites right after baking for a glossy finish.