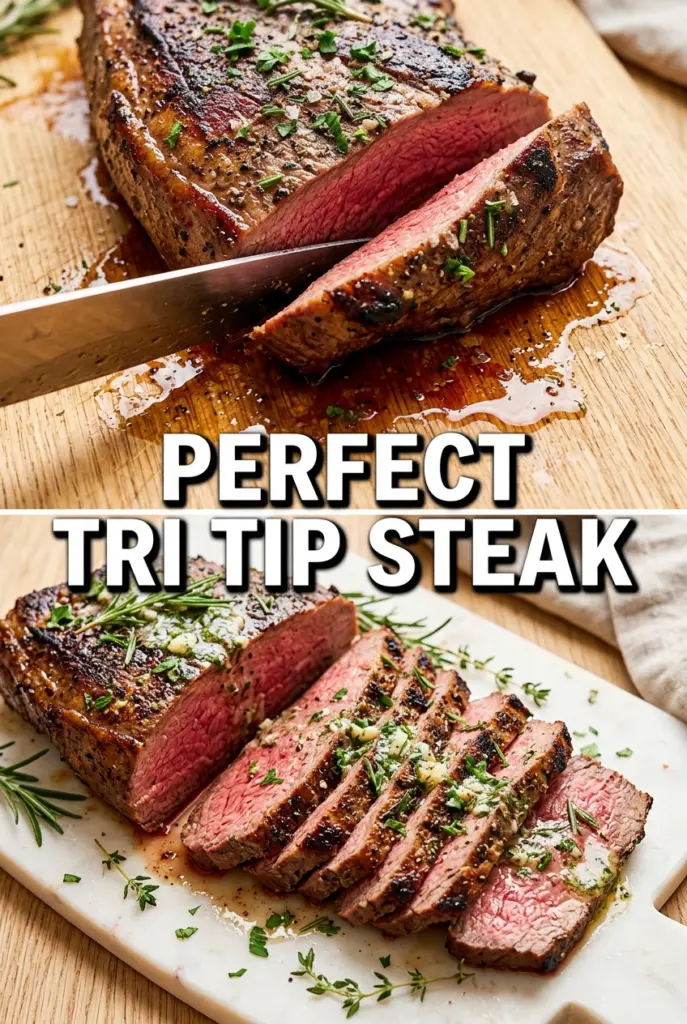
Tri-tip earns its place in the rotation when you want beef with a crusty, well-seasoned exterior and a pink center that slices cleanly instead of falling apart. It cooks fast for a roast, feeds a crowd without much fuss, and tastes like you put in a lot more effort than you actually did.
The trick is treating it like two jobs: build a hard sear first, then finish it gently enough that the inside stays tender. The simple spice rub does the heavy lifting here, and the olive oil helps it cling to the meat while the surface dries just enough to brown. If you’ve ever ended up with a gray band around the edges, the problem was usually too much heat for too long, not the cut itself.
Below, I’ve laid out both the grill and oven methods, plus the one slice-direction detail that matters more than most people think. Get that part right and tri-tip stays juicy instead of chewy.
The seasoning made a proper crust and the meat stayed pink all the way through the middle. I did the oven method and the slice against the grain tip saved me from chewy tri-tip for once.
Like this tri-tip? Save it to Pinterest for the nights when you want a crusty, medium-rare beef roast with one seasoning mix and almost no cleanup.
The Sear-and-Rest Balance That Keeps Tri-Tip Juicy
Tri-tip has a reputation for turning tough when it’s cooked like a traditional roast. The cut is lean enough that it doesn’t forgive overcooking, and the shape means one end can be thinner than the other. That’s why the best results come from a fast, aggressive sear followed by a controlled finish, not from leaving it over direct heat until the whole roast “looks done.”
The other thing people miss is the rest. If you slice tri-tip the minute it comes off the heat, the juices run out and the center eats drier than it should. Fifteen minutes gives the meat time to settle, and it also makes the grain easier to read so you can slice it thinly against the grain, which matters more here than on many other beef roasts.
What the Rub Is Doing Besides Adding Flavor
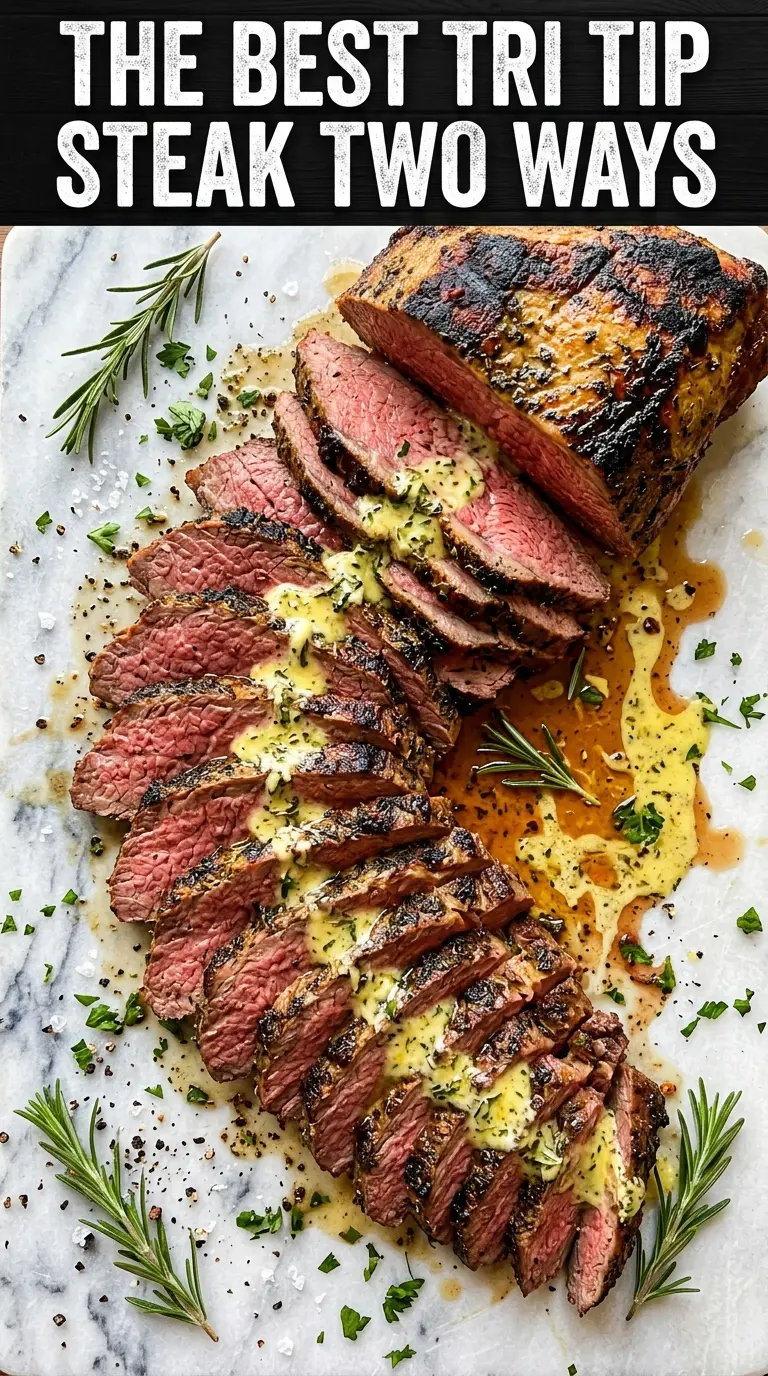
- Olive oil — This helps the spice mix stick and encourages better browning on the surface. A neutral oil works too, but olive oil gives a little more flavor and handles the heat just fine here.
- Kosher salt — This isn’t just seasoning; it pulls a little moisture to the surface, which helps the rub form a better crust. Table salt can work, but it’s denser, so the amount needs to be reduced or the roast will taste too salty.
- Paprika and garlic powder — These give the crust its deep color and that classic savory barbecue edge. Fresh garlic won’t behave the same way in a dry rub, and it can scorch before the roast finishes.
- Dried oregano and onion powder — They round out the rub without making it taste like a marinade. The oregano especially leans Santa Maria-style, which is right where tri-tip shines.
Getting Tri-Tip to Medium-Rare Without Guesswork
Building the Rub
Mix the salt, pepper, garlic powder, paprika, onion powder, and oregano until the color is even and there are no clumps of paprika hiding in the bowl. Rub the roast with olive oil first, then press the seasoning all over every side so it actually adheres. If the tri-tip was damp or cold from the fridge, the seasoning slides instead of sticking, which leads to patchy browning later.
Bringing the Meat Up to Temperature
Let the seasoned roast sit at room temperature for about 30 minutes before it hits the grill or pan. That short rest helps the center cook more evenly, especially because tri-tip is thicker on one end. Don’t leave it out for hours; you’re just taking the chill off, not marinating it.
Grilling for the Best Crust
Sear over high heat for about 5 minutes per side, then move it to indirect heat and cook until the thickest part reaches 130-135°F. The goal is a dark, seasoned crust without charring the spices black. If the fire is too hot and the surface burns before the center warms up, pull it back sooner and finish with gentler heat.
Oven-Roasting After a Hard Sear
If you’re using the oven, sear the tri-tip in a hot skillet first, then roast it at 425°F until it reaches 130-135°F. The skillet gives you the crust; the oven finishes the center without drying out the outside. The most common mistake here is staying in the oven too long because the roast still looks pale in the middle when you cut into it too soon.
The Slice That Changes Everything
Rest the meat for 15 minutes, then slice against the grain. Tri-tip has grain that changes direction, so stop and look before you cut the whole roast into slices. If the meat seems chewy, the cook time may have been fine and the slicing angle was the real problem.
How to Adapt This for the Grill, the Oven, or a Smaller Crowd
Santa Maria-style grilling
This is the most classic route for tri-tip. Keep the sear hot and fast, then move it away from direct flame so the seasoning doesn’t burn before the center reaches temperature. You get the boldest crust and the smokiest edge on the slices.
Oven-roasted when the grill isn’t available
The oven version keeps the same seasoning and the same doneness target, but the skillet sear becomes more important because it creates the crust the oven can’t. This is the route I use when I want predictable results and don’t want to manage live fire.
Gluten-free and dairy-free by default
This recipe already fits both without any swaps. That’s part of why it works so well for a crowd: the seasoning is all spice and the richness comes from the beef itself, not from a sauce or breading.
Scaling for a bigger gathering
For two roasts, keep the rub proportions the same and cook them as separate pieces, not stacked together. Overcrowding lowers the surface heat and softens the crust, which is the part everyone wants here.
Storage and Reheating
- Refrigerator: Store sliced tri-tip for up to 4 days. It stays good for sandwiches or bowls, though the crust softens a bit after chilling.
- Freezer: It freezes well if you wrap slices tightly and press out the air. Freeze in portions with a little of the resting juice if you have it.
- Reheating: Warm it gently in a covered skillet with a splash of broth or beef drippings over low heat. High heat dries the slices fast, and that’s the quickest way to lose the medium-rare texture you worked for.
Questions I Get Asked About This Recipe
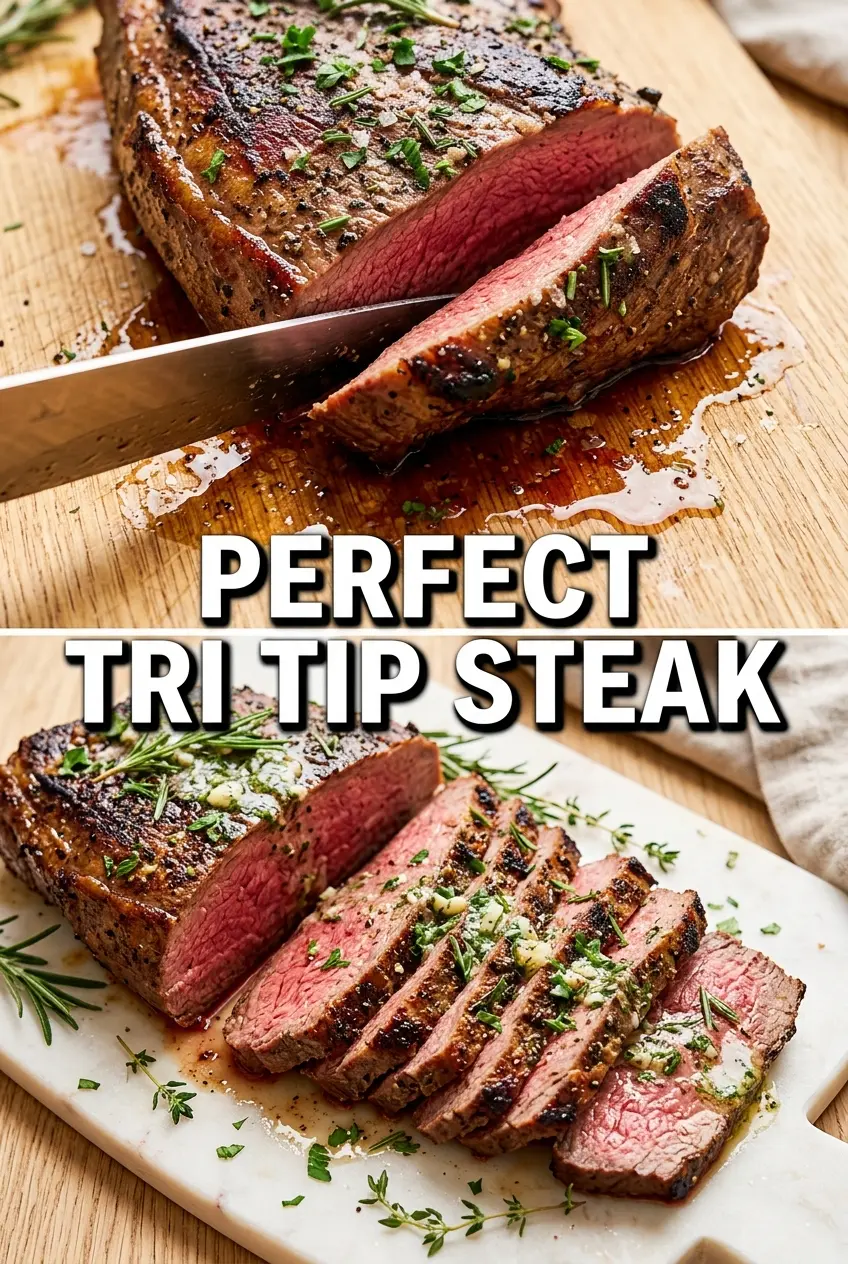
Tri Tip - Grilled or Oven-Roasted
Ingredients
Equipment
Method
- Mix the kosher salt, black pepper, garlic powder, paprika, onion powder, and dried oregano in a bowl until evenly combined.
- Brush the tri-tip roast all over with olive oil, then coat it generously with the spice rub so it adheres to the surface.
- Let the seasoned tri-tip sit at room temperature for 30 minutes before cooking.
- Sear the tri-tip over high heat for 5 minutes per side until a crust forms on the exterior.
- Move the tri-tip to indirect heat and cook until the internal temperature reaches 130-135°F for medium-rare.
- Sear the tri-tip in a hot cast iron skillet until browned on the outside.
- Roast at 425°F for 20-25 minutes, cooking until the internal temperature reaches 130-135°F for medium-rare.
- Rest the tri-tip for 15 minutes before slicing to keep the juices inside.
- Slice against the grain for clean, tender slices with a pink center.