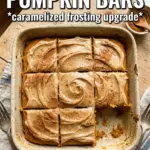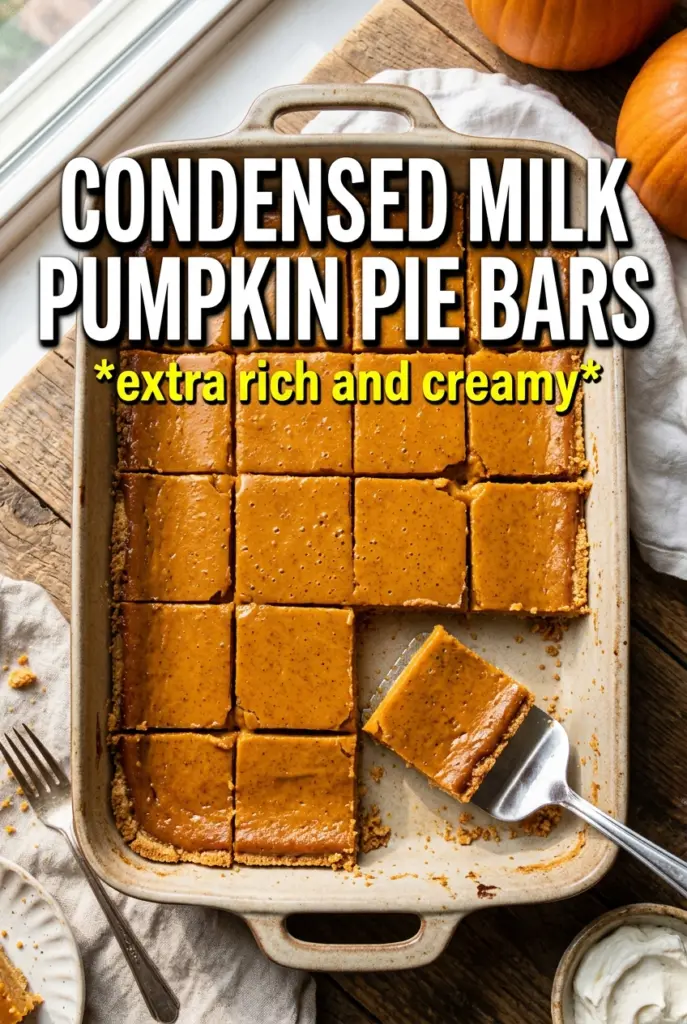
Pumpkin pie bars with sweetened condensed milk have a way of disappearing faster than a full pie ever does. The shortbread crust stays buttery and crisp enough to hold its shape, while the filling bakes up smooth, rich, and a little denser than classic pumpkin pie in the best possible way. Every square gives you that clean slice, creamy center, and crumbly edge that makes people reach for a second piece before they’ve finished the first.
The sweetened condensed milk changes the texture in a smart way. It brings sweetness and body at the same time, so the filling tastes deeper and feels silkier without needing extra cream or extra fuss. Starting the bake hot sets the crust and gives the custard a quick lift, then dropping the temperature lets the center finish gently instead of puffing and cracking. That’s the difference between a tidy bar and one that slices into a soft mess.
You’ll find the crust method that keeps the bottom from going soggy, plus the exact visual cue for when the pumpkin filling is set without being overbaked. I’ve also included a few useful swaps and storage notes, since these bars hold up beautifully when you plan ahead.
The crust stayed crisp even after chilling, and the filling set up into these neat, creamy bars that sliced cleanly. I used a little extra whipped cream on top and my husband kept going back for “just one more square.”
Pumpkin pie bars with sweetened condensed milk turn out silky, neat, and easy to slice — save this one for when you want pumpkin dessert without the pie-plate drama.
The Trick to a Custard Filling That Slices Cleanly
Most pumpkin bar recipes fail in the same place: the filling looks done in the oven, then turns loose or grainy as it cools. Sweetened condensed milk helps here because it brings sweetness and dairy solids that set into a smooth custard instead of a loose pumpkin layer. The key is the bake schedule. That first blast at 425°F helps the edges set quickly, then the lower heat finishes the center without turning it rubbery.
Don’t chase a firm center in the oven. These bars should come out when the middle still has a slight wobble, like set gelatin under a thin skin. If you wait until the center is completely rigid, it’ll overbake in the pan and the texture will go dry once it chills. Cooling and chilling finish the job.
- Hot crust, cold filling: pouring the custard over the par-baked crust helps the bottom stay crisp instead of soaking up the pumpkin mixture.
- Low-and-slow finish: the temperature drop keeps the eggs from tightening too aggressively, which is what causes cracks and curdled edges.
- Chill time matters: the bars need that full refrigeration window to set enough for clean squares.
What Each Ingredient Is Actually Doing in This Dessert
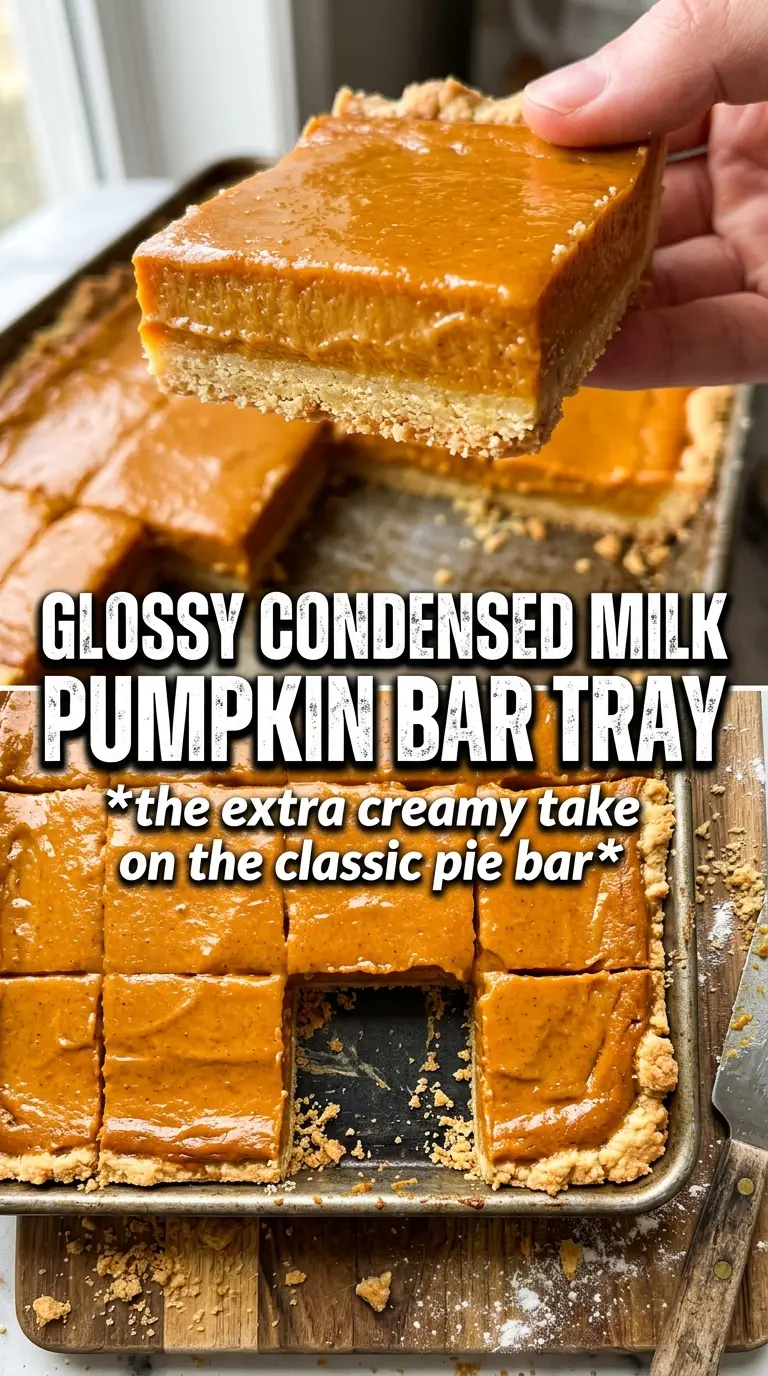
The crust is a shortbread-style base, and that matters. Flour, powdered sugar, and cold butter bake into a tender, sandy layer that holds up under the custard without turning tough. Powdered sugar gives you a finer crumb than granulated sugar would, and the cold butter keeps the texture short instead of cookie-like. Press it firmly into the pan so it bakes into one even layer, not a patchwork of loose crumbs.
- Pumpkin puree: use plain pumpkin puree, not pumpkin pie filling. The canned filling already contains sugar and spices, and it will throw off the balance here.
- Sweetened condensed milk: this is the backbone of the custard. Evaporated milk won’t give you the same sweetness or the same thick, glossy texture.
- Eggs: they set the filling. Whisk them until the mixture is completely smooth so you don’t get streaks of cooked egg in the finished bars.
- Spices: pumpkin pie spice does the broad work, while cinnamon, ginger, and cloves add more definition. If you only have pumpkin pie spice, use it and keep the cinnamon, but the layered spices taste fuller.
- Vanilla: it rounds out the condensed milk and keeps the filling from tasting flat.
Building the Bars in the Right Order
Pressing and Par-Baking the Crust
Mix the flour, powdered sugar, salt, and cold cubed butter until the mixture looks like damp sand with a few pea-size bits of butter still visible. Those bits melt in the oven and help create the short, tender texture you want. Press it into the 9×13 pan in an even layer, especially into the corners, or the edges will bake faster than the middle. Bake just until it turns pale golden at the edges; if it gets deep brown here, the finished bars can taste dry.
Whisking the Custard Until It’s Completely Smooth
Combine the pumpkin, sweetened condensed milk, eggs, spices, salt, and vanilla in one bowl and whisk until there are no streaks left. The mixture should look thick, glossy, and uniform, with no specks of unmixed egg white hiding at the bottom. If you see lumps of spice or pumpkin, keep whisking before it goes anywhere near the crust. A smooth filling bakes more evenly and cuts with cleaner edges.
Baking for a Set Center, Not a Firm One
Pour the filling over the hot crust and slide the pan into the oven at 425°F for the first part of the bake. Then lower the temperature and finish until the outer edges are set and the center still gives a small jiggle when you nudge the pan. That wobble is what you’re looking for. If the center doesn’t move at all, it’s probably already overdone.
Cooling Before the First Cut
Let the pan cool completely on the counter before it goes into the refrigerator. Cutting warm pumpkin bars is the fastest way to get messy squares and a filling that smears instead of slices. After chilling, run a sharp knife under hot water, wipe it dry, and cut in clean strokes. Whipped cream goes on right before serving so the tops stay neat.
How to Adapt These Bars Without Losing the Texture
Make Them Gluten-Free with a One-for-One Flour Blend
Swap the all-purpose flour in the crust for a cup-for-cup gluten-free blend that includes xanthan gum. The crust will be a little more delicate, but it still bakes into a crisp base if you press it firmly and don’t skip the chill after baking.
Use Dairy-Free Butter, But Not a Dairy-Free Milk Swap
The crust can be made with a plant-based butter that behaves like stick butter, but the filling depends on sweetened condensed milk for its setting power. If you need a dairy-free version, you’ll want a tested vegan condensed milk alternative rather than regular milk or evaporated coconut milk, which won’t thicken the same way.
Lean Into a Warmer Spice Profile
Add a pinch of nutmeg or cardamom if you want a deeper, warmer finish. Keep the total spice amount close to the original, though, or the filling starts tasting muddy instead of balanced.
Storage and Reheating
- Refrigerator: Store covered for up to 4 days. The crust softens a little over time, but the bars still slice well.
- Freezer: They freeze well. Cut into squares, wrap individually, and freeze in a single layer before moving them to a freezer bag.
- Reheating: These are best served chilled or cool. If you want them slightly softer, let a square sit at room temperature for 15 to 20 minutes instead of microwaving, which can make the custard weep.
Answers to the Questions Worth Asking
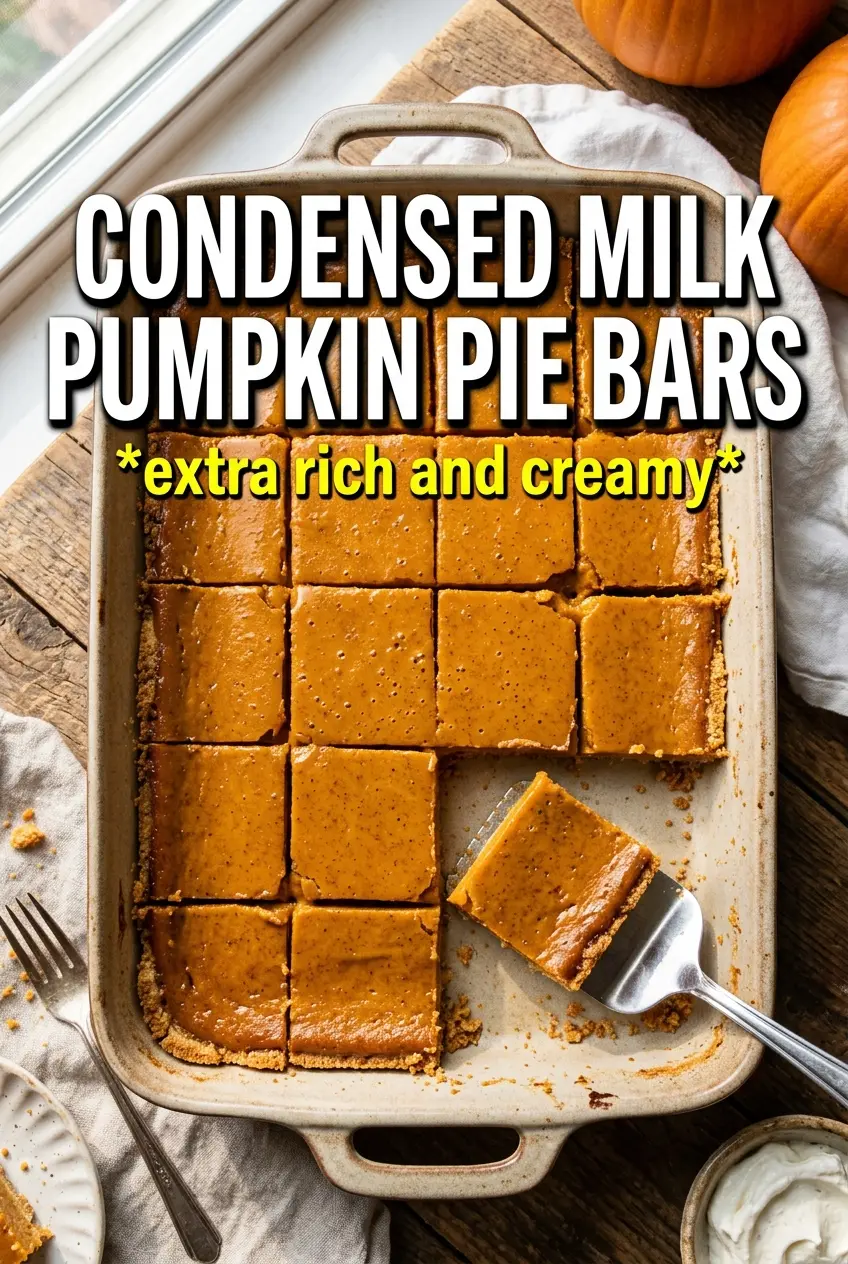
Pumpkin Pie Bars With Sweetened Condensed Milk
Ingredients
Equipment
Method
- Preheat the oven to 425F, then press the shortbread crust mixture into a 9x13 pan and bake for 12 minutes until pale golden.
- Remove the pan from the oven and keep it hot while you prepare the filling.
- Whisk together pumpkin puree, sweetened condensed milk, eggs, pumpkin pie spice, cinnamon, ginger, cloves, salt, and vanilla until completely smooth.
- Pour the smooth filling over the hot crust.
- Bake at 425F for 15 minutes, then reduce heat to 350F and bake 25-28 minutes more until the center is just set.
- Cool the bars completely at room temperature, then refrigerate for 2 hours before cutting.
- Serve each bar with a generous swirl of whipped cream.