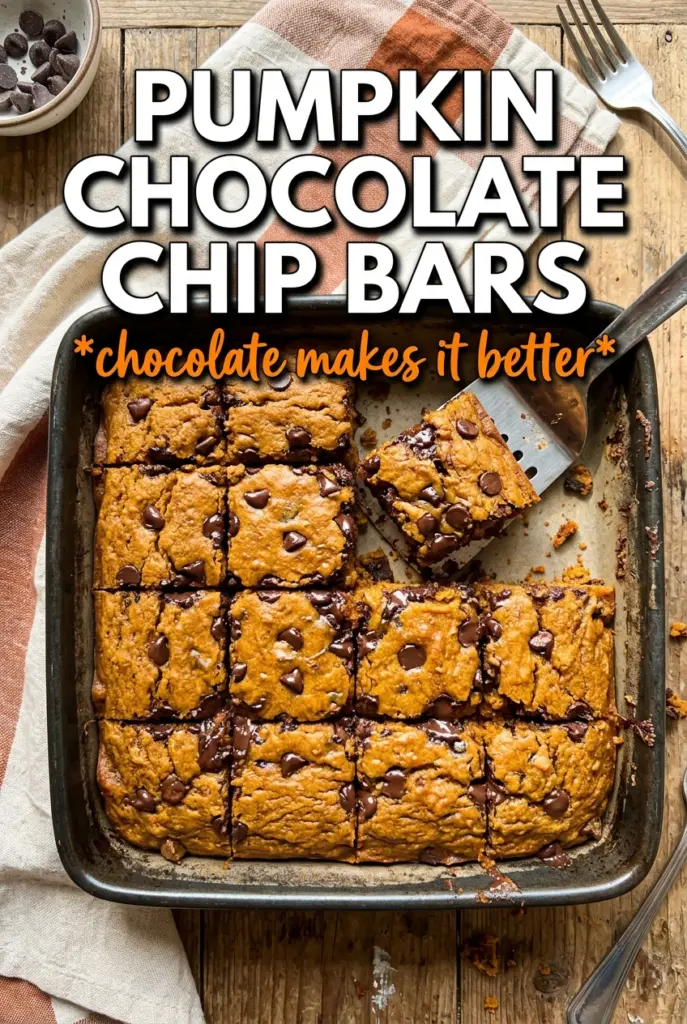
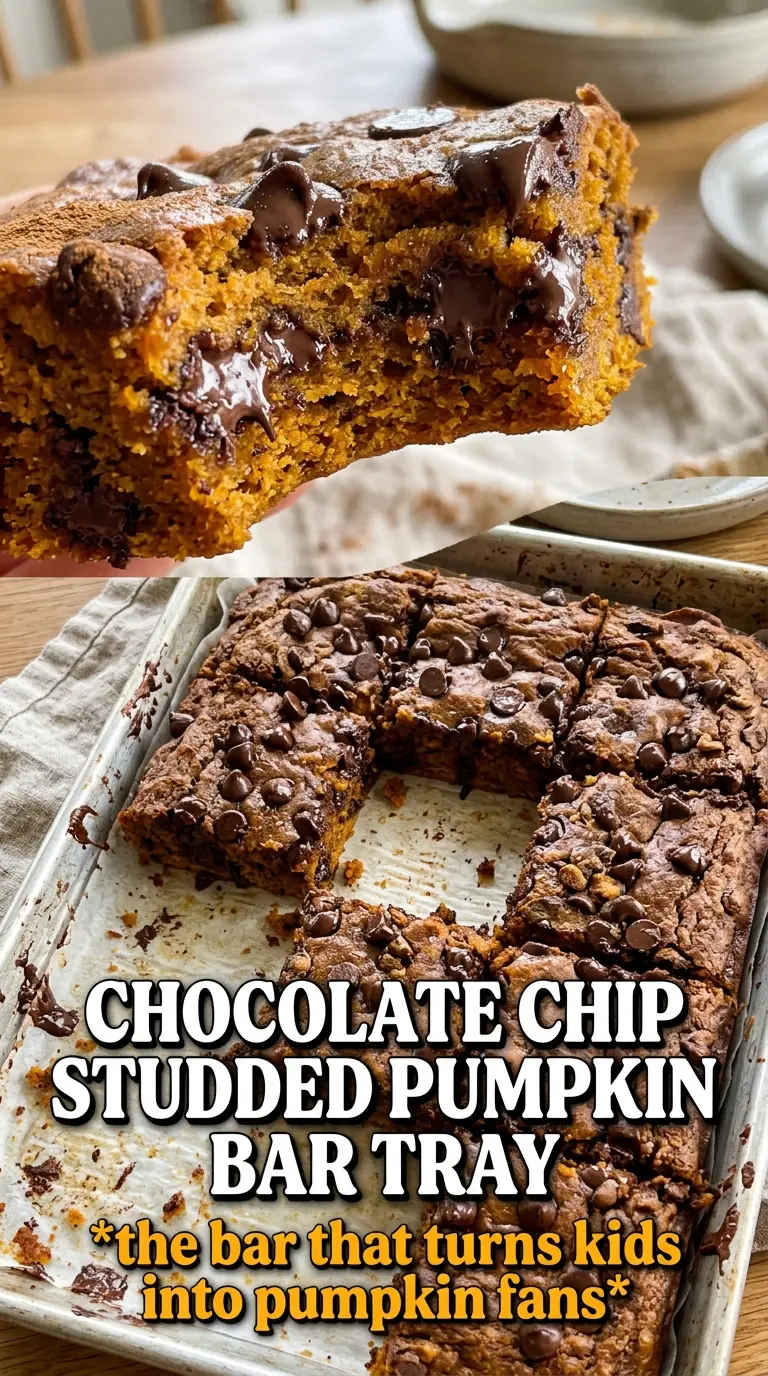
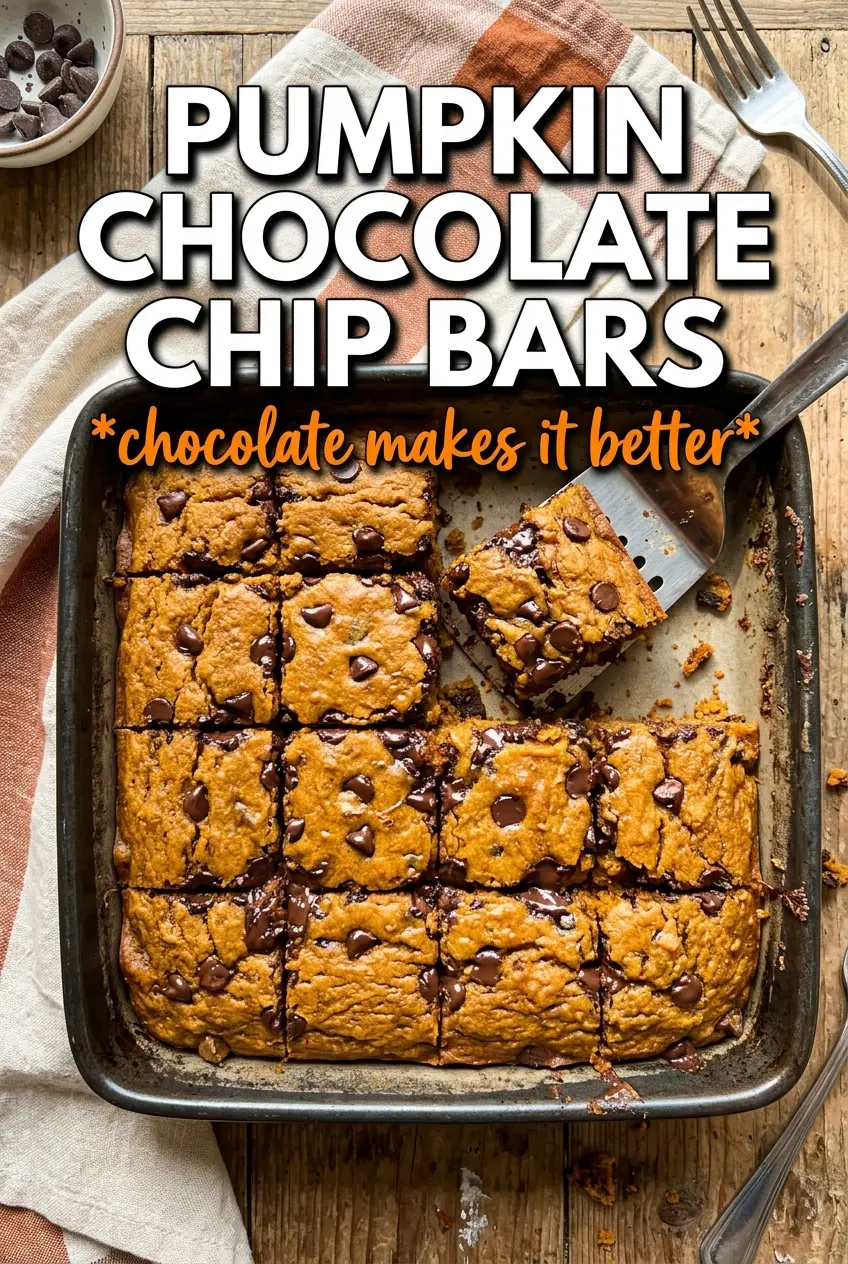
These pumpkin chocolate chip bars bake up tender, thick, and just moist enough to stay soft for days without turning gummy. The pumpkin gives them that deep orange color and plush crumb, while the chocolate chips melt into pockets that make each bite taste like a cross between a spice cake and a cookie bar.
What keeps this version working is the balance of moisture and structure. Pumpkin puree adds a lot of softness, so the batter needs enough flour and leavening to hold its shape in a 9×13 pan. The batter also comes together with oil instead of butter, which keeps the bars tender even after they cool. I like folding most of the chips into the batter and saving a handful for the top so you get chocolate in every layer, not just at the bottom.
Below, I’ll show you the cue I use to keep these from overbaking, plus a few smart swaps if you want to adjust the spice, the chips, or the texture without throwing off the whole pan.
The bars came out super moist with a soft crumb, and the chocolate stayed in little pockets instead of sinking. I baked them for 28 minutes and they cut cleanly once cooled.
Save these pumpkin chocolate chip bars for when you want a thick, soft dessert with warm spice and melty chocolate in every bite.
The Trick to Keeping Pumpkin Bars Soft Without Making Them Dense
Pumpkin puree brings moisture, but it also adds weight. That’s the part a lot of pumpkin bar recipes miss. If the batter gets overmixed or the pan stays in the oven too long, you end up with a thick slab that tastes fine on day one and dries out fast. The goal here is a tender crumb that still slices cleanly once cooled.
The solution is in the mix and the bake. Whisk the wet ingredients until smooth, then fold in the dry ingredients just until the flour disappears. That keeps the bars light enough to rise instead of tightening up. Bake only until the center is set and a toothpick comes out clean or with a few moist crumbs. If it comes out completely dry, you’ve gone past the point where these bars stay plush.
What Each Ingredient Is Actually Doing in These Bars
- Pumpkin puree — This is the backbone of the bars. It adds moisture, color, and that soft, cake-like crumb. Use pure pumpkin puree, not pumpkin pie filling, or the bars can come out overly sweet and spiced in a way you can’t control.
- Vegetable oil — Oil keeps the texture soft even after the bars cool. Butter gives you more flavor, but it also firms up as it sets. If you want the bars to stay tender for a few days, oil is the better choice here.
- Brown sugar and granulated sugar — The brown sugar adds depth and a little chew, while the granulated sugar helps the bars bake up with a cleaner structure. Swapping one for the other changes the texture, not just the sweetness.
- Pumpkin pie spice and cinnamon — Pumpkin pie spice gives the familiar warm background, and the extra cinnamon sharpens it. If your spice blend is old, the bars will taste flat even if everything else is right.
- Semi-sweet chocolate chips — Semi-sweet chips hold their shape enough to give you visible pockets of chocolate. Milk chocolate works if you want a sweeter bar, but it melts softer and can blur into the batter more.
Building the Batter So the Chocolate Stays Evenly Suspended
Whisk the wet base until it looks glossy
Start with the pumpkin, both sugars, oil, eggs, and vanilla. Whisk until the mixture looks smooth and slightly glossy, with no streaks of egg or clumps of sugar hiding at the bottom. That step matters because an uneven wet base makes the flour harder to blend in later, which leads to pockets of dry batter. If the mixture still looks grainy, keep whisking for another 20 to 30 seconds before moving on.
Fold the dry ingredients in just until the flour disappears
Add the flour mixture in one batch and fold with a spatula, scraping the bottom and sides of the bowl. Stop as soon as you no longer see dry flour. Overmixing here builds toughness, and pumpkin batter turns heavy fast if you stir it like cake batter. The finished batter should be thick and spreadable, not pourable.
Scatter the chips in two layers
Fold most of the chocolate chips into the batter, then sprinkle the rest over the top once the batter is in the pan. That gives you chocolate inside the bars and a few melted chips on the surface for a prettier finish. If you dump every chip into the batter at once, some of them sink and you lose that even distribution. A small handful on top also tells you where the bars browned evenly while they baked.
Watch for the clean toothpick, not a dark top
These bars are done when the edges are set, the center no longer jiggles, and a toothpick comes out clean or with a few moist crumbs. The top can look finished before the middle actually is, especially in a 9×13 pan. If you wait for deep browning, you’ll overbake them and lose that soft crumb. Let them cool completely before cutting so the structure sets cleanly.
Three Ways to Change the Pan Without Losing the Texture
Dairy-free version
These bars are already dairy-free as written if your chocolate chips are dairy-free, which makes the swap easy. Check the chip label carefully, since some semi-sweet brands still contain milk fat. The texture stays the same because the recipe uses oil instead of butter.
Less sweet, darker chocolate
Use dark chocolate chips instead of semi-sweet if you want the pumpkin spice to stand out more. The bars will taste a little less dessert-sweet and a little more grown-up, with a stronger cocoa finish. I wouldn’t reduce the sugar further unless you’re ready to lose some of the soft, cakey texture.
Gluten-free swap
A 1:1 gluten-free baking flour works well here if it already contains xanthan gum. The bars may bake up a touch more delicate, so give them a full cool-down before cutting. Don’t use almond flour alone; it won’t give you the same sliceable structure.
Storage and Reheating
- Refrigerator: Store in an airtight container for up to 5 days. The bars stay soft, but the chocolate chips will firm up a bit.
- Freezer: Freeze cut bars tightly wrapped for up to 3 months. Separate layers with parchment so they don’t stick together.
- Reheating: Warm a bar for 10 to 15 seconds in the microwave if you want the chocolate soft again. Don’t overheat it or the crumb can turn dry at the edges.
Questions I Get Asked About This Recipe
Pumpkin Chocolate Chip Bars
Ingredients
Equipment
Method
- Preheat oven to 350F and grease a 9x13 pan.
- Whisk all-purpose flour, pumpkin pie spice, cinnamon, baking soda, baking powder, and salt in a bowl until evenly combined.
- Whisk pumpkin puree, granulated sugar, brown sugar, vegetable oil, eggs, and vanilla extract until smooth and glossy.
- Fold the dry ingredients into the wet ingredients until just combined, then fold in 1-1/2 cups semi-sweet chocolate chips.
- Spread the batter evenly in the greased pan and scatter the remaining chocolate chips over the top.
- Bake for 25-30 minutes at 350F until a toothpick comes out clean.
- Cool completely before cutting into bars so the crumb sets and slices hold together.