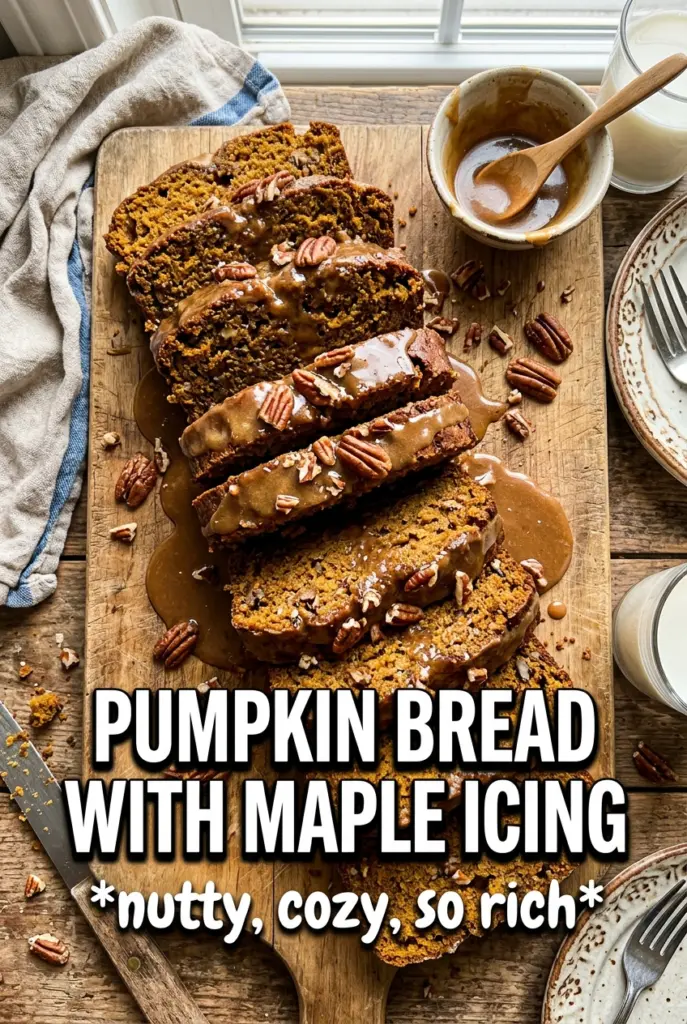
Deeply golden pumpkin bread with a tender, tight crumb and a glossy ribbon of brown butter maple icing is the kind of loaf that disappears one thick slice at a time. The pumpkin keeps it moist for days, while the spice blend gives each bite enough warmth to taste like a real bakery-style loaf instead of a quick throw-together bread.
What makes this version stand out is the balance. There’s enough sugar to keep the crumb soft, but not so much that the bread turns heavy or sticky. The brown butter icing brings in a nutty edge that cuts through the sweetness, and the maple syrup gives it a round, caramel note that powdered sugar alone can’t manage. I like that the loaf itself stays straightforward and reliable, so the icing gets to be the part that makes people pause at the first bite.
Below, I’ve broken down the one step that keeps pumpkin bread from turning gummy, plus the easiest way to brown butter without taking it too far. There’s also a storage note worth reading if you want clean slices the next day.
The loaf came out so moist and the icing set up with that perfect glossy drizzle. I browned the butter a little past pale gold and it gave the whole bread this nutty, maple-caramel finish that made the slices taste bakery-level.
Save this pumpkin bread with brown butter maple icing for the days you want a soft, spiced loaf with a glossy maple drizzle.
The Texture Trap That Makes Pumpkin Bread Heavy
Pumpkin bread goes wrong when the batter gets worked like a cake batter. Once the flour goes in, you want to stop as soon as the streaks disappear. Overmixing builds too much structure, and with pumpkin puree in the bowl, that structure turns dense instead of tender.
The other thing people miss is moisture balance. Pumpkin puree brings a lot of water, but it also brings body, so this loaf needs enough flour to hold its shape without drying out. That’s why the batter should look thick and scoopable, not pourable like pancake batter. If yours looks loose, the loaf usually bakes up with a sunken center and a gummy line near the bottom.
- Don’t beat the wet and dry together. Fold just until the flour disappears, then stop.
- Cool the loaf all the way before icing. Warm bread melts the topping and turns it thin and sticky instead of glossy.
- Bake until the center is set. A toothpick should come out clean or with just a few moist crumbs, not wet batter.
What the Pumpkin, Spice, and Brown Butter Each Bring to the Table
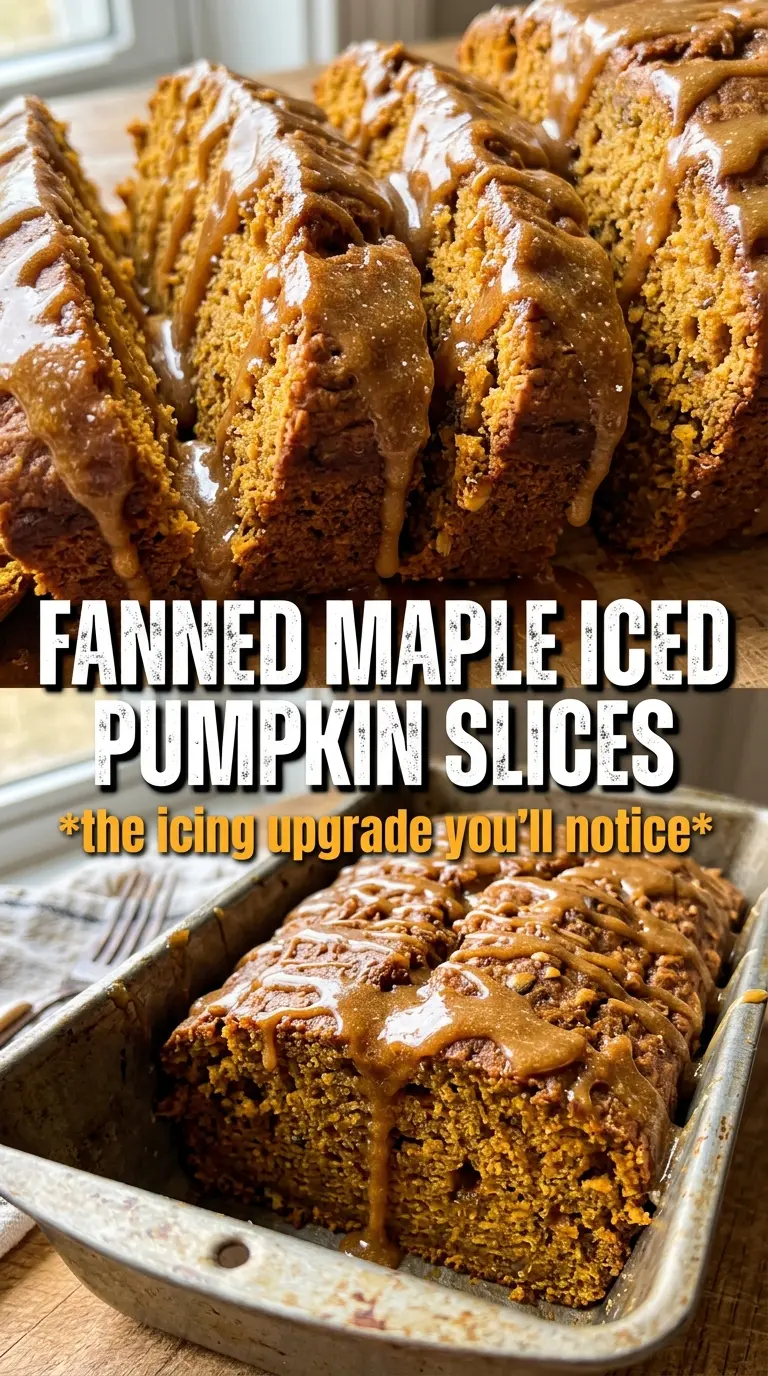
The pumpkin puree does more than add flavor. It gives the loaf its plush texture and helps it stay soft for several days, which is why canned puree works beautifully here. Use plain pumpkin puree, not pumpkin pie filling, or the loaf will bake up sweeter and oddly spiced before you even add the seasonings.
The brown sugar matters just as much as the pumpkin. It deepens the color and keeps the crumb moist, while the granulated sugar helps the loaf rise cleanly and bake with a lighter bite. For the icing, pure maple syrup earns its place because it adds flavor as well as sweetness; pancake syrup won’t give you the same depth, and the glaze tastes flatter because of it.
- Pumpkin puree — canned puree is the most reliable choice. If you use homemade puree, drain it first if it seems watery, or the loaf can turn heavy.
- Vegetable oil — oil keeps the bread soft even after chilling. Melted butter can work, but the crumb is a little firmer.
- Pure maple syrup — don’t swap in pancake syrup if you want the icing to taste distinct and not just sweet.
- Brown butter — this is the flavor anchor in the glaze. Let it cool before whisking, or it can melt the sugar too quickly and turn the icing greasy.
How to Bake the Loaf and Keep the Icing Glossy
Mixing the Batter Without Toughening It
Start by whisking the dry ingredients together so the baking soda and spices distribute evenly. In a separate bowl, whisk the pumpkin, both sugars, oil, eggs, and vanilla until the mixture looks smooth and glossy. When you add the flour, switch to a spatula and fold just until there are no dry pockets left. If you keep stirring after that point, the loaf bakes up tighter and loses that soft, even crumb.
Reading the Bake Instead of the Clock
Scrape the batter into a greased 9×5 loaf pan and smooth the top so it bakes evenly. At 60 minutes, check the center with a toothpick; pumpkin bread often needs the full 65 minutes, and the top should spring back when you press it lightly. If the top is getting dark before the center is done, lay a loose piece of foil over it for the last stretch. Pulling it early is the fastest way to end up with a gummy middle.
Brown Butter Without Burning It
Melt the butter in a small saucepan and keep it moving as the foam settles. The milk solids will sink, then turn golden and smell nutty, like toasted hazelnuts and caramel. The second you see deep amber flecks at the bottom, pull it off the heat and pour it into a bowl so it stops cooking. If it goes from golden to dark brown, the icing will taste bitter and fight the maple instead of supporting it.
Whisking the Icing to the Right Thickness
Let the browned butter cool for about 10 minutes before adding the powdered sugar, maple syrup, vanilla, cinnamon, and a little milk. The icing should fall from the whisk in a slow ribbon, not run off like cream. If it’s too thick, add milk a teaspoon at a time; if it’s too thin, the glaze disappears into the loaf instead of sitting on top in that pretty draped way. Drizzle only over a fully cooled bread, or you’ll lose the finish you worked for.
Three Ways to Make This Loaf Fit What You Need
Dairy-Free Version
The bread itself is already dairy-free, so the only change is the icing. Use a dairy-free butter that browns well, or skip browning and use it melted for a simpler glaze. The flavor will be a little less nutty, but the maple and cinnamon still carry the finish nicely.
Gluten-Free Adaptation
A good 1:1 gluten-free flour blend can work here, but the loaf may bake a little more delicately. Let the batter rest for 10 minutes before baking so the flour hydrates, and check for doneness at the center rather than relying on the top alone. The crumb will be slightly softer and more delicate, but still sliceable once fully cooled.
Extra-Spiced Loaf
If you want a stronger spice note, add an extra 1/2 teaspoon of cinnamon or a pinch of cloves. Go easy with cloves because they take over fast, especially once the maple icing goes on. This version tastes warmer and a little more bakery-style, but it shouldn’t cross into tasting like potpourri.
Storage and Reheating
- Refrigerator: Store covered for up to 4 days. The icing firms up and the crumb gets slightly denser, which is normal.
- Freezer: Freeze the plain loaf, well wrapped, for up to 2 months. Add the icing after thawing for the cleanest look and best texture.
- Reheating: Warm slices briefly in the microwave, about 10 to 15 seconds. Don’t overheat it or the icing turns oily and the bread dries out at the edges.
Answers to the Questions Worth Asking
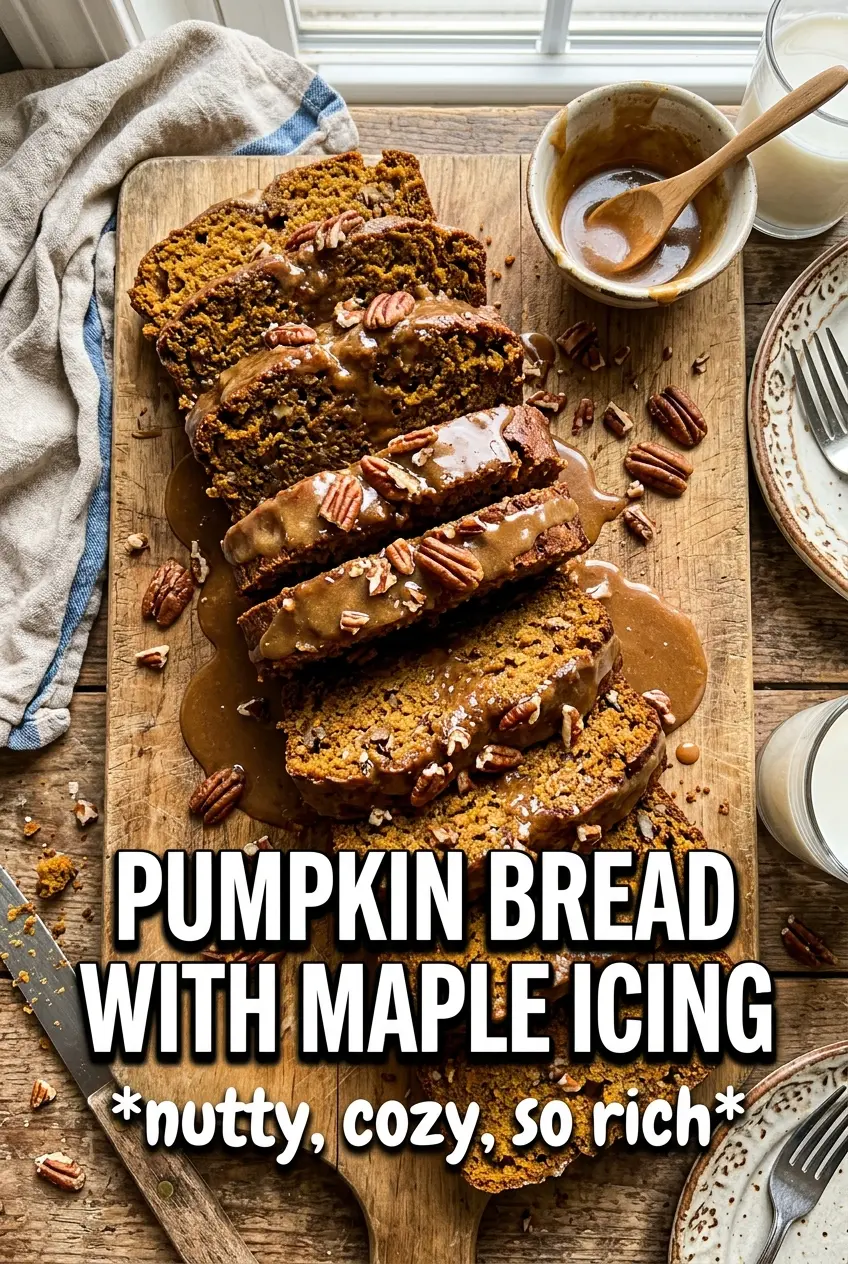
Pumpkin Bread With Brown Butter Maple Icing
Ingredients
Equipment
Method
- Preheat the oven to 350F and grease a 9x5 loaf pan.
- Whisk all-purpose flour, baking soda, pumpkin pie spice, cinnamon, and salt in a bowl.
- Whisk pumpkin puree, granulated sugar, brown sugar, vegetable oil, eggs, and vanilla until smooth.
- Fold the dry mixture into the wet mixture just until combined, then pour into the loaf pan.
- Bake for 60-65 minutes until a toothpick comes out clean.
- Cool the loaf completely before icing.
- Brown the unsalted butter in a saucepan until golden and nutty-smelling, then cool for 10 minutes.
- Whisk the browned butter with powdered sugar, pure maple syrup, vanilla, cinnamon, and enough milk to make a thick drizzling consistency.
- Drizzle the icing generously over the cooled loaf, letting it run down the sides.