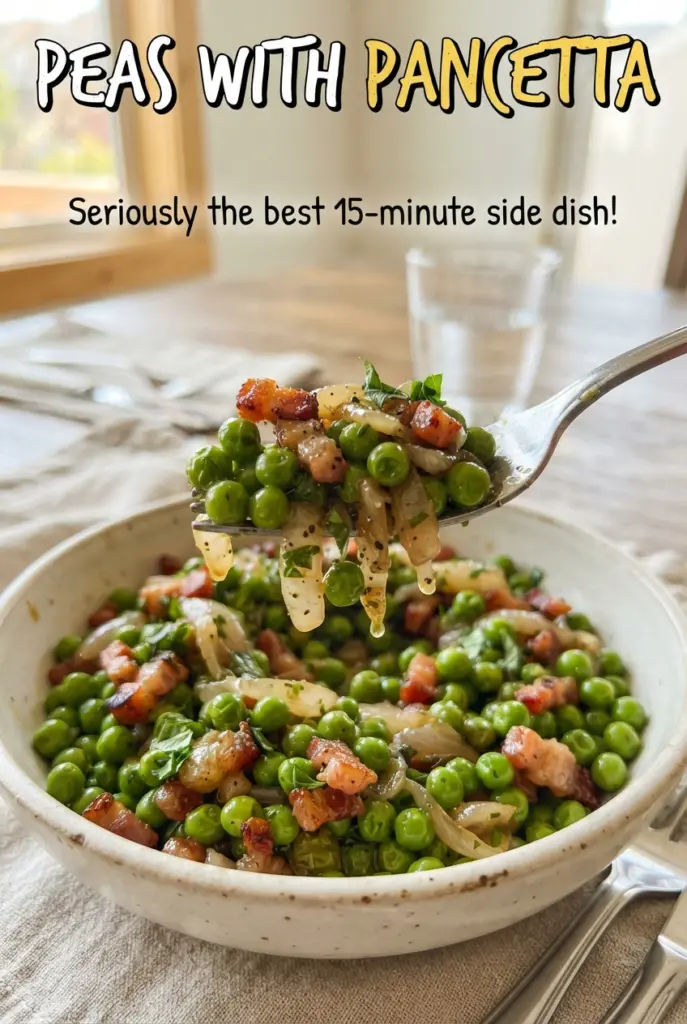
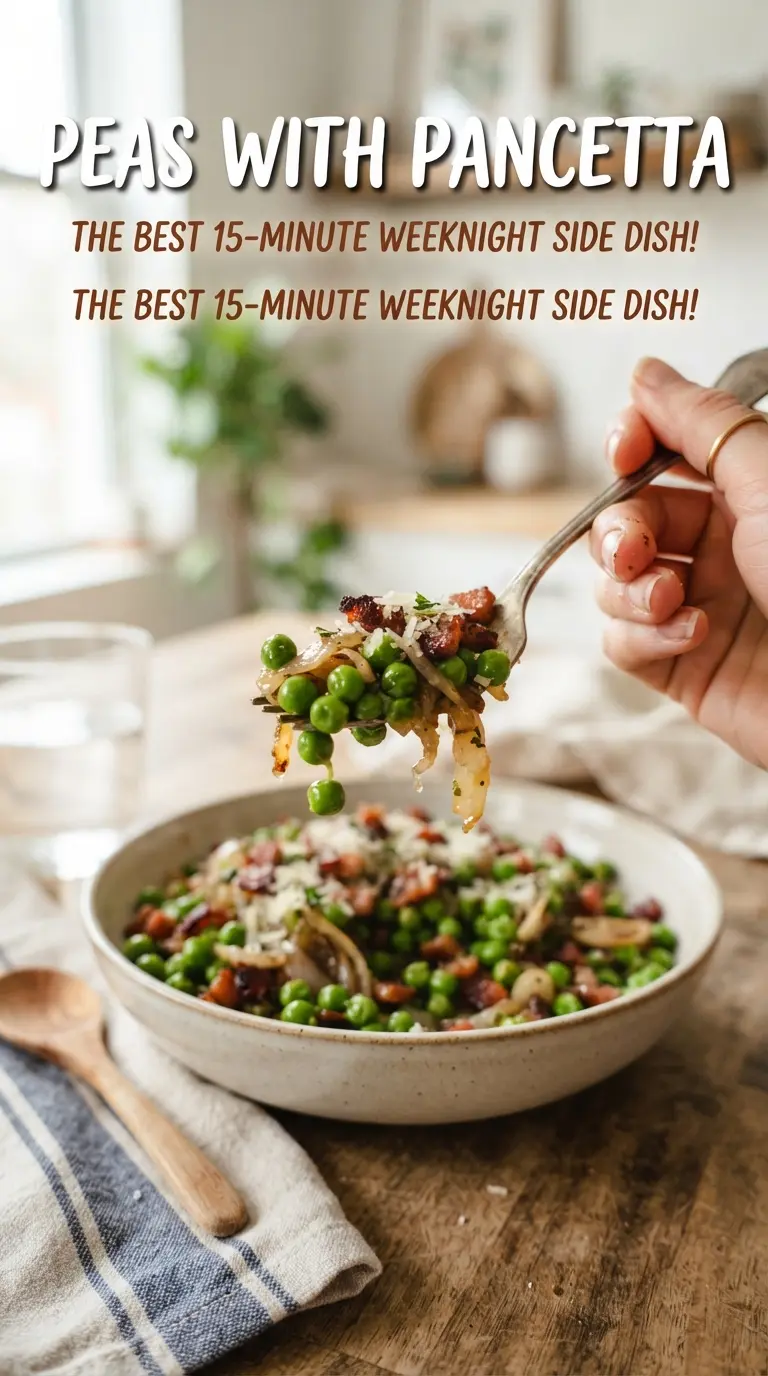
Sweet peas and crisp pancetta make a side dish that lands somewhere between comforting and fresh, with just enough salt, fat, and brightness to keep you going back for one more spoonful. The peas stay vivid and tender, the pancetta adds crunch and depth, and the little hit of lemon at the end keeps the whole pan from tasting heavy. It’s the kind of side that turns a simple dinner into something worth sitting down for.
The trick is to treat each part like it matters. Pancetta needs time in the pan so it renders its fat and turns crisp before the shallot goes in. Frozen peas work beautifully here because they’re picked at peak sweetness and don’t need any fussing, just enough heat to come back to life without losing their color. A spoonful of broth helps build steam and keeps the peas from drying out, while butter rounds everything out at the end.
Below, you’ll find the timing that keeps the peas bright instead of dull, the ingredient swaps that still make sense, and a few ways to stretch this dish for different meals.
The pancetta got perfectly crisp, and the peas stayed bright instead of turning mushy. I added a little extra mint at the end and it tasted like something from a nice little trattoria.
Save these peas with pancetta for the nights when you want a fast side with crisp pancetta, sweet peas, and a bright mint finish.
The Key to Keeping the Peas Sweet Instead of Watery
The biggest mistake with peas is cooking them like they need to be softened from scratch. Frozen peas are already blanched before they’re packed, so they only need heat long enough to turn hot and bright green. If they sit in the pan too long, they go from sweet and tender to dull and bland, and the broth starts working against you instead of for you.
Rendering the pancetta first matters for more than flavor. It gives you the fat you need to cook the shallot and garlic, which means the aromatics pick up that savory base right away. A short simmer with broth helps the peas heat through without scorching, and the butter at the end gives the pan a glossy finish that clings to each pea instead of pooling underneath them.
What Each Ingredient Is Actually Doing in This Pan
- Pancetta — This is the backbone of the dish. It renders into the oil and gives you salty, porky crisp bits for the top. Bacon can stand in, but it brings a smokier flavor and usually needs a little less added salt.
- Frozen sweet peas — Frozen peas are the right choice here because they’re picked at peak sweetness and cook evenly. Fresh peas work if you have them, but they take more prep and won’t always taste sweeter.
- Shallot and garlic — Shallot brings a softer, gentler onion flavor than a regular onion would, and garlic gives the dish its warm finish. Don’t rush this part; if the garlic browns, it turns sharp and bitter.
- Butter and lemon zest — Butter smooths out the pancetta’s saltiness, while lemon zest wakes the whole pan up without making it sour. A squeeze of lemon juice can work in a pinch, but zest gives brightness without thinning the sauce.
- Mint or parsley — Mint makes the peas taste fresher and a little more springlike, while parsley keeps things clean and savory. Use mint if you want the dish to stand out more; use parsley if you want it to sit quietly next to roasted meat or pasta.
Getting the Pan Hot Enough Without Overcooking the Peas
Rendering the Pancetta
Start the pancetta in olive oil over medium heat and let it cook until the fat has rendered and the edges are crisp. If you turn the heat up too high, the outside browns before the fat has a chance to melt out, and you lose both texture and flavor. Pulling out half the pancetta at this stage gives you a built-in crunchy topping at the end.
Softening the Aromatics
Add the minced shallot to the rendered fat and cook just until it turns soft and fragrant, about 2 minutes. Stir in the garlic for only 30 seconds; once you smell it clearly, it’s ready. If the pan looks dry, that means the pancetta wasn’t rendered long enough, and the shallot may catch before it softens.
Warming the Peas
Stir in the peas and broth, then cook just until the peas are hot and bright green. You want a lively simmer, not a hard boil. If the liquid disappears too quickly, lower the heat and cover the pan for a minute so the peas steam through instead of drying out.
Finishing with Butter and Herbs
Take the pan off the heat before adding the butter and lemon zest, then season with salt and pepper. Off-heat finishing keeps the butter glossy instead of greasy and helps the lemon stay fresh. Fold in the mint or parsley right before serving so the herbs stay aromatic.
How to Adapt These Peas with Pancetta for Different Tables
Make It Gluten-Free
This recipe is naturally gluten-free as written, so nothing needs to change. Just check the chicken broth label, since some brands use additives or flavorings you may want to avoid. The texture and flavor stay exactly the same.
Make It Dairy-Free
Skip the butter and finish with an extra drizzle of olive oil instead. You’ll lose a little of the round, silky finish, but the dish still tastes full because the pancetta and broth carry plenty of richness. A little more lemon zest helps replace the lift the butter would have given.
Use Bacon Instead of Pancetta
Bacon works well, especially if that’s what you keep on hand, but it brings a smokier flavor and can overpower the sweet peas if you use a very smoky brand. Keep the amount the same and taste before adding extra salt, since bacon is often saltier than pancetta.
Make It Vegetarian
Leave out the pancetta and start the shallot in olive oil with a pinch of salt. Add a little extra butter or a splash more olive oil at the end, plus a few drops of soy sauce or a sprinkle of Parmesan if you want more savory depth. The result is lighter, but still fresh and satisfying.
Storage and Reheating
- Refrigerator: Store in an airtight container for up to 3 days. The peas soften a little as they sit, but the flavor still holds up well.
- Freezer: I don’t recommend freezing this dish. The peas lose their bright texture and the pancetta turns chewy after thawing.
- Reheating: Warm gently in a skillet over low heat with a teaspoon of water or broth. High heat will toughen the pancetta and make the peas look dull, so keep the reheating short and gentle.
Answers to the Questions Worth Asking
Peas with Pancetta
Ingredients
Equipment
Method
- Heat olive oil in a cast iron skillet over medium heat and cook pancetta for 6-8 minutes, stirring occasionally, until crisp and golden. Remove half of the pancetta to use as a topping.
- Add minced shallot to the skillet and cook for 2 minutes, stirring, until softened and fragrant. Stir in minced garlic and cook for 30 seconds so it becomes fragrant without browning.
- Add frozen sweet peas and chicken broth, then cook for 4-5 minutes until peas are bright green and hot. Keep the skillet at a steady simmer and stir once or twice.
- Stir in butter and lemon zest, then season with salt and pepper to taste. Mix just until the butter melts and coats the peas.
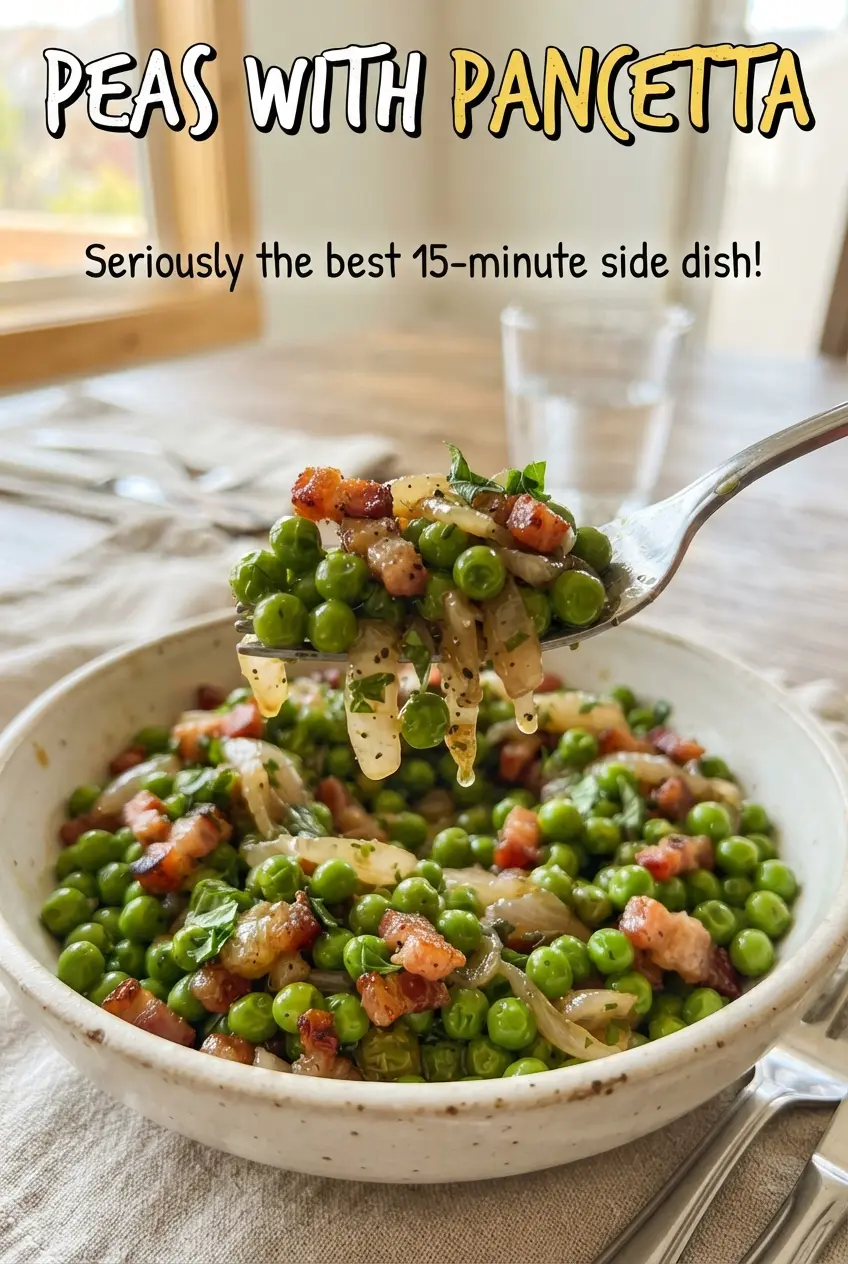
- Top with the reserved pancetta and chopped fresh mint or parsley, then serve immediately. The contrast should look crisp and golden against the vivid green peas.