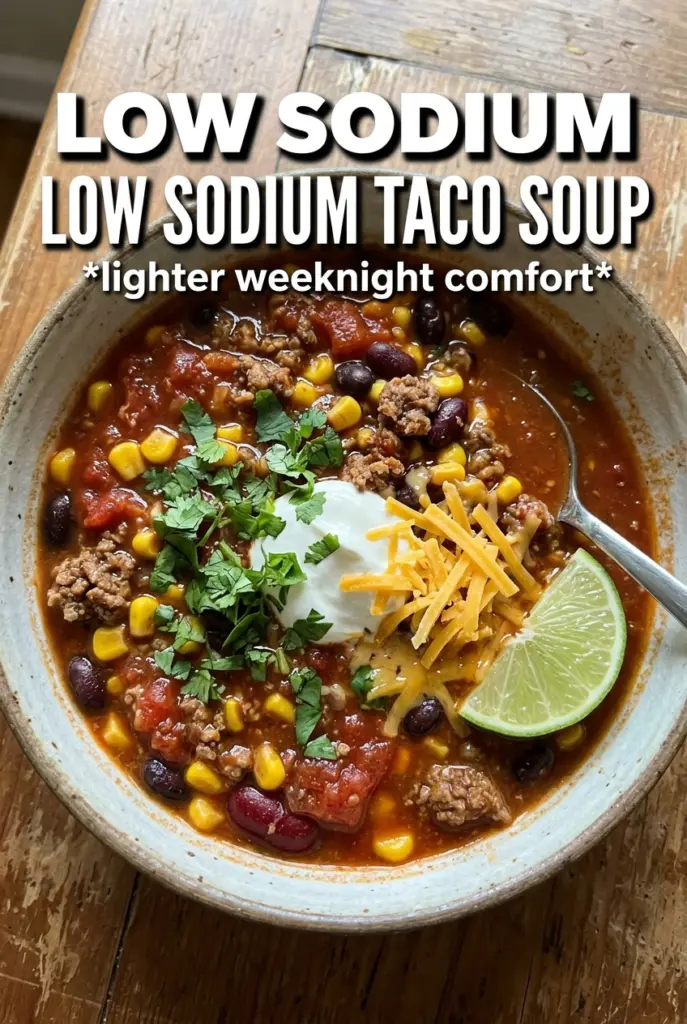
Low sodium taco soup still needs to taste bold, and this version does it without leaning on a salty seasoning packet. The broth comes out rich and savory, the beans stay tender, and the tomatoes and green chiles give it that Tex-Mex backbone you want in every spoonful. It’s the kind of pot you can put on the table with confidence because the flavor is built in layers, not patched together at the end.
The trick is seasoning the beef first, right after the onion and garlic soften, so the spices bloom in the fat before the broth goes in. Using no-salt-added beans, corn, and diced tomatoes keeps the sodium in check, while the green chiles and a good low-sodium broth keep the soup from tasting flat. A squeeze of lime at the end matters more than people think — it brightens the whole pot and makes the spices pop.
Below, I’ll walk through the one step that keeps the broth tasting full instead of watered down, plus the swaps that still work if you’re using turkey or need to stretch the soup into another meal.
The soup tasted like it had been simmering all day, and the homemade taco seasoning kept it from tasting bland even with the no-salt beans and tomatoes. I added lime at the table and that was the perfect finish.
Save this low sodium taco soup for the nights when you want a big Tex-Mex bowl without relying on a salty packet.
Why the Homemade Seasoning Keeps This Soup from Tasting Flat
Packaged taco seasoning usually leans hard on salt, and once you pull that away, the rest of the soup needs actual seasoning logic. This version works because the spices are measured to build warmth and depth without overpowering the broth. Cumin brings the earthy base, chili powder adds that familiar taco note, and smoked paprika gives the pot a deeper background flavor so it doesn’t taste thin.
Blooming the seasoning in the pot after the beef, onion, and garlic have cooked is the part that matters most. If the spices go straight into the broth, they can taste dusty or hollow. When they hit the hot pan for a minute, they wake up and coat the meat, which is what makes the finished soup taste rounded instead of like seasoned water.
What Each Ingredient Is Actually Doing in This Soup

- Lean ground beef or turkey — Beef gives the soup a richer, more classic taco flavor, while turkey keeps it lighter without changing the structure. If you use turkey, let it brown a little longer so it gets some color before the seasoning goes in.
- No-salt-added beans, corn, and diced tomatoes — These are the backbone of the low-sodium approach. You need the no-salt versions here because salted canned ingredients can push the whole pot over the edge fast, especially once the broth and seasoning go in.
- Diced tomatoes with green chiles — This is one place where the chiles matter more than the tomatoes. They add acid, heat, and a little smoky edge that keeps the soup from tasting one-note. If you can’t find a no-salt version, the regular can still works because the rest of the pot is built to absorb it.
- Low-sodium broth — This is the liquid that carries all the flavors, so choose one that tastes good enough to sip. A weak broth makes the soup bland no matter how carefully you season it.
- Avocado, lime, cilantro, cheese, sour cream — These toppings aren’t decoration. Avocado softens the spice, lime sharpens the broth, and a little cheese or sour cream gives the bowl a creamy finish without needing extra salt.
Building the Pot So the Broth Stays Bold
Brown the Meat First
Cook the beef or turkey in a large pot until it loses its raw color and starts picking up a little browning in spots. That browned fond on the bottom is flavor, so don’t rush to the next step before the meat has had time to develop it. If there’s a lot of grease, drain it off, but leave the dark bits behind.
Soften the Onion and Wake Up the Garlic
Add the diced onion and cook it until it turns soft and translucent, about 4 minutes. Garlic only needs about a minute; once you smell it, move on. If garlic sits too long in the hot pot, it turns bitter and that bitterness shows up in the final broth.
Toast the Seasoning Before the Liquids Go In
Stir in the cumin, chili powder, garlic powder, onion powder, smoked paprika, and oregano and let them cook for about a minute. The pan will smell fragrant and a little deeper than before. That short step keeps the spices from tasting raw and gives the soup a fuller, more integrated flavor.
Simmer Until the Broth Tastes Like Soup, Not Ingredients
Add the beans, corn, tomatoes, green chiles, and broth, then bring the pot to a boil before lowering it to a steady simmer. Let it go for 15 to 20 minutes so the flavors settle together and the broth takes on the seasoning from the meat and spices. Taste at the end, then add only a small pinch of salt if the broth still needs it — with canned ingredients, too much salt usually shows up after the soup rests, not right away.
How to Adapt This for Turkey, Extra Heat, or a Dairy-Free Bowl
Use Ground Turkey Instead of Beef
Turkey works cleanly here, especially if you want a lighter bowl. It’s less rich than beef, so let it get a little more color in the pot and don’t skip the smoked paprika. That extra browning helps make up for the flavor you lose when you switch meats.
Make It Spicier Without Raising the Salt
Add a chopped jalapeño with the onion, or stir in a pinch of cayenne with the spices. That gives you heat without changing the low-sodium balance. If you want the soup smoky instead of sharp, use chipotle powder in place of part of the chili powder.
Keep the Bowl Dairy-Free
Skip the cheese and sour cream and lean on avocado, cilantro, and extra lime instead. The soup already has enough body from the beans and tomatoes that you won’t miss the dairy. A spoonful of plain unsweetened coconut yogurt can work too if you want a creamy topping with a tangy edge.
Stretch It for a Bigger Crowd
This soup scales well because the seasoning is built from measured spices instead of a packet. Double everything except the salt at the end, then taste the finished pot before adjusting. If you go larger, use a wider pot so the soup heats evenly and the vegetables don’t break down before the broth develops.
Storage and Reheating
- Refrigerator: Store in an airtight container for up to 4 days. The flavors deepen overnight, and the soup may thicken a bit as it sits.
- Freezer: It freezes well for up to 3 months. Cool it completely first, then freeze in portions so the beans and meat reheat evenly.
- Reheating: Warm it gently on the stovetop over medium-low heat, adding a splash of broth if needed. Don’t boil it hard after it’s been chilled, or the beans can start to break down and the texture gets muddy.
Answers to the Questions Worth Asking
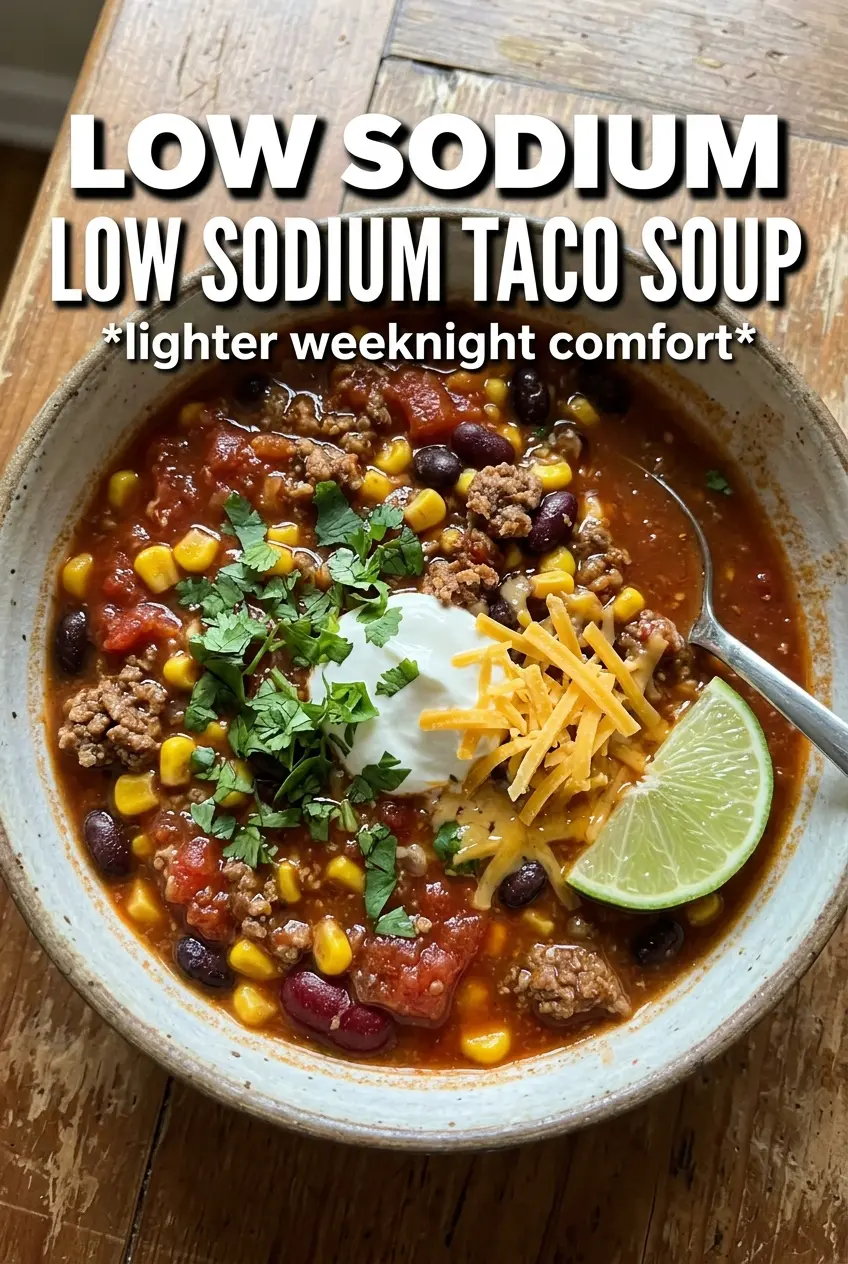
Low Sodium Taco Soup
Ingredients
Equipment
Method
- Brown the ground beef in a large pot over medium-high heat, then drain the fat.
- Sauté the diced onion for 4 minutes, then add the minced garlic and cook for 1 minute.
- Stir in the homemade taco seasoning and cook for 1 minute, until fragrant and lightly toasted.
- Add the no-salt-added black beans, no-salt-added corn, no-salt-added diced tomatoes, no-salt-added diced tomatoes with green chiles, and the low-sodium chicken or beef broth, then bring the mixture to a boil.
- Simmer the soup for 15-20 minutes, stirring occasionally, until the flavors meld.
- Taste and add only a small pinch of salt if truly needed.
- Serve hot and top each bowl with avocado, fresh lime, cilantro, a small amount of shredded cheese, and light sour cream.