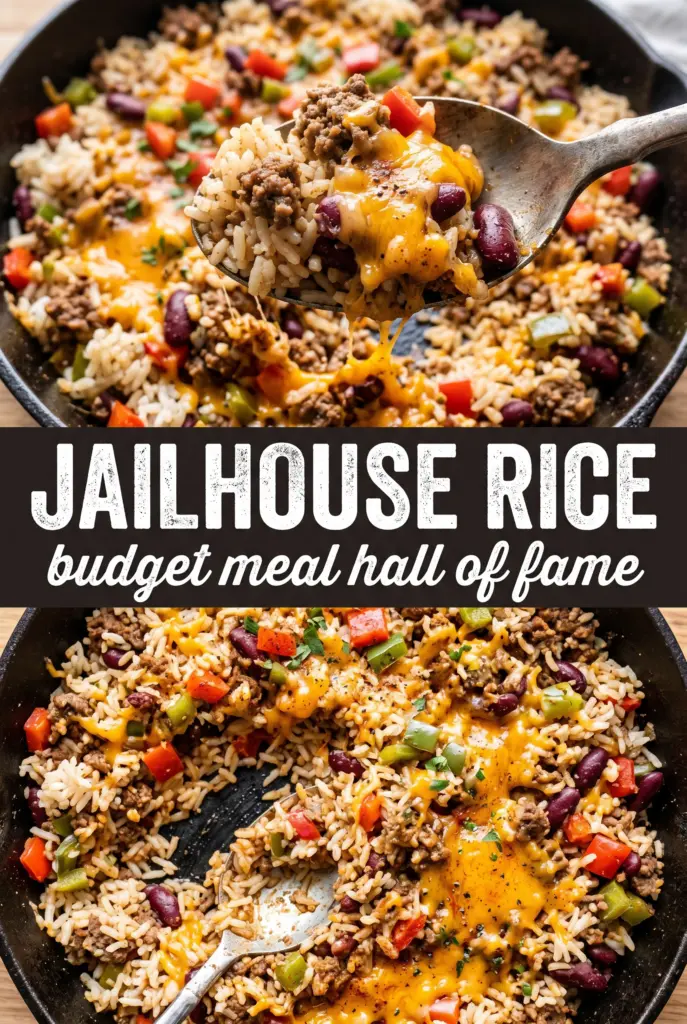
Jailhouse rice lands in that sweet spot between budget dinner and full-on comfort food: savory, filling, and packed with enough texture that every bite feels like it came from a much bigger effort. The rice picks up the beefy pan drippings, the ramen noodles soften into the mix without turning mushy, and the whole skillet finishes with a glossy, seasoned coating that clings instead of pooling at the bottom.
What makes this version work is the order. Browning the beef first gives you the base flavor, but toasting the rice in those drippings is what keeps it from tasting flat. The ramen goes in near the end on purpose, because it only needs a few minutes to cook through and it would fall apart if it simmered the whole time.
Below, I’m walking through the little details that matter here: how to keep the rice from going gummy, when to add the noodles, and what to change if you want to stretch the pan or make it work with what’s already in your kitchen.
The rice came out fluffy, the ramen stayed tender, and the soy-Worcestershire sauce coated everything without making it wet. My husband went back for seconds before I even sat down.
Golden Jailhouse Rice with beef, ramen, and that savory soy glaze is worth pinning for a fast one-pan dinner that tastes like it cooked all day.
Why the Rice Gets Toasted Before the Broth Goes In
The biggest mistake with this kind of skillet meal is dumping everything together and hoping the rice sorts itself out. It won’t. Toasting the dry rice with the beef for a couple of minutes coats each grain in fat and gives the outside a head start, which helps the rice stay fluffy instead of turning soft and sticky.
That short toasting step also deepens the flavor. You’ll smell the rice shift from plain and starchy to nutty and warm, and that’s your cue to move on before anything starts to brown too hard. If the pan is too dry after draining the beef, leave a little of the fat behind or add a small splash of broth so the rice doesn’t scorch on contact.
What Each Ingredient Is Doing in the Skillet

- Ground beef — This is the backbone of the dish. Use 80/20 if you want the richest flavor; if you use a leaner grind, leave a spoonful of fat in the pan so the rice still has something to toast in.
- Long-grain white rice — Long-grain stays separate better than short-grain, which matters here because the ramen noodles already add softness. Rinse it only if your rice is especially dusty; otherwise, the starch on the surface helps the skillet finish a little glossy.
- Ramen noodles — The noodles add body and a familiar chewy texture, but only if they go in late. Break them into medium pieces so they mix through the rice instead of turning into a tangle.
- Beef broth, soy sauce, and Worcestershire — These are the flavor engine. Broth gives you volume and salt, soy adds depth, and Worcestershire brings that savory edge that makes the whole skillet taste rounded instead of one-note.
- Garlic powder, onion powder, and smoked paprika — These seasonings do the work that fresh aromatics usually would in a faster one-pot meal. Smoked paprika is subtle here, not smoky-hot; it just nudges the beef flavor deeper.
- Green onions — Don’t skip the garnish. That fresh bite at the end keeps the dish from feeling heavy and gives the skillet a clean finish.
Building the Skillet So the Rice Stays Fluffy and the Noodles Don’t Overcook
Browning the Beef First
Cook the beef over medium-high heat until it loses all pink color and you start seeing browned bits on the bottom of the pan. Those bits matter; they’re the savory base of the whole dish. Drain off the excess fat, but don’t scrub the skillet clean, because you want a thin coating left behind for the rice to toast in.
Toasting the Rice
Add the dry rice straight into the beef and stir for about 2 minutes. It should smell nutty and look a little more translucent around the edges, not brown all over. If the rice starts sticking hard right away, the heat is too high or the pan is too dry, and a splash of broth will save it.
Simmering with the Broth
Once the liquids and seasonings go in, bring the pan to a boil and then drop it to low heat immediately. A hard boil can crack the rice on the outside before the center cooks. Keep the lid on and leave it alone for the full 15 minutes so the steam can do its job.
Adding the Ramen at the End
The ramen only needs the last 5 minutes. Break it into the skillet, stir it in just enough to tuck the pieces under the surface, then cover again. If you add it too early, the noodles turn slack and disappear into the rice; added at the end, they keep a little chew and make the dish feel heartier.
Three Ways to Stretch or Adjust Jailhouse Rice Without Losing What Makes It Work
Make It Dairy-Free and Budget-Friendly
This recipe is already dairy-free as written, which makes it easy to serve without any swaps. If you want to stretch it further, add a cup of frozen peas or diced carrots with the broth; they’ll cook right in and give the skillet a little more bulk without changing the core flavor.
Use Ground Turkey Instead of Beef
Ground turkey works, but it tastes leaner, so you’ll want to leave a bit more oil in the pan after browning or add 1 tablespoon of neutral oil before the rice goes in. The final dish will be lighter and less rich, so the soy sauce and Worcestershire matter even more.
Make It Gluten-Free
The ramen seasoning packets are already out, but the noodles themselves usually contain wheat, so use certified gluten-free ramen or skip them and add an extra half cup of rice instead. You’ll lose a little of that chewy noodle texture, but the skillet will still land in the same savory, filling lane.
Add More Vegetables Without Watering It Down
Stir in quick-cooking vegetables like frozen corn, peas, or finely diced bell pepper after the rice has toasted, before the broth goes in. Keep the pieces small so they cook through on the same timeline as the rice; big chunks can leave the skillet uneven and make the final mix feel crowded.
Storage and Reheating
- Refrigerator: Store in an airtight container for up to 4 days. The rice will firm up a bit as it chills, and the noodles will absorb more of the sauce.
- Freezer: It freezes well for up to 2 months. Portion it into airtight containers and cool it completely before freezing so the rice doesn’t turn gummy from trapped steam.
- Reheating: Reheat covered on the stove or in the microwave with a splash of broth or water. The biggest mistake is reheating it dry, which makes the rice tough and the noodles chewy in a bad way.
Answers to the Questions Worth Asking
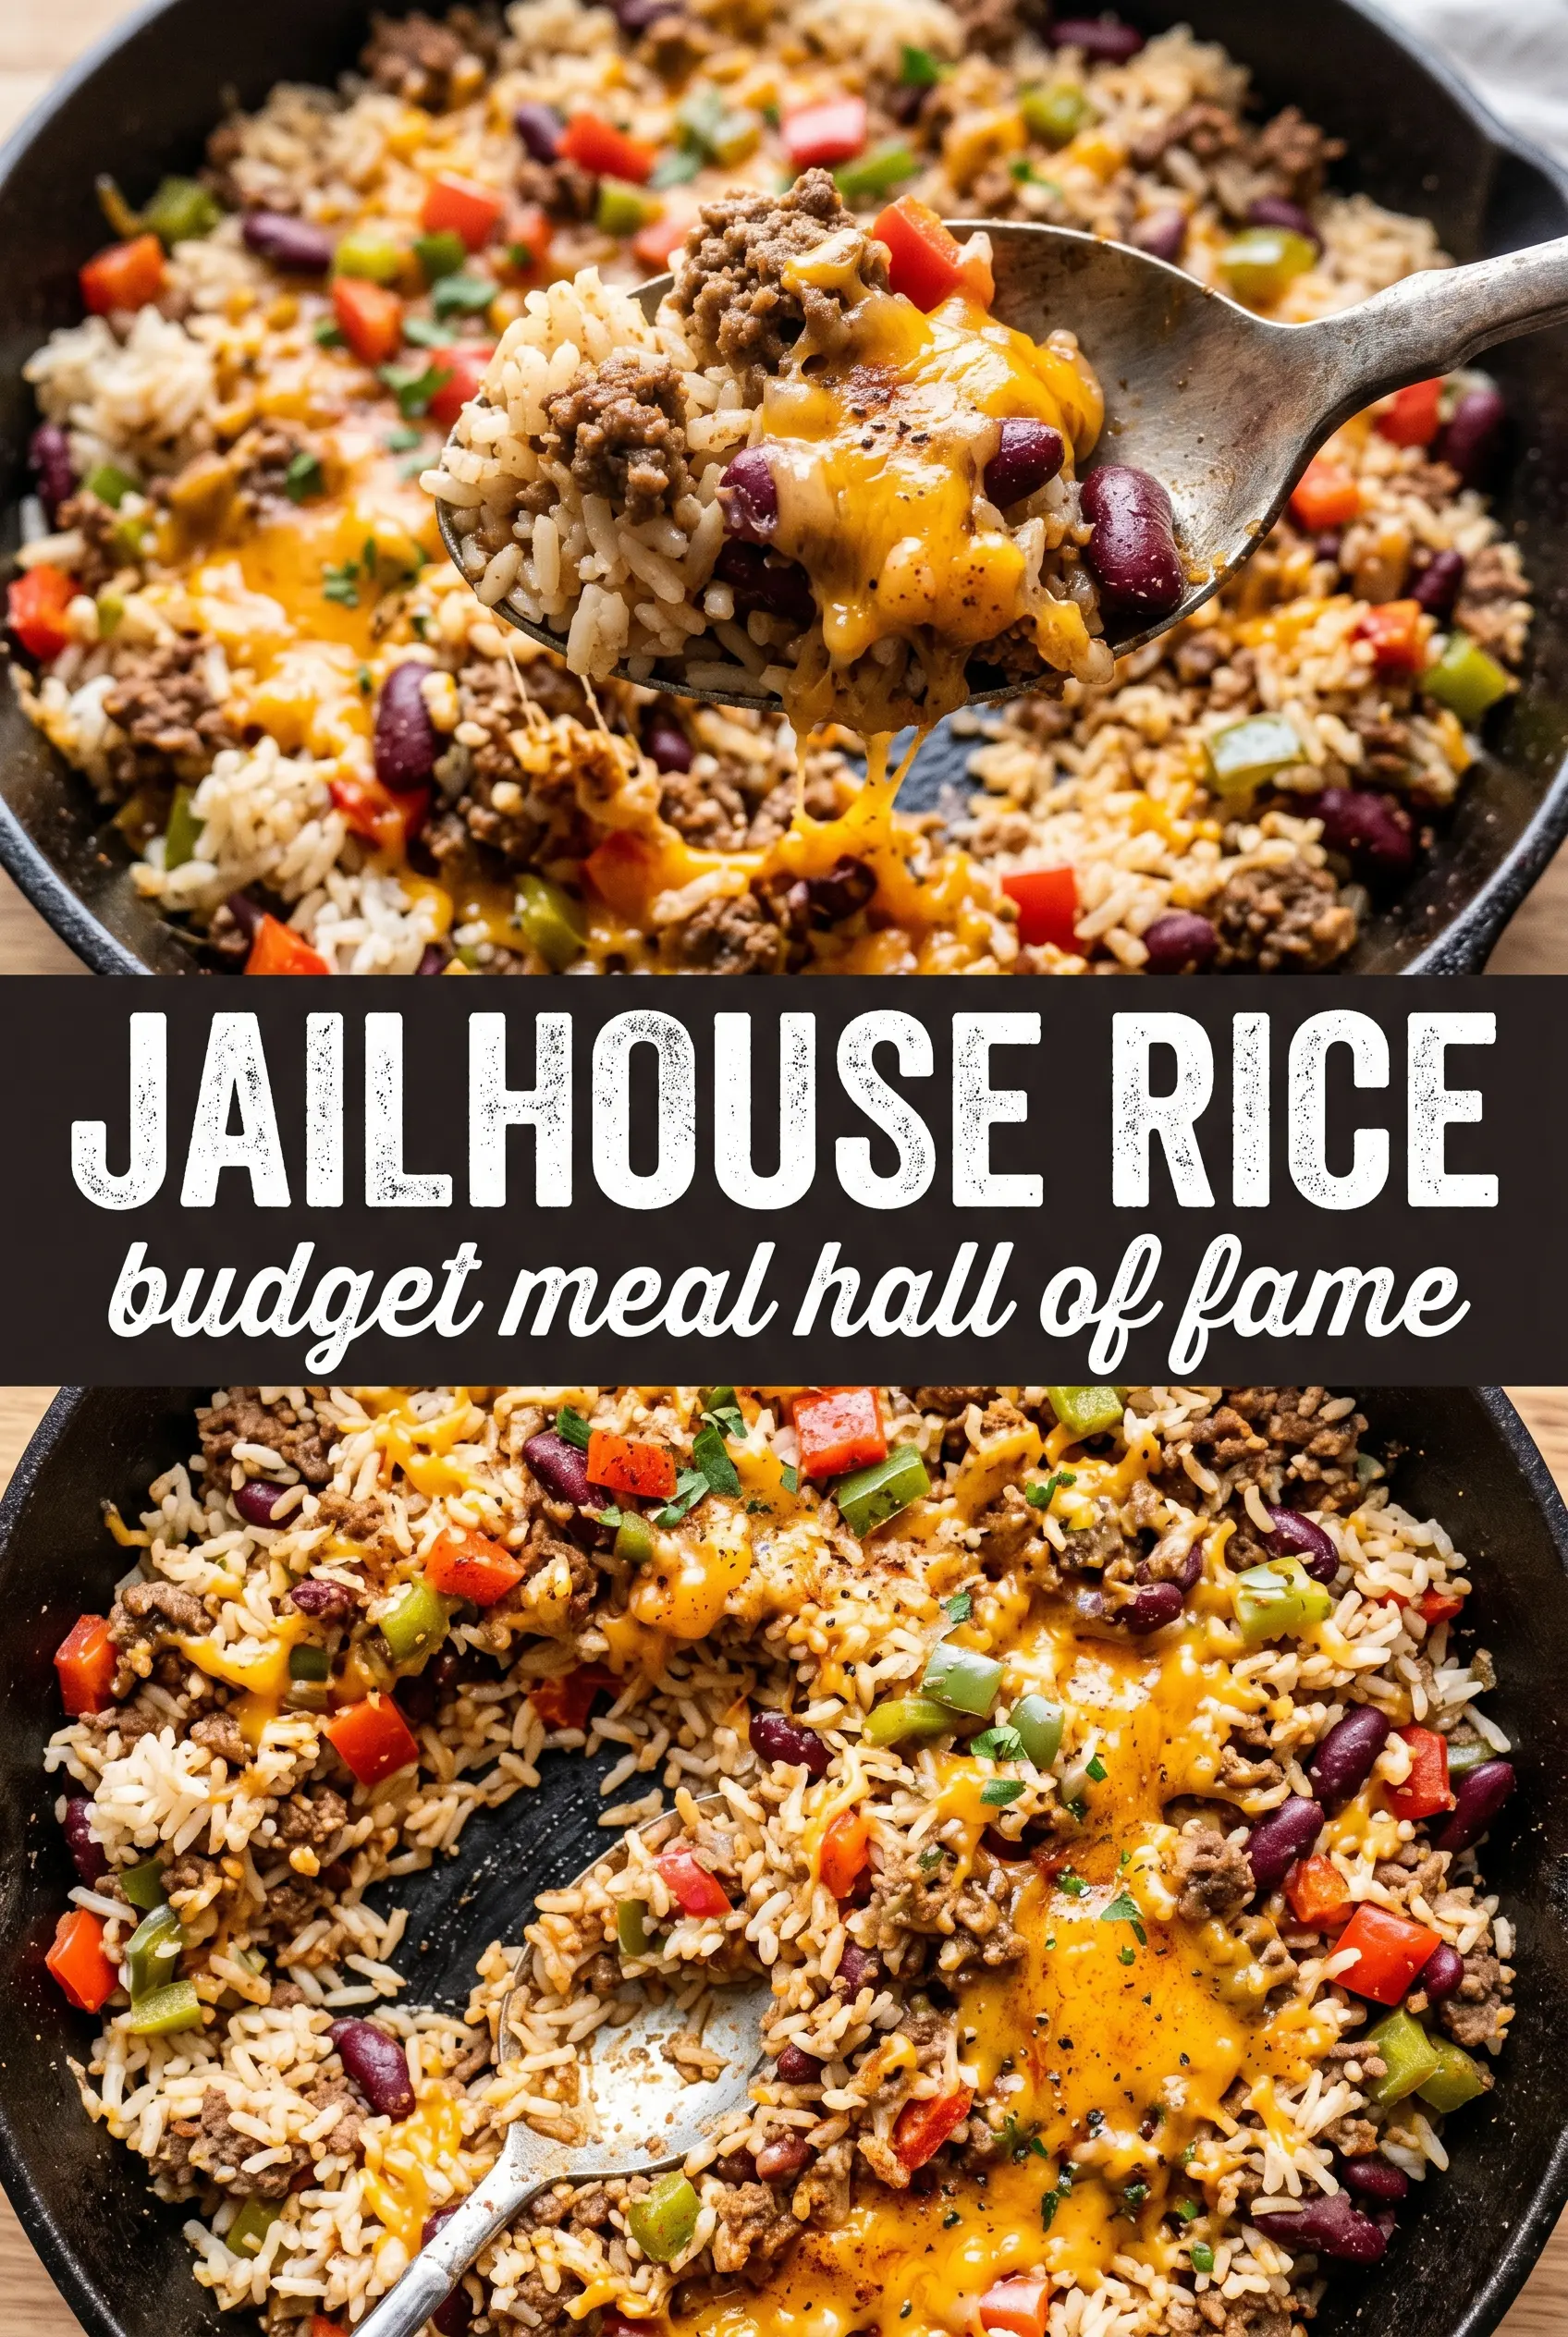
Jailhouse Rice
Ingredients
Equipment
Method
- Heat a large deep skillet or pot over medium-high heat, add ground beef, and break it apart as it browns. Stir until the meat is browned and cook for about 6 minutes, then drain any excess fat for a cleaner finish.
- Add long-grain white rice to the skillet and toast it with the beef for 2 minutes until slightly golden. Keep it moving so the rice grains pick up flavor without scorching.
- Pour in beef broth, then stir in soy sauce, Worcestershire sauce, garlic powder, onion powder, smoked paprika, salt, and black pepper. Bring the mixture to a boil, with steady bubbling across the surface.
- Reduce the heat to low, cover, and cook for 15 minutes until the rice is partially tender. Avoid lifting the lid so steam can fully hydrate the grains.
- Break ramen noodles into the skillet and stir them in so they’re evenly distributed through the rice. Cover and cook for 5 minutes until both the noodles and rice are tender.
- Fluff the jailhouse rice with a fork to separate the grains and noodles. Garnish with green onions and serve hot.