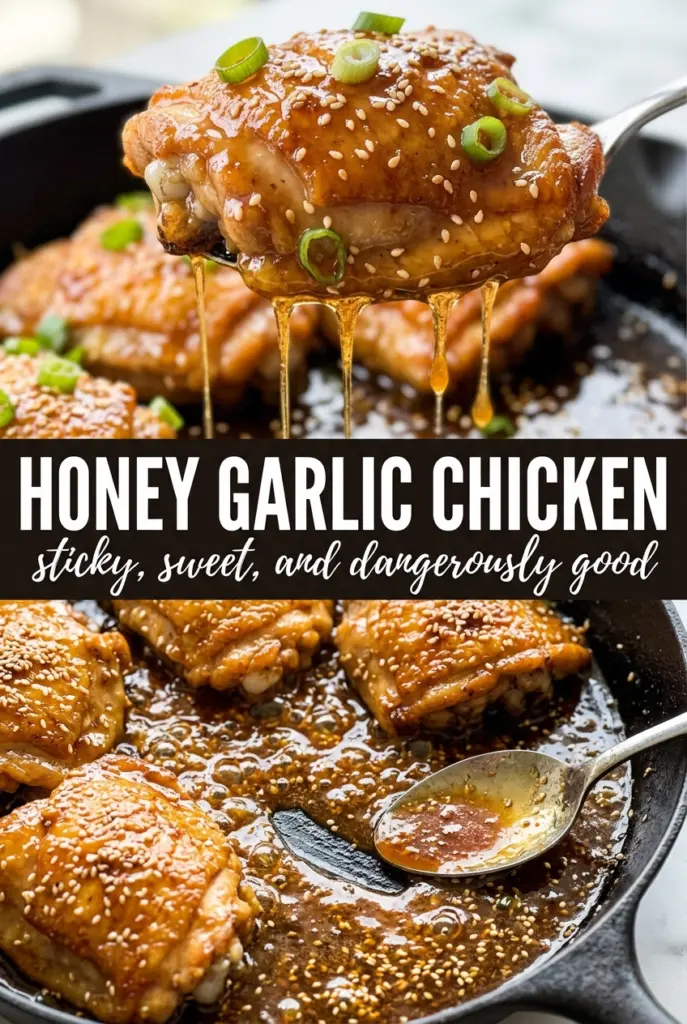
Sticky honey garlic chicken earns its place in the weeknight rotation because the sauce turns glossy and clingy instead of thin and sugary. The chicken stays juicy, the edges pick up a deep golden crust, and every bite gets hit with that sweet-salty garlic glaze that settles into the pan like a built-in serving sauce.
What makes this version work is the order. The chicken sears first so the pan has flavor right from the start, then the garlic goes into butter for just long enough to bloom without burning. Honey, soy sauce, and rice vinegar build the glaze, and a small cornstarch slurry gives it the body it needs to coat the chicken instead of running off it. That balance is what keeps the sauce sticky and glossy instead of flat or overly sweet.
Below you’ll find the small details that matter most: how to keep the sauce from turning grainy, what to watch for when it thickens, and a few ways to adapt the dish if you need a gluten-free or pantry-friendly swap.
The sauce thickened up into that sticky glaze instead of staying runny, and the chicken stayed juicy even after I coated it back in the pan. My husband kept sneaking bites straight from the skillet.
Love that sticky honey garlic glaze? Save this chicken for the nights when you want a fast skillet dinner that coats every bite.
The Reason This Glaze Clings Instead of Sliding Off
The biggest mistake with honey garlic chicken is adding the sweet stuff too early and expecting it to behave like a sauce on its own. Honey softens under heat, but it still needs a little structure to stay on the chicken. That’s why the cornstarch slurry matters here. It turns the pan juices into a glaze with enough body to coat the meat in a shiny layer that sets as it cooks for those final couple of minutes.
Another point that changes the whole dish is the sear. If the chicken goes into a crowded pan or gets moved too soon, it steams and the sauce ends up watery because you never built a good browned base. You want a real crust on the outside before the sauce hits the pan. That gives you flavor in the glaze itself, not just on the surface of the chicken.
- High heat at the start — That’s what gives you browning and keeps the chicken from drying out while the sauce reduces.
- Butter for the garlic stage — It softens the garlic fast and carries the flavor through the sauce. Oil alone won’t give you the same roundness.
- Rice vinegar — The small amount of acid keeps the glaze from tasting one-note. If you skip it, the honey can read a little heavy.
- Cornstarch slurry — Don’t add dry cornstarch straight into the pan. Mix it with water first or it will clump and leave you with a lumpy glaze.
What Each Ingredient Is Actually Doing in the Pan
- Chicken breasts — Boneless, skinless breasts cook fast and slice cleanly, but they dry out if you overcook them. Pull them once they hit 165°F and let the sauce finish the job in the pan.
- Honey — This is the gloss and the stickiness. A darker, more robust honey gives a deeper finish, but standard honey works fine here.
- Soy sauce — It brings salt and savory depth that keeps the glaze from tasting like candy. Use low-sodium if that’s what you keep on hand, then adjust the seasoning at the end.
- Garlic — Fresh minced garlic matters here. Jarred garlic can work in a pinch, but it tends to taste dull once it simmers in the sauce.
- Rice vinegar — It sharpens the glaze and keeps the sweetness in check. Apple cider vinegar can stand in if that’s what you have.
- Butter — It gives the sauce a silky finish and helps the garlic bloom without turning harsh.
Getting the Sear Right Before the Sauce Goes In
Season and Brown the Chicken
Season both sides of the chicken with salt, pepper, and garlic powder, then sear it in hot olive oil over medium-high heat. You want a deep golden crust and the chicken should release from the pan without forcing it. If it sticks, it’s not ready yet. Cook it for 5 to 6 minutes per side, depending on thickness, until the center reaches 165°F.
Build the Garlic Base
Take the chicken out and leave the browned bits in the pan. That’s where the flavor lives. Add the butter and garlic and cook just until fragrant, about 1 minute. If the garlic starts to brown hard or smells sharp, the pan is too hot and it’ll turn bitter in the finished sauce.
Thicken the Glaze
Stir in the honey, soy sauce, and rice vinegar, then add the cornstarch slurry. Simmer until the sauce goes from thin and foamy to glossy and thick enough to coat the back of a spoon. It should look like a glaze, not a syrup. If it gets too thick, splash in a teaspoon of water to loosen it before returning the chicken.
Finish in the Pan
Put the chicken back into the skillet and turn each piece until it’s fully coated. Let it cook for another minute or two so the glaze clings and the chicken picks up that sticky finish. Sprinkle on sesame seeds and green onions at the end so they stay fresh and don’t wilt into the sauce.
How to Adapt This for Different Nights and Different Pantries
Gluten-Free Version
Swap the soy sauce for tamari or a certified gluten-free soy sauce. The glaze keeps the same sticky texture and savory edge, so you don’t lose the structure of the dish.
Chicken Thigh Swap
Boneless skinless thighs work well if you want richer, juicier meat. They usually need a few extra minutes in the pan, but they’re more forgiving than breasts and stay tender even if the glaze simmers a touch longer.
Lower-Sugar Approach
You can reduce the honey a little, but don’t cut it too far or the sauce loses its lacquered finish. If you want less sweetness, add an extra teaspoon of rice vinegar instead of stripping the honey down to nothing.
Storage and Reheating
- Refrigerator: Store in an airtight container for up to 4 days. The glaze thickens as it chills, but it loosens again when reheated.
- Freezer: It freezes well for up to 2 months, though the sauce may look a little less glossy after thawing. Freeze in portions so the chicken reheats evenly.
- Reheating: Warm it gently in a skillet over low heat with a splash of water. High heat can make the sauce separate and can dry out the chicken before the center is hot.
Answers to the Questions Worth Asking

Honey Garlic Chicken
Ingredients
Equipment
Method
- Season the chicken breasts with salt, pepper, and garlic powder to taste. Heat olive oil in a large skillet over medium-high heat and sear for 5-6 minutes per side until golden, reaching 165°F internal temperature; remove the chicken.
- In the same pan, cook the minced garlic in butter for 1 minute until fragrant, scraping up browned bits. Add honey, soy sauce, and rice vinegar, stirring to combine and turn glossy.
- Stir in the cornstarch slurry and simmer for 2-3 minutes until the sauce thickens into a sticky glaze that looks amber and clings to the spoon.
- Return the chicken to the pan and turn to coat in the honey garlic glaze. Cook for 1-2 more minutes until the glaze is blistered in spots and the chicken is evenly coated.
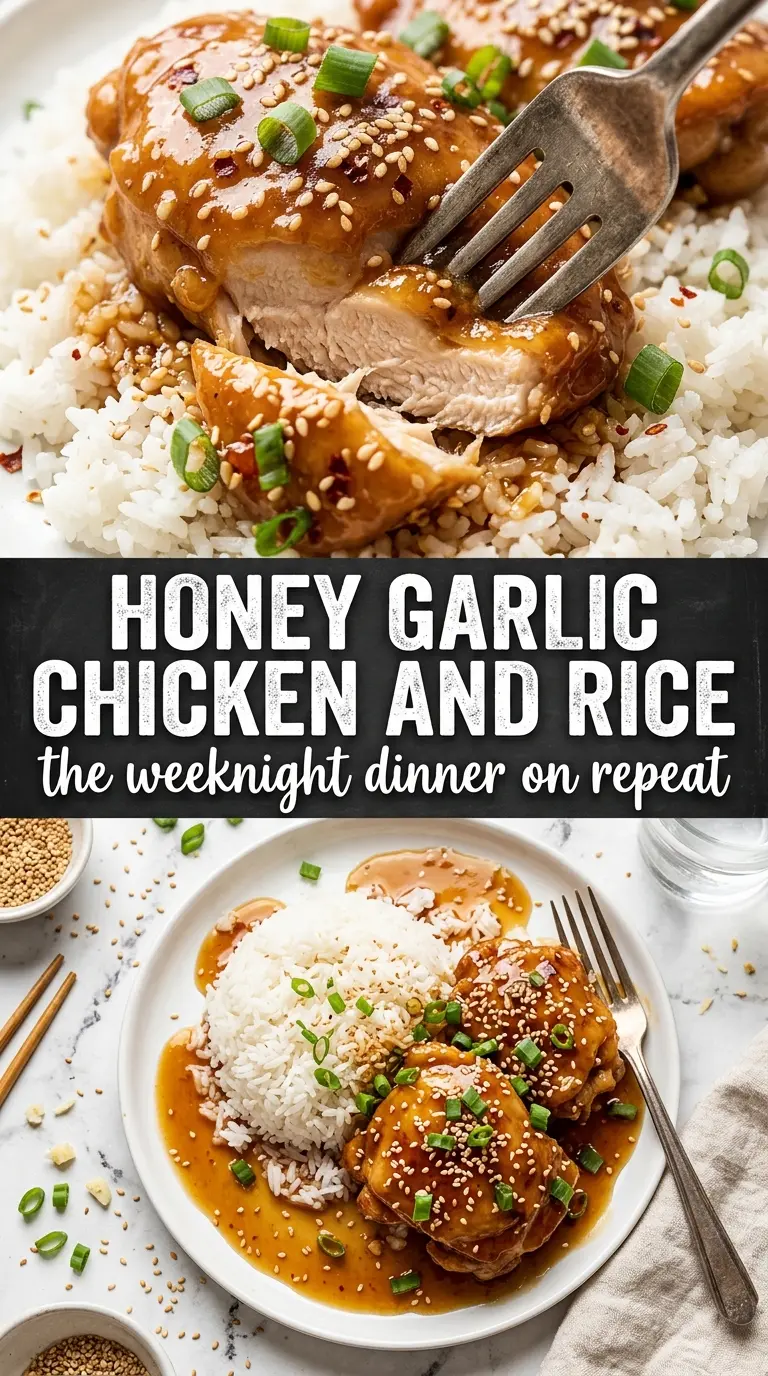
- Garnish with sesame seeds and sliced green onions. Serve immediately over steamed rice, letting the golden sauce pool around the chicken.