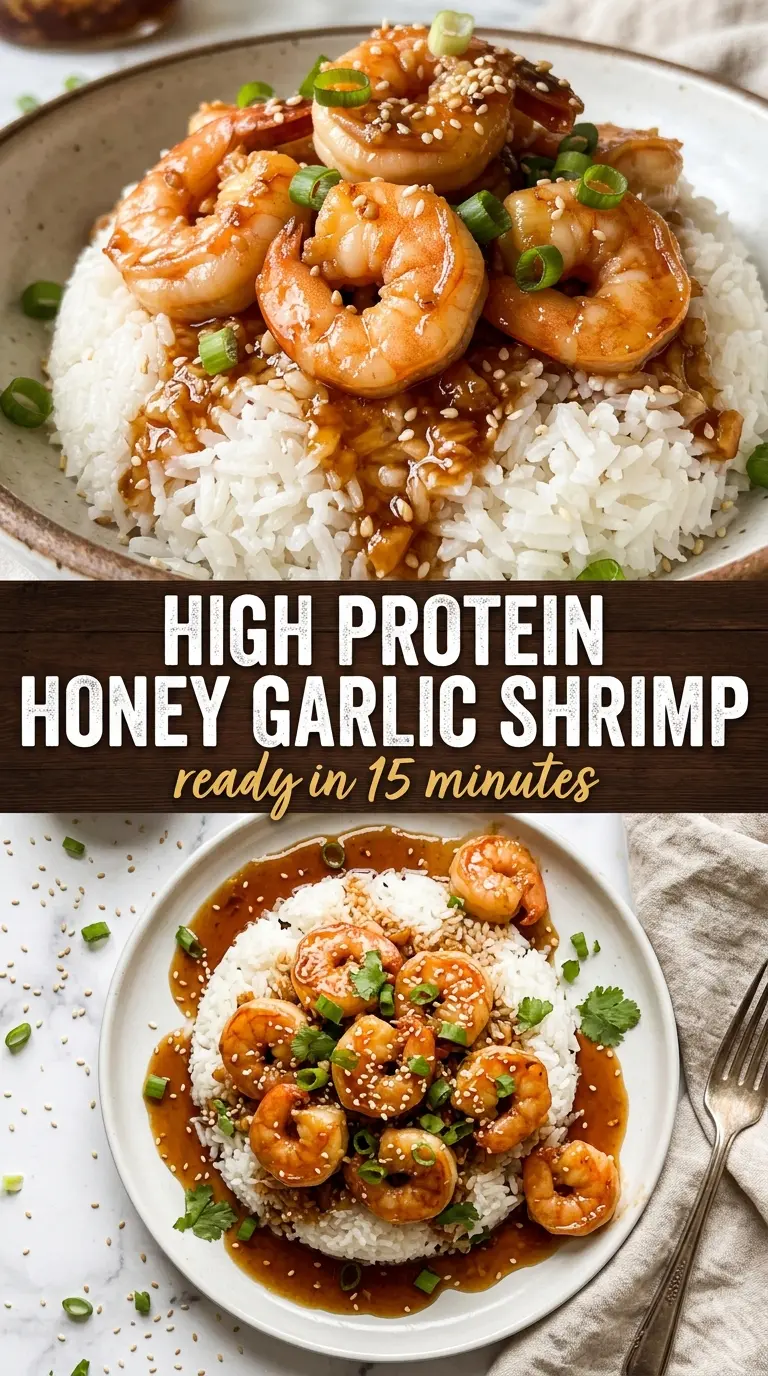
Plump shrimp with a sticky honey garlic glaze hit every note that makes a weeknight dinner feel worth repeating: salty, sweet, garlicky, and fast enough to get on the table before the rice is even finished. The sauce clings instead of sliding off, and the shrimp stay tender instead of turning rubbery, which is what makes this version earn its place in the regular rotation.
The trick is keeping the shrimp dry before they hit the pan and getting them out as soon as they turn pink and opaque. Shrimp cook in a blink, and once they curl tightly and lose their translucence, they’re done. The sauce only needs a short simmer to thicken into that glossy amber coating; push it too far and the honey can go from sticky to scorched in a hurry.
Below, I’ll walk through the small details that make the glaze cling, the swaps that still work if you’re missing one ingredient, and the few questions that usually come up the first time people make it.
The sauce thickened in just a couple minutes and coated every shrimp instead of pooling in the skillet. I served it over rice and my husband asked if we could have it again the next night.
Save this sticky honey garlic shrimp for the nights when you want a high-protein dinner with glossy sauce and almost no cleanup.
The Reason the Shrimp Stay Tender Instead of Tight and Chewy
The biggest mistake with shrimp is treating them like they need a long simmer to absorb flavor. They don’t. Shrimp pick up sauce fast, and the moment you leave them in the pan too long, the texture goes from juicy to stiff. That’s why this recipe cooks the shrimp first, sets them aside, then brings them back only at the end for a quick toss in the glaze.
The second mistake is adding the garlic too early or letting the sauce boil hard. Garlic burns fast, and honey scorches even faster. A short sauté followed by a brief simmer is enough to build the sauce without pushing it into bitter or sticky-burnt territory.
- Dry shrimp — Paper towels matter here. Wet shrimp steam instead of sear, and they won’t pick up the same light edge before the sauce goes in.
- Single-layer cooking — Give the shrimp space in the skillet. Crowding drops the heat and leaves you with gray, watery shrimp instead of quick caramelization.
- Fast finishing toss — The shrimp only need to warm through in the glaze. That final minute is enough to coat them without tightening the texture.
What Each Ingredient Is Doing in the Glaze
- Large shrimp — Bigger shrimp hold up better under high heat and stay meatier once coated. If you only have smaller shrimp, cut the initial sear even shorter so they don’t overcook before the sauce is ready.
- Honey — This gives the glaze its shine and body. There’s no perfect substitute for the exact sticky finish, but maple syrup will work in a pinch with a slightly deeper, less floral sweetness.
- Low-sodium soy sauce — Soy sauce brings salt, color, and that savory backbone that keeps the glaze from tasting one-note. Use the low-sodium version so the shrimp don’t end up too salty once the sauce reduces.
- Fresh lemon juice — This keeps the honey from turning heavy and rounds out the sauce with a clean finish. Bottled lemon juice works, but fresh gives the glaze a brighter edge.
- Garlic and red pepper flakes — Garlic is the main aromatic, and the pepper flakes add just enough heat to keep the sauce lively. If you want less heat, cut the pepper flakes in half rather than skipping them entirely.
Getting the Sauce Glossy Before the Shrimp Go Back In
The Quick Sear
Heat the oil until it shimmers, then add the shrimp in a single layer. You want a light sizzle the second they hit the pan, not a slow hiss, which means the skillet isn’t hot enough. Cook them for 1 to 2 minutes per side until the flesh turns pink and opaque. Pull them out the moment they’re done; the residual heat will finish the job while the sauce comes together.
Building the Glaze
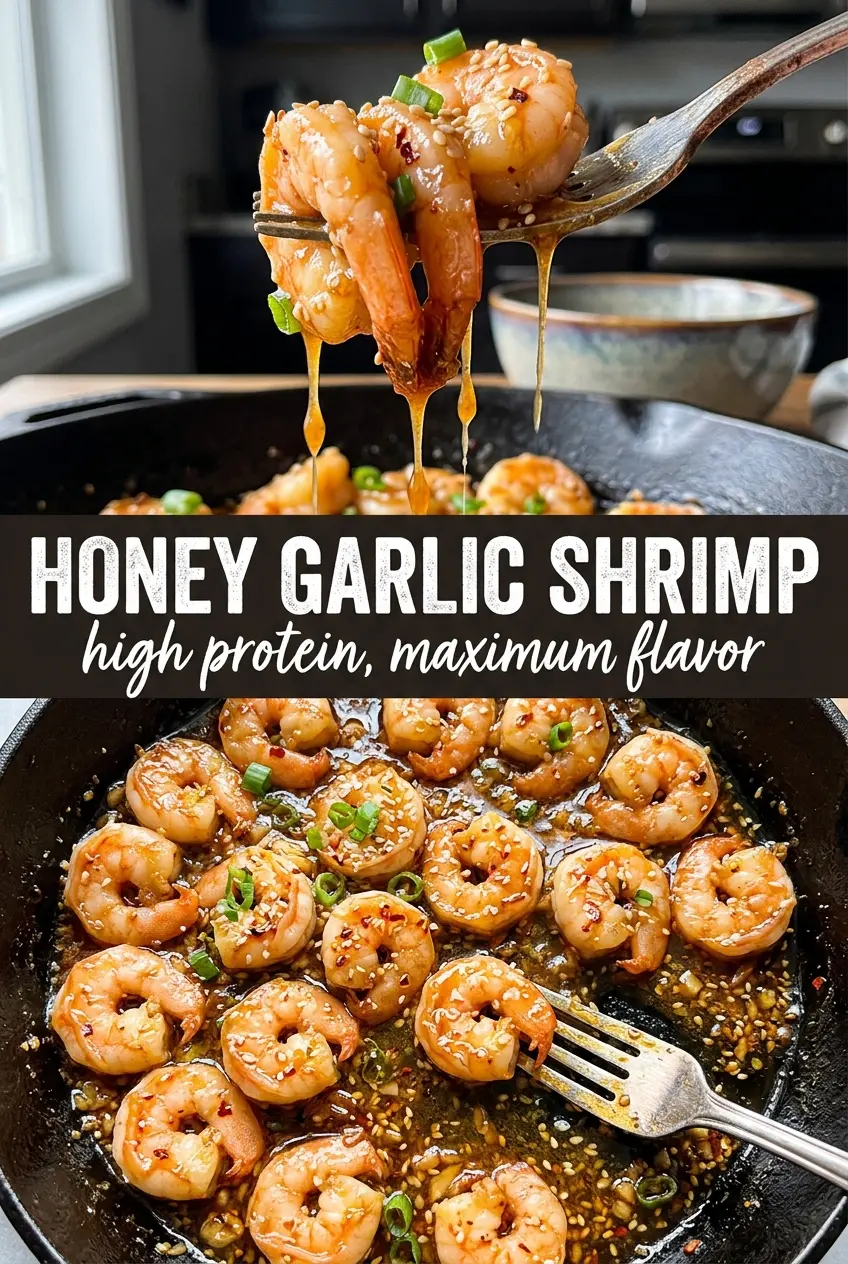
Use the same pan without wiping it out. Those browned bits on the bottom carry a lot of flavor into the sauce. Add the garlic for just 30 seconds, enough to smell it bloom, then stir in the honey, soy sauce, lemon juice, and red pepper flakes. Let it bubble gently for 1 to 2 minutes until it looks slightly thicker and starts to coat the spoon instead of running off like water.
Bringing It Together
Return the shrimp to the pan and toss quickly until every piece is lacquered. If the sauce looks too loose, give it another 20 to 30 seconds; if it looks too thick, a teaspoon of water loosens it back up. Serve immediately over rice or broccoli. The glaze sets up as it sits, so waiting around is how you lose that shiny coating.
Three Ways to Make This Shrimp Work for Different Nights
Dairy-Free and Naturally Gluten-Free
This recipe already fits both of those needs as written if you use gluten-free soy sauce or tamari. The sauce still tastes balanced because the honey and lemon do the brightening work, so you don’t lose anything by leaving dairy out.
Make It Lower-Carb
Serve the shrimp over steamed broccoli, cauliflower rice, or sautéed cabbage instead of white rice. The glaze is still the star, but the meal feels lighter and keeps the sweet-savory balance without the starch.
Swap in Chicken Instead of Shrimp
Thinly sliced chicken breast or thighs can take the same glaze, but they need longer cooking and a full internal temperature, so this stops being a 10-minute dinner. The payoff is a slightly heartier dish with the same sticky coating.
Use Maple Syrup for a Different Sweetness
Maple syrup can replace the honey 1:1 if that’s what you have. The sauce will taste a little deeper and less floral, and it may thicken a touch less, so give it an extra minute on the stove if needed.
Storage and Reheating
- Refrigerator: Store leftovers in an airtight container for up to 2 days. The shrimp stay safe and tasty, but they firm up a bit once chilled.
- Freezer: I don’t recommend freezing this one. Shrimp can turn mealy after thawing, and the glaze loses the fresh glossy finish.
- Reheating: Warm gently in a skillet over low heat with a splash of water to loosen the sauce. High heat is the mistake here — it turns the shrimp rubbery before the glaze has a chance to soften.
Questions I Get Asked About This Recipe
High-Protein Honey Garlic Shrimp
Ingredients
Equipment
Method
- Pat shrimp dry with paper towels and season lightly with salt and pepper. The surface should look dry so the shrimp sear instead of steaming.
- Heat olive oil in a large skillet over medium-high heat until shimmering. The oil should shimmer right before adding the shrimp.
- Add shrimp in a single layer and cook for 1–2 minutes per side until pink and opaque, then remove and set aside. You should see caramelized edges and a glossy exterior.
- In the same pan, add garlic and cook for 30 seconds. Stir until fragrant but not browned.
- Add honey, soy sauce, lemon juice, and red pepper flakes and stir. Scrape up any browned bits so the glaze turns amber and cohesive.
- Simmer the sauce for 1–2 minutes until slightly thickened, then return shrimp to the pan and toss to coat. The sauce should cling to the shrimp and look glossy.
- Serve immediately over rice, garnished with sesame seeds and sliced green onions. Plate while the glaze is still sticky and glossy.