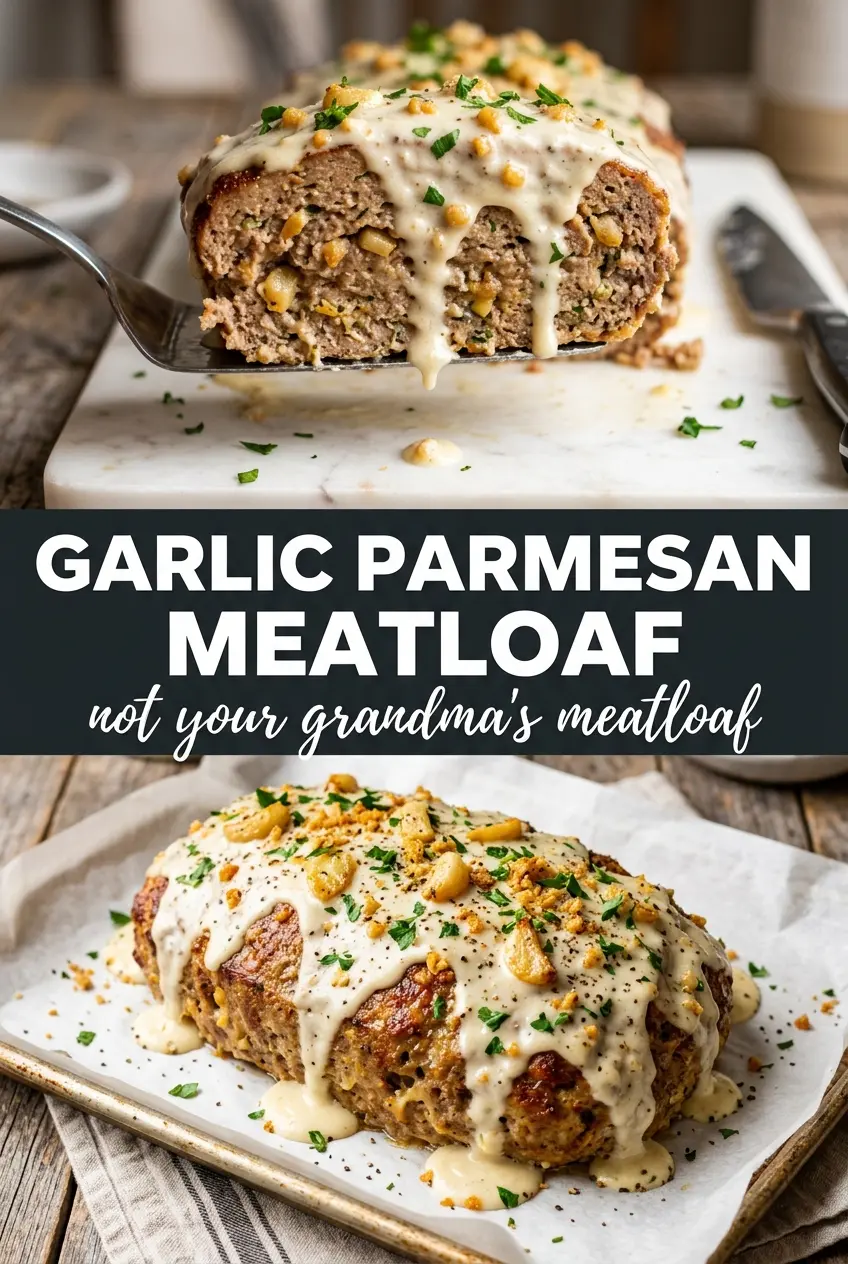
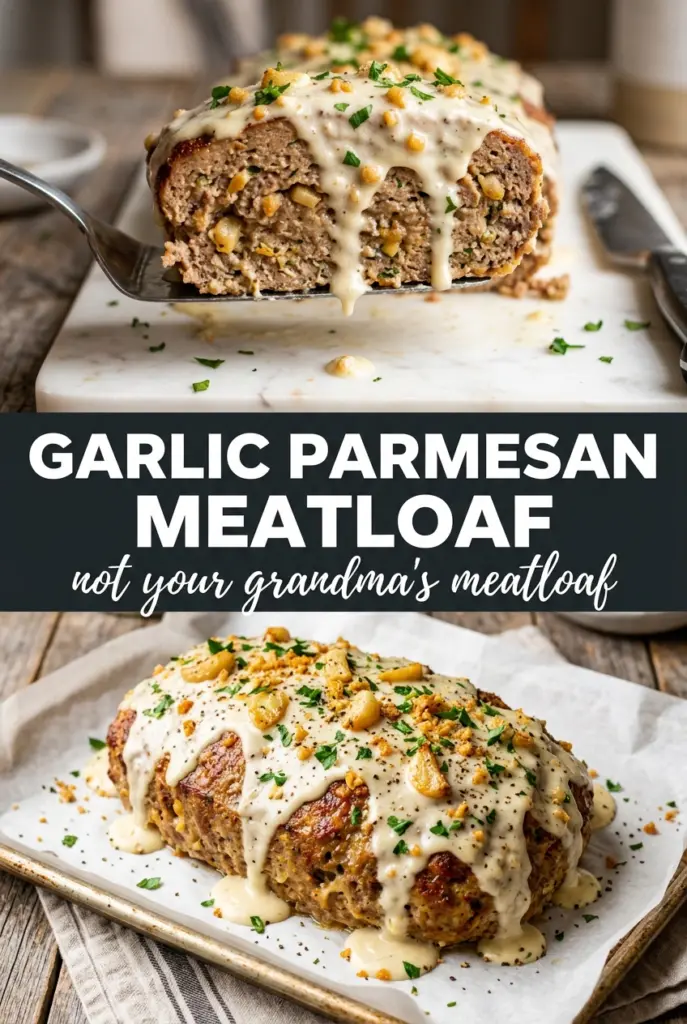
Garlic Parmesan Meatloaf bakes up with a deep golden crust, a juicy center, and enough savory garlic-parmesan flavor to make plain meatloaf feel forgotten. The topping turns crisp at the edges while the inside stays tender and sliceable, which is exactly what you want when you’re serving it with mashed potatoes, roasted vegetables, or a simple salad on the side.
The trick is in the balance. Parmesan adds salt, structure, and that nutty finish, while the milk and eggs keep the loaf from turning dense. Breadcrumbs help hold everything together, but the bigger move is mixing gently and stopping as soon as the ingredients are combined. Overmixing is what gives meatloaf that tight, rubbery texture nobody wants.
Below, I’ll walk you through the part that matters most: getting a meatloaf that stays moist without falling apart, plus the topping strategy that gives you that crackled garlic crust on top. There are also a few smart swaps and storage notes if you want to make it ahead or adjust it for what’s already in your kitchen.
The crust got beautifully browned and the center stayed juicy instead of drying out. I used the loaf pan method and it sliced cleanly after the rest, which made dinner a lot less messy.
Save this Garlic Parmesan Meatloaf for the night you want a juicy center and that garlicky parmesan crust on top.
The Trick to Keeping Meatloaf Tender Without Making It Dense
Most dry meatloaf comes from two places: lean meat and overworking the mixture. This version uses 80/20 ground beef, which has enough fat to stay moist as it bakes, and the milk plus eggs give the breadcrumbs time to soften before the oven sets everything in place. That’s what keeps the texture soft instead of compact.
The other mistake is packing the loaf too tightly. Shape it with just enough pressure to keep it together, but don’t mash it into a brick. A loose shape lets heat move through the center evenly, and that means you get a loaf that slices cleanly after resting instead of crumbling when you cut it.
- Ground beef 80/20 — This fat level matters. Leaner beef can work, but the loaf will be firmer and less forgiving.
- Milk and eggs — These hydrate the breadcrumbs and bind the loaf without making it heavy. Whole milk gives the best result, but 2% works if that’s what you have.
- Parmesan — Use freshly grated parmesan if you can. It melts into the loaf better and gives the topping a sharper, cleaner finish than the pre-shredded kind.
- Breadcrumbs — Italian breadcrumbs add seasoning and help the loaf hold moisture. Plain breadcrumbs work too; just keep the Italian seasoning in the mix.
What Each Ingredient Is Doing in the Loaf and the Crust
- Onion — Finely dice it so it softens fully while baking. Bigger pieces stay crunchy and can make each slice fall apart.
- Garlic — Dividing the garlic between the loaf and the topping keeps the flavor layered instead of sharp. Mince it finely so it perfumes the meat and doesn’t leave raw bites.
- Italian seasoning and garlic powder — These fill in the background and make the loaf taste seasoned all the way through. If you only use fresh garlic, the flavor can read flat after baking.
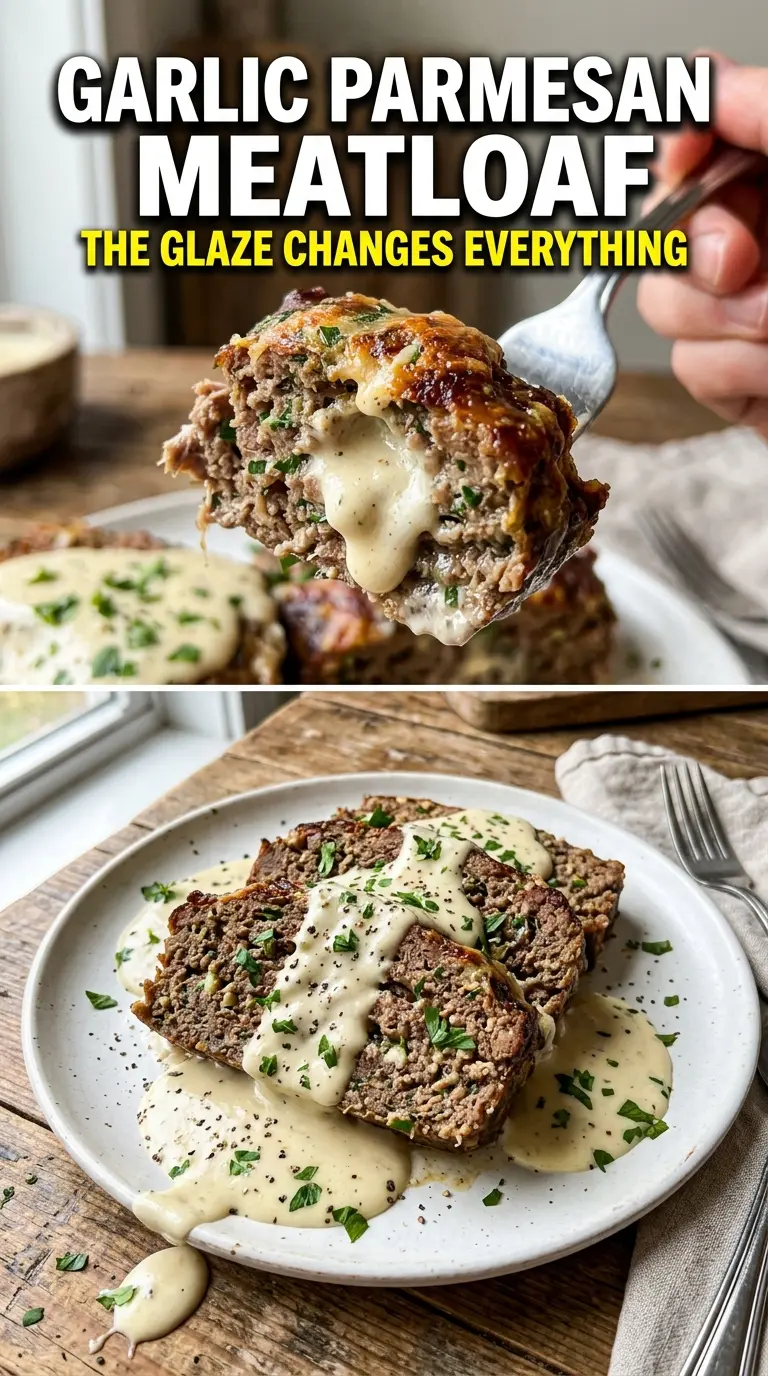
- Butter for the topping — This is what helps the parmesan brown into a crust instead of drying into dust. Melted butter also carries the garlic across the surface evenly.
- Fresh parsley — It’s not just garnish. A little chopped parsley wakes up the rich topping and keeps the finished loaf from looking heavy on the plate.
Building the Crust Before the Oven Sets the Shape
Mix the loaf gently
Combine the beef, half the parmesan, breadcrumbs, milk, eggs, half the garlic, onion, seasoning, garlic powder, salt, and pepper in a large bowl. Use your hands or a fork and stop as soon as everything looks evenly distributed. If the mixture turns pasty, it’s already been overmixed, and the finished loaf will feel tight instead of tender.
Shape it without packing it down
Form the mixture into a loaf on a parchment-lined pan or in a loaf pan if you want cleaner sides. Press just enough to keep it together, then smooth the top so the butter and parmesan can coat it evenly. A loaf that’s too compact cooks up dense in the center and can release too much fat around the edges.
Brush on the garlic butter and parmesan
Mix the melted butter with the remaining garlic and brush it over the top, then pat the remaining parmesan over the whole surface. That layer is what creates the crackled crust, so don’t leave dry spots. If the topping slides off, the loaf was too wet on top; just pat it back into place before it goes in the oven.
Bake until the center is cooked through
Bake at 375°F for 55 to 65 minutes, until the top is deeply golden and the center reaches 160°F. The color on top should be rich and bronzed, not pale. If the crust browns too quickly, lay a loose piece of foil over the top for the last stretch of baking and keep going until the temperature is right.
Let it rest before slicing
Give the meatloaf 10 minutes to rest before cutting. That pause lets the juices settle back into the meat instead of running onto the board. Slice too early and you’ll lose the clean edges and the moist center you worked for.
Three Ways to Adjust This Meatloaf Without Losing the Good Part
Gluten-Free Version
Swap the Italian breadcrumbs for certified gluten-free breadcrumbs in the same amount. The texture stays close to the original, though some brands absorb a little more moisture, so if the mix looks dry before shaping, add a tablespoon or two of milk.
Dairy-Free Adjustment
Use an unsweetened plain non-dairy milk and replace the parmesan with a dairy-free parmesan-style substitute. You’ll lose a little of the sharp, salty finish, so add a pinch more salt and don’t skip the garlic butter-style topping if your substitute melts well.
For a Loaf Pan or Free-Form Finish
A loaf pan gives you neater sides and keeps more juices around the meat, while a free-form loaf on a sheet pan gives you more browned surface. If you want the crustiest top, use the sheet pan. If you want the easiest slices, use the pan.
Storage and Reheating
- Refrigerator: Store sliced or whole in an airtight container for up to 4 days. The crust softens a little, but the flavor holds well.
- Freezer: It freezes well. Wrap individual slices tightly and freeze for up to 3 months for easy portions.
- Reheating: Warm slices covered in a 325°F oven with a splash of broth or water in the pan so they don’t dry out. Microwaving works in a pinch, but it can make the edges tough before the center is hot.