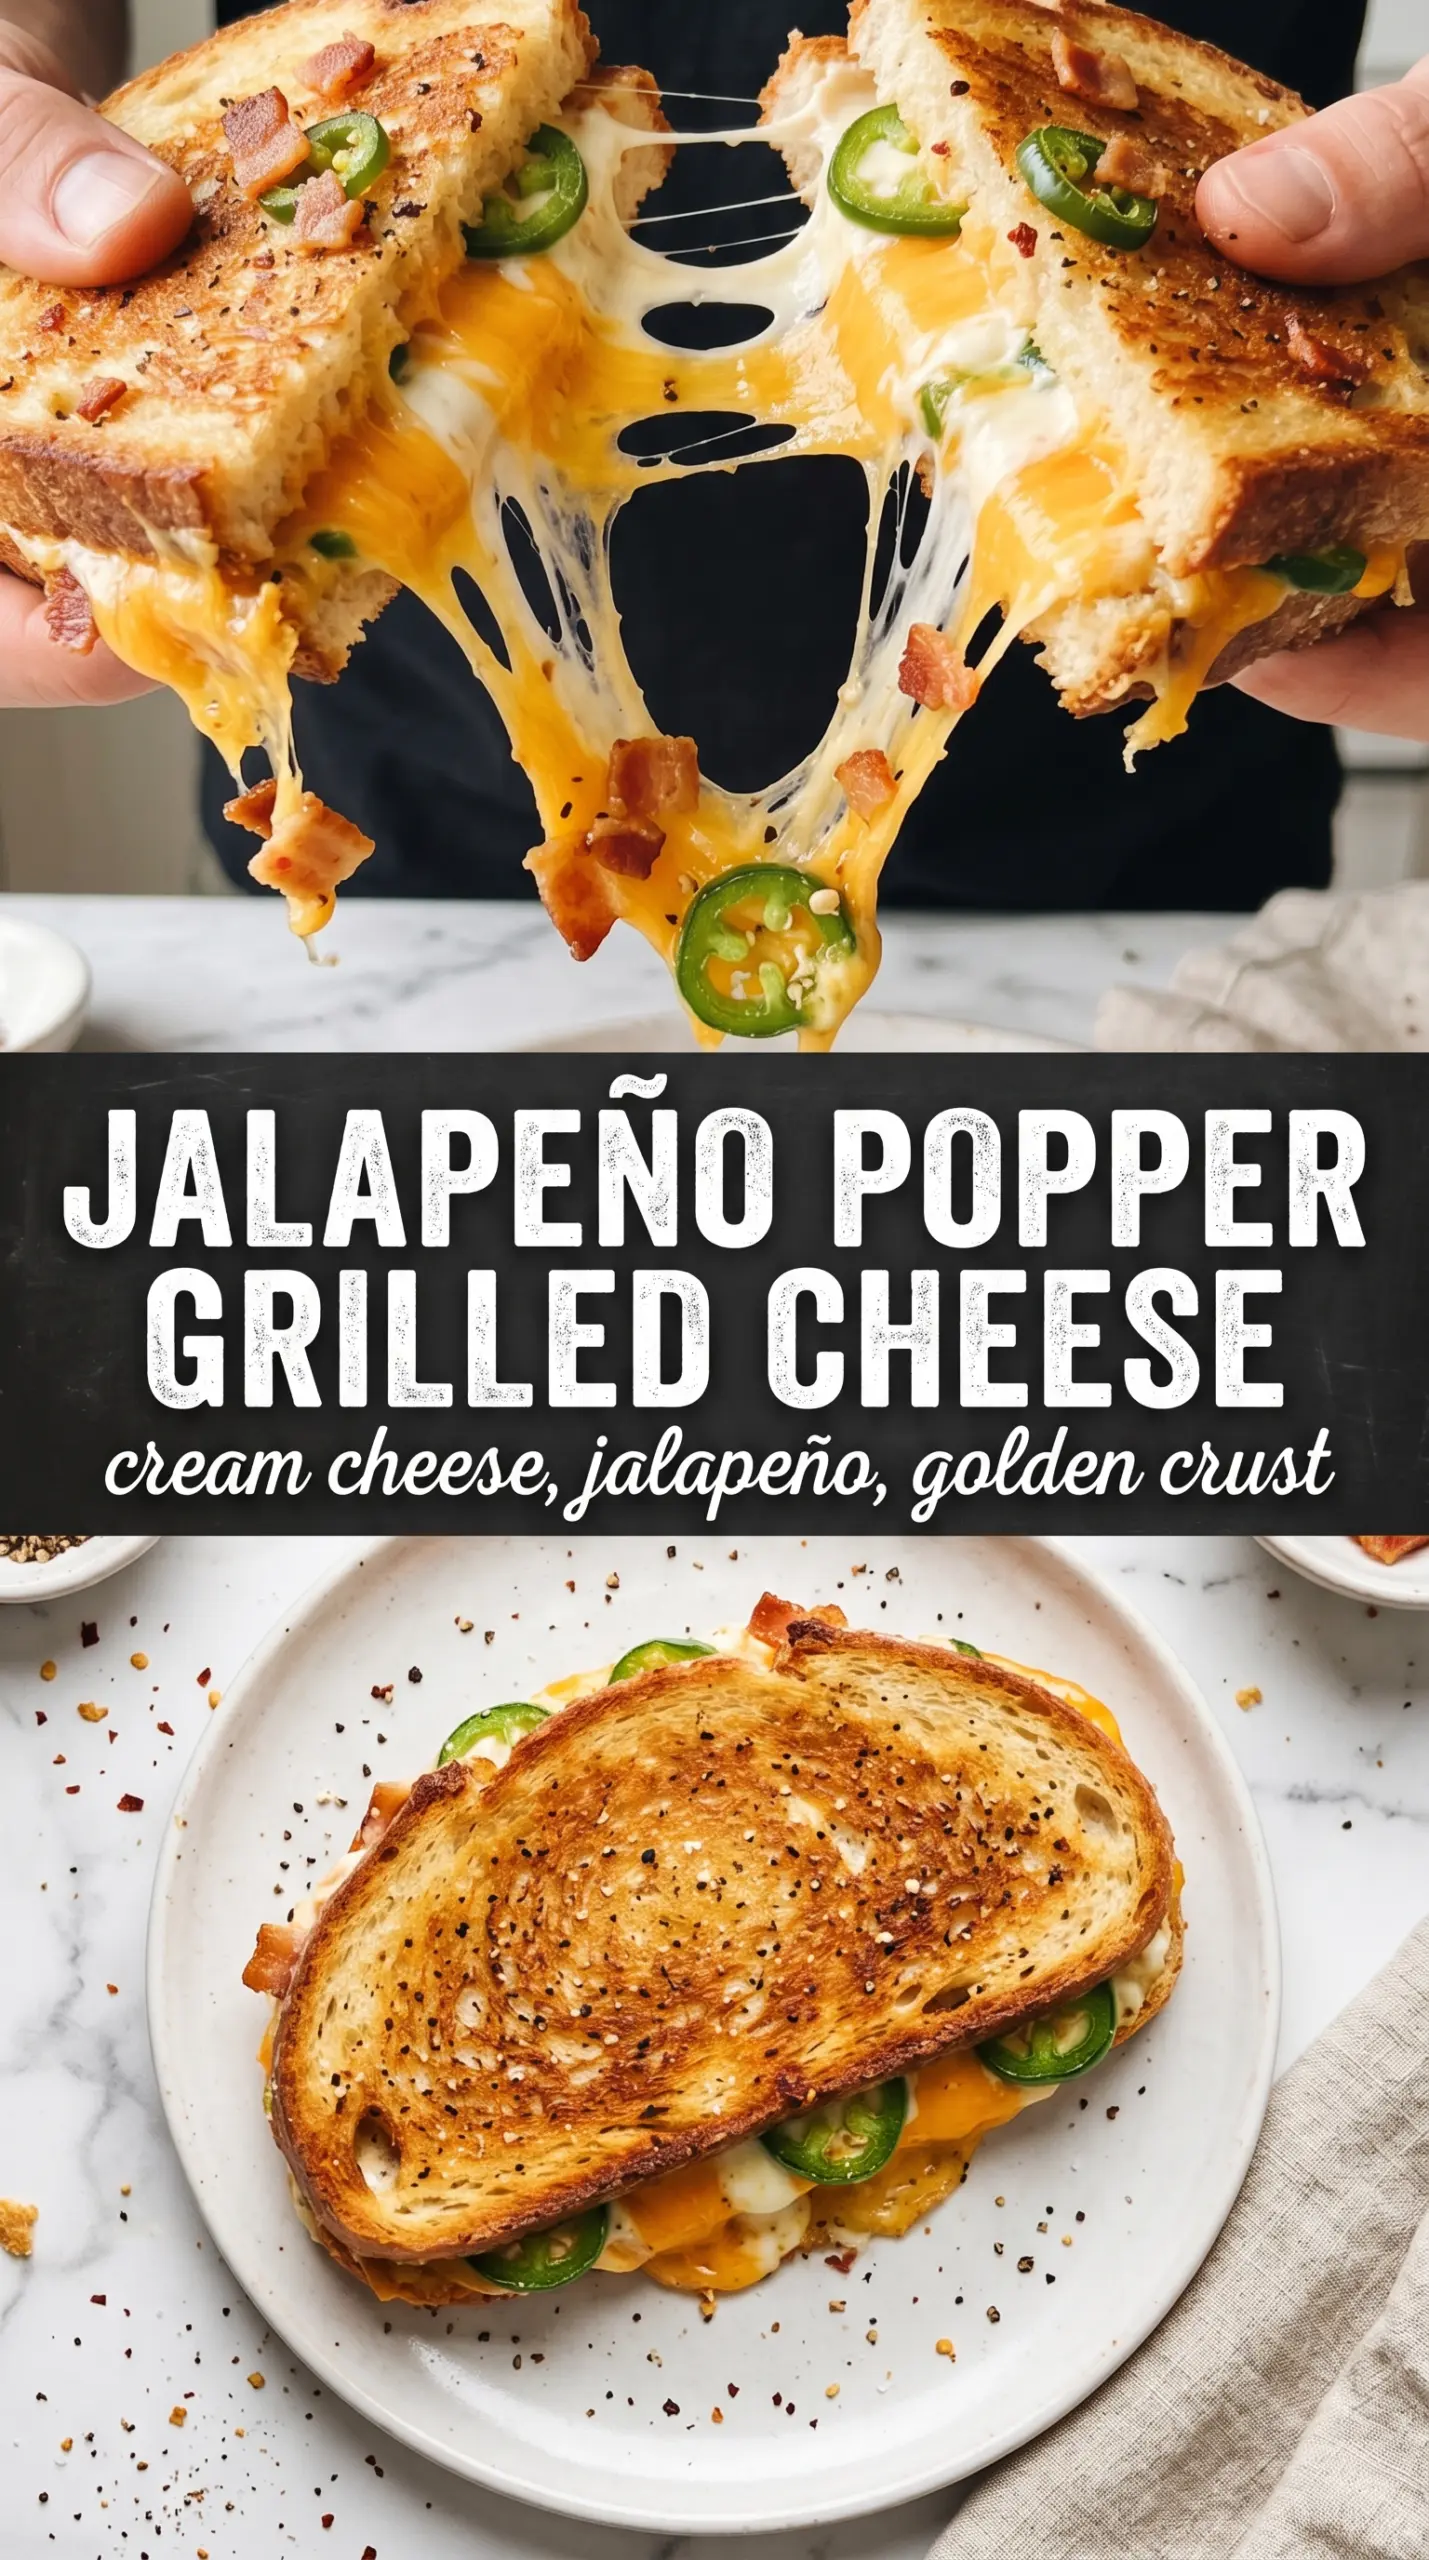
Golden-crusted grilled cheese with a jalapeño popper filling hits that perfect middle ground between lunch and comfort food. The bread turns crisp and shattery in the skillet while the center stays creamy, smoky, and just hot enough to wake up the whole sandwich. When the cheese stretches and the jalapeños peek through, it eats like something far more involved than a ten-minute skillet lunch.
What makes this version work is the balance inside the filling. Cream cheese gives the sandwich a rich, stable base that melts smoothly instead of running out onto the pan, while sharp cheddar brings the punch and pepper jack adds a little extra heat and better meltability. Cooking it over medium-low heat matters more than people think; that slower burn gives the bread time to brown before the filling gets oily or the cheese tightens up.
Below, you’ll find the small details that keep the sandwich from turning soggy, plus a few easy ways to adjust the heat, skip the bacon, or make it ahead without losing that molten center.
The cream cheese kept everything thick and gooey, and the jalapeños stayed bright instead of getting lost. I cooked it low and slow like you said, and the bread turned out evenly crisp with no burnt spots.
Save this jalapeño popper grilled cheese for the kind of lunch that needs a crisp crust, a molten center, and just enough heat to keep things interesting.
The Trick to Keeping the Filling Creamy Instead of Leaking Out
Most grilled cheese problems start before the sandwich even hits the pan. If the filling is loose, the bread browns before the inside warms through, and the cheese mixture squeezes out the sides as soon as you press it. Here, the softened cream cheese acts like glue. It holds the cheddar, pepper jack, bacon, and jalapeños together so the sandwich stays packed and sliceable.
The other thing that matters is heat. Medium-low sounds cautious, but it’s the right pace for a stuffed sandwich. Higher heat scorches the bread before the filling softens, which leaves you with dark crust and cool center. Slow enough to melt, hot enough to crisp. That’s the sweet spot.
What Each Ingredient Is Doing in This Sandwich
- Thick white bread or sourdough — You want sturdy slices with enough structure to hold the filling. Thin sandwich bread tends to collapse or tear once the cheese starts melting. Sourdough adds a little tang; white bread gives you that classic diner-style crunch.
- Cream cheese — This is the base that keeps the filling from running. It must be softened first so it blends smoothly with the shredded cheeses instead of staying in cold clumps. Full-fat cream cheese gives the best melt and body.
- Sharp cheddar — This brings the bold, familiar grilled-cheese flavor. Pre-shredded works, but freshly shredded melts more cleanly because it doesn’t carry the anti-caking coating. If you want the strongest cheese flavor, don’t swap this for mild cheddar.
- Pepper jack — It adds heat and helps the filling stay stretchy. If you only have Monterey Jack, use it and add a pinch of cayenne for a little kick. The pepper jack is what keeps the sandwich from tasting flat.
- Jalapeños — Fresh sliced jalapeños bring brightness and a clean burn. Removing the seeds and ribs keeps the heat manageable, while leaving some in gives the sandwich more bite. Slice them thin so they soften inside the skillet.
- Bacon — Bacon adds salt, smoke, and crunch. Cook it until crisp before crumbling it in, or the extra grease can make the filling heavy. If you skip it, the sandwich still works, but it loses that jalapeño popper feel.
- Butter — Butter on the outside of the bread gives the crust its deep golden color and rich flavor. Softened butter spreads more evenly than melted butter, which can soak into the bread in patches.
Building the Sandwich So the Bread Browns Before the Cheese Breaks
Mixing the Filling
Stir the softened cream cheese, shredded cheddar, pepper jack, bacon, and jalapeños until the mixture looks thick and evenly combined. You want a spreadable mound, not a runny paste. If the cream cheese is still cold, it’ll stay lumpy and leave cold pockets in the middle of the sandwich. Let it sit at room temperature first so everything comes together cleanly.
Assembling for Even Melt
Spread the filling thickly on the unbuttered side of two bread slices, then top with the remaining slices, buttered side facing out. Keep the filling away from the very edges, because cheese pressed right to the rim is what oozes into the skillet and burns. A generous middle layer gives you that dramatic pull without sacrificing structure.
Low and Slow in the Skillet
Cook the sandwiches in a skillet over medium-low heat for 4 to 5 minutes per side, pressing gently with a spatula. The bread should turn a deep golden brown while the cheese melts through the center. If the bread is darkening too fast, drop the heat immediately. The sandwich is done when the crust feels crisp and the filling gives a soft, molten squeeze when you press the top.
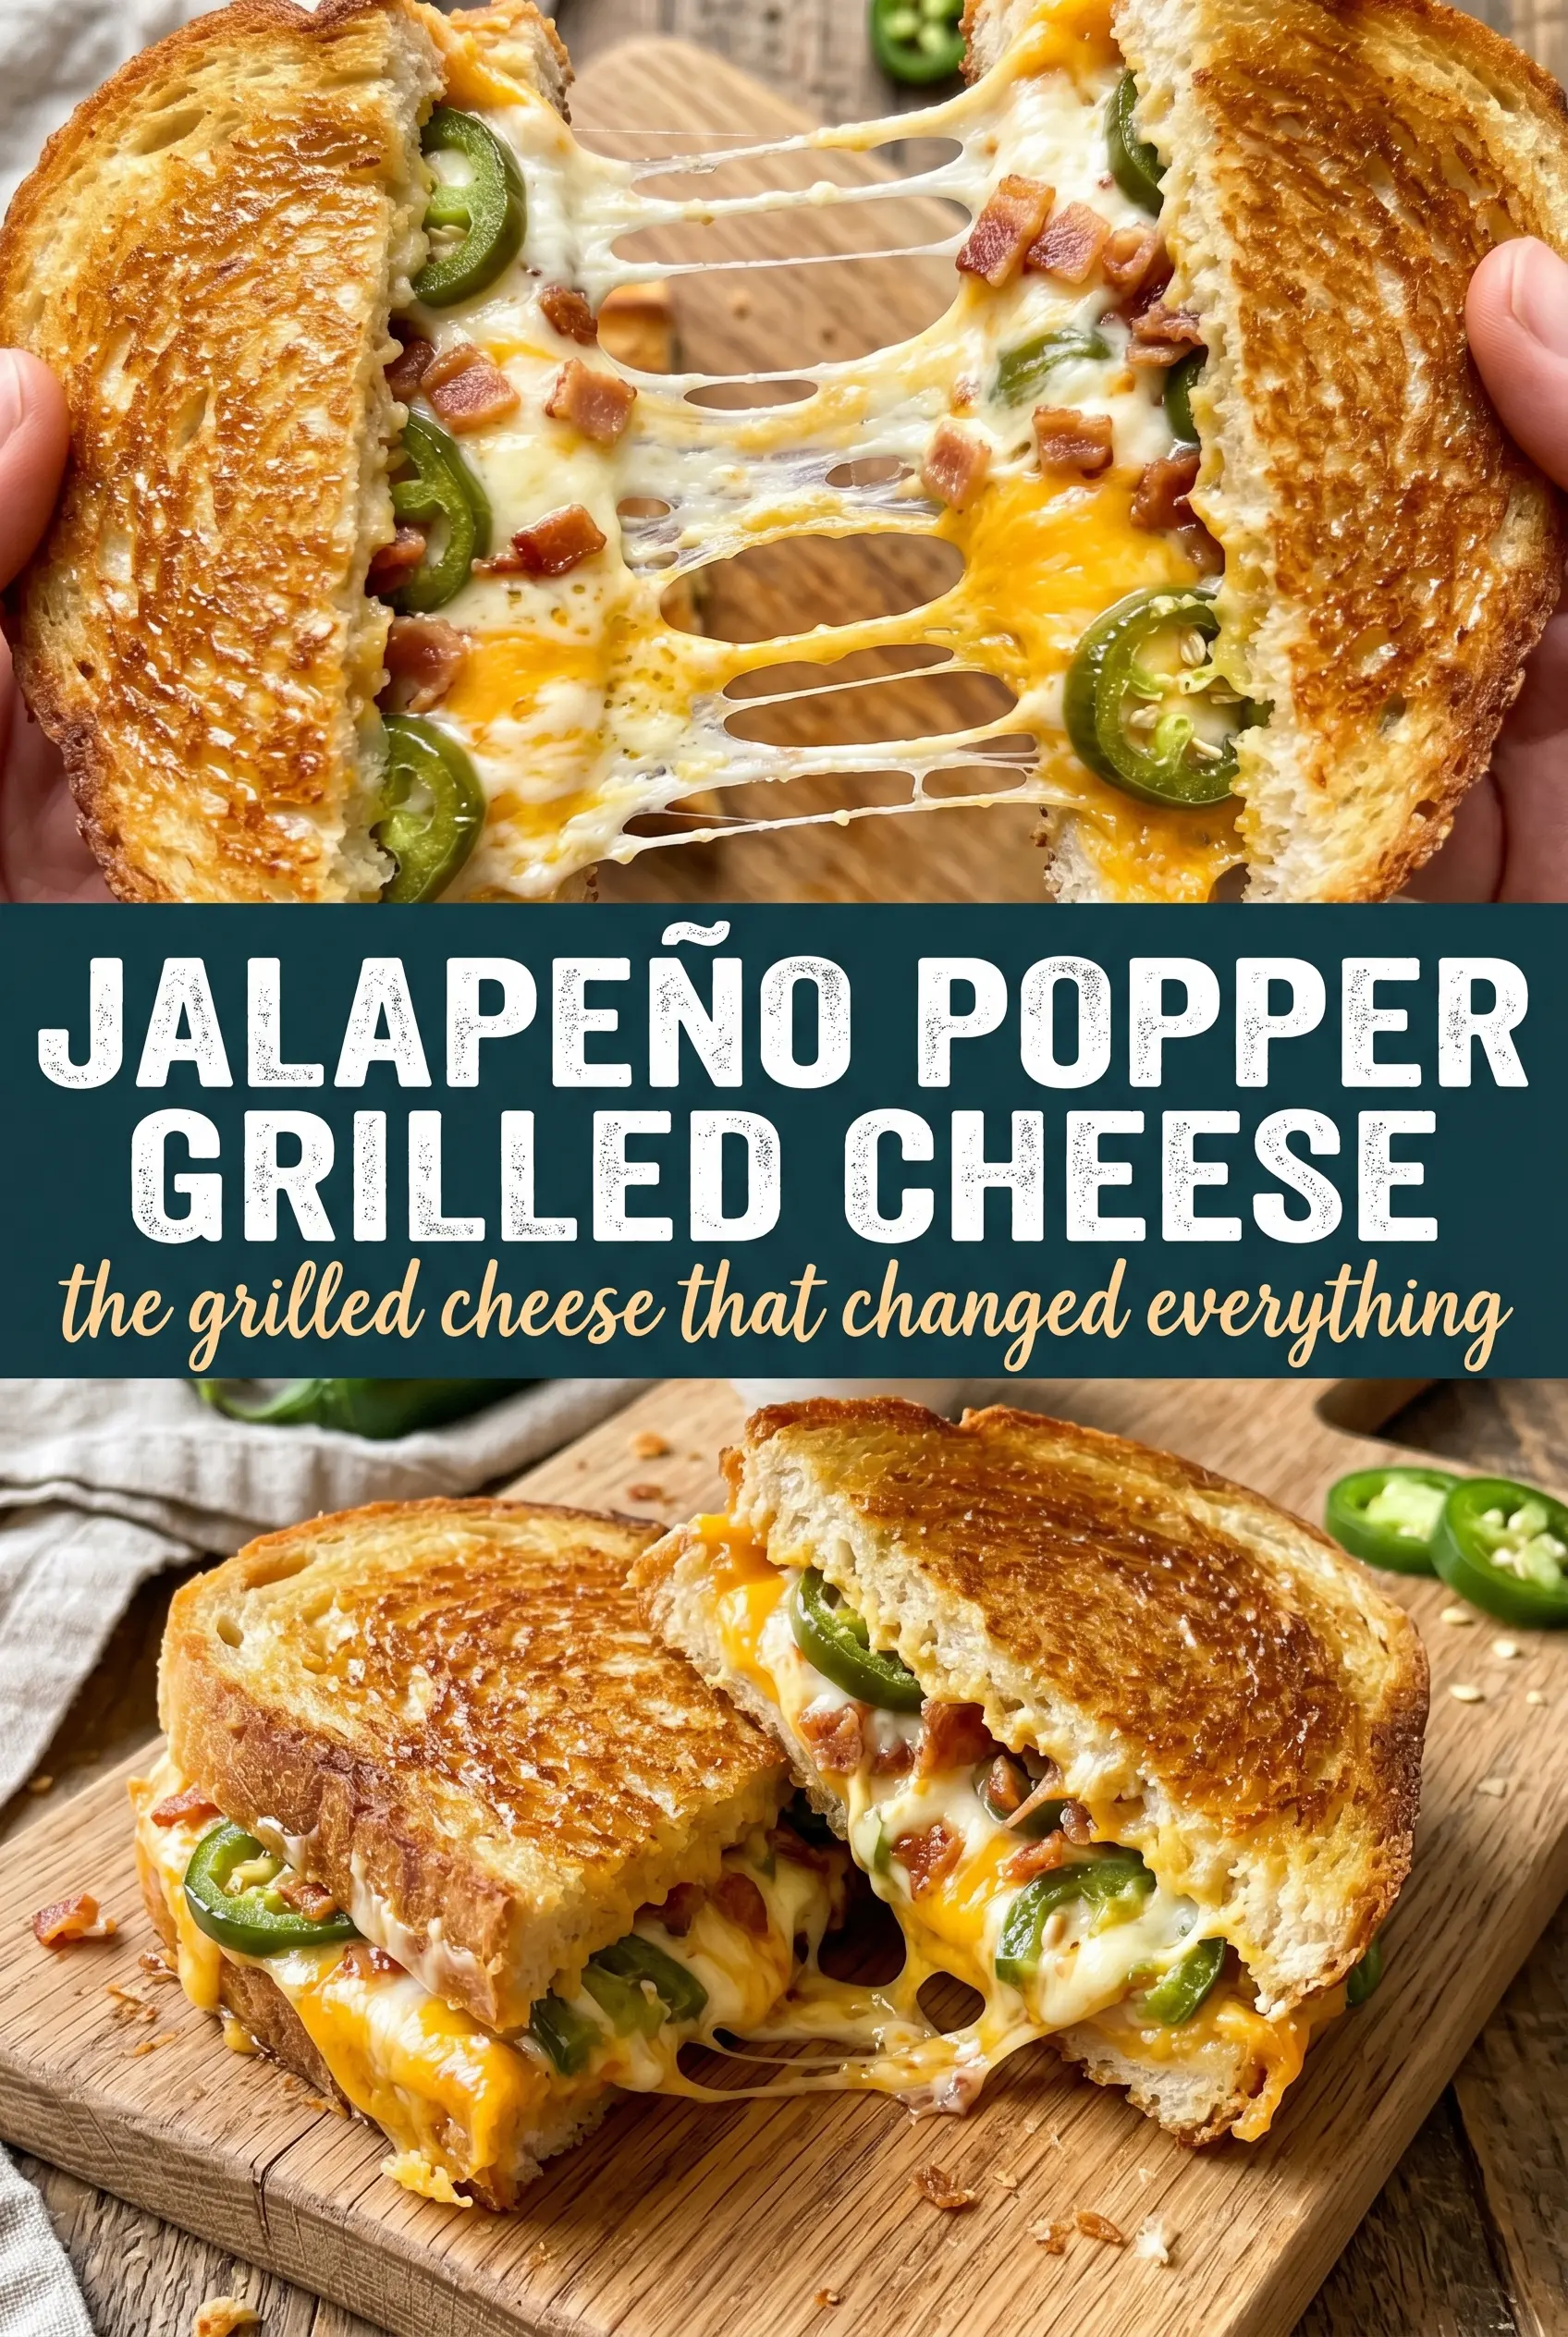
Slicing for the Best Cheese Pull
Let the sandwiches rest for a minute, then slice them in half on the diagonal. That short pause keeps the filling from gushing out the second the knife goes through. Serve right away while the cheese is still stretchy and the crust is at its crispiest.
How to Adjust the Heat, the Cheese, and the Bacon
Make it milder without losing the jalapeño popper flavor
Remove the seeds and ribs from every jalapeño, and use only two peppers instead of three. You’ll still get that fresh pepper flavor, but the heat will stay in the background. For even less bite, briefly sauté the slices first to soften their edges.
Skip the bacon and keep it vegetarian
Leave out the bacon and add a pinch of smoked paprika plus a little extra salt. That won’t mimic bacon exactly, but it gives the filling some of the smoky depth you’d otherwise miss. The texture stays creamy and the sandwich still feels satisfying.
Use gluten-free bread if needed
Choose a sturdy gluten-free loaf with enough body to hold the filling and toast without crumbling. Gluten-free bread often browns faster, so keep the heat on the lower end and give it a little extra time in the pan. The sandwich still works well as long as the slices are thick enough to handle the filling.
Storage and Reheating
- Refrigerator: Store leftover sandwiches wrapped tightly for up to 2 days. The bread softens a little, but the filling stays usable.
- Freezer: Freezing isn’t the best option here. The cream cheese filling can turn grainy after thawing, and the bread loses its crisp texture.
- Reheating: Reheat in a skillet over low heat or in a toaster oven until warmed through and crisp again. Skip the microwave if you want the crust to stay intact, because it turns the bread limp before the center heats evenly.
Questions I Get Asked About This Recipe
Jalapeño Popper Grilled Cheese
Ingredients
Equipment
Method
- Mix softened cream cheese with shredded cheddar, pepper jack, crumbled bacon, and jalapeño slices until evenly combined.
- Spread butter evenly on one side of each bread slice.
- Divide the cream cheese mixture between two bread slices on the unbuttered side, spreading thickly to the edges.
- Top with remaining bread slices buttered-side out to form two sandwiches.
- Cook the sandwiches in a skillet over medium-low heat for 4–5 minutes per side, pressing gently with a spatula, until golden brown and the cheese is fully melted.
- Slice the sandwiches in half and serve immediately.