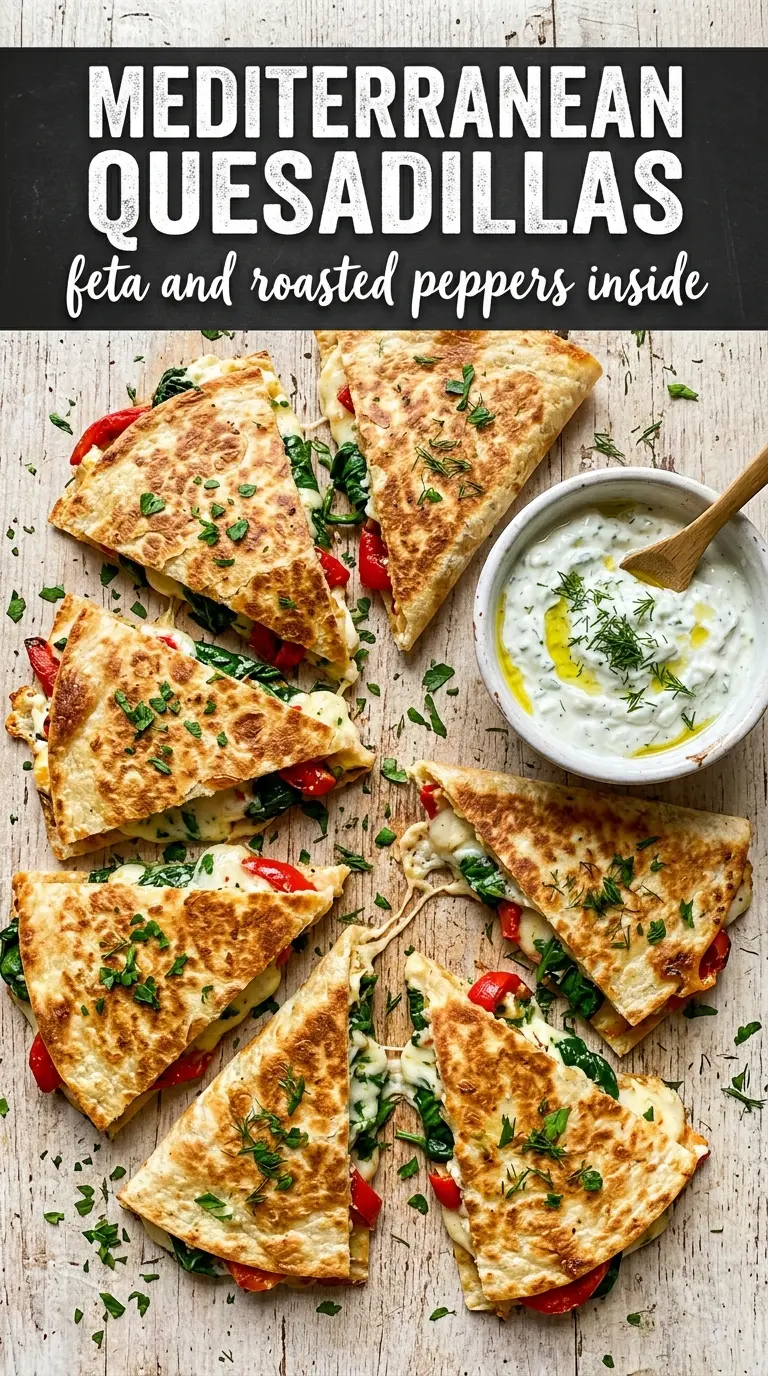
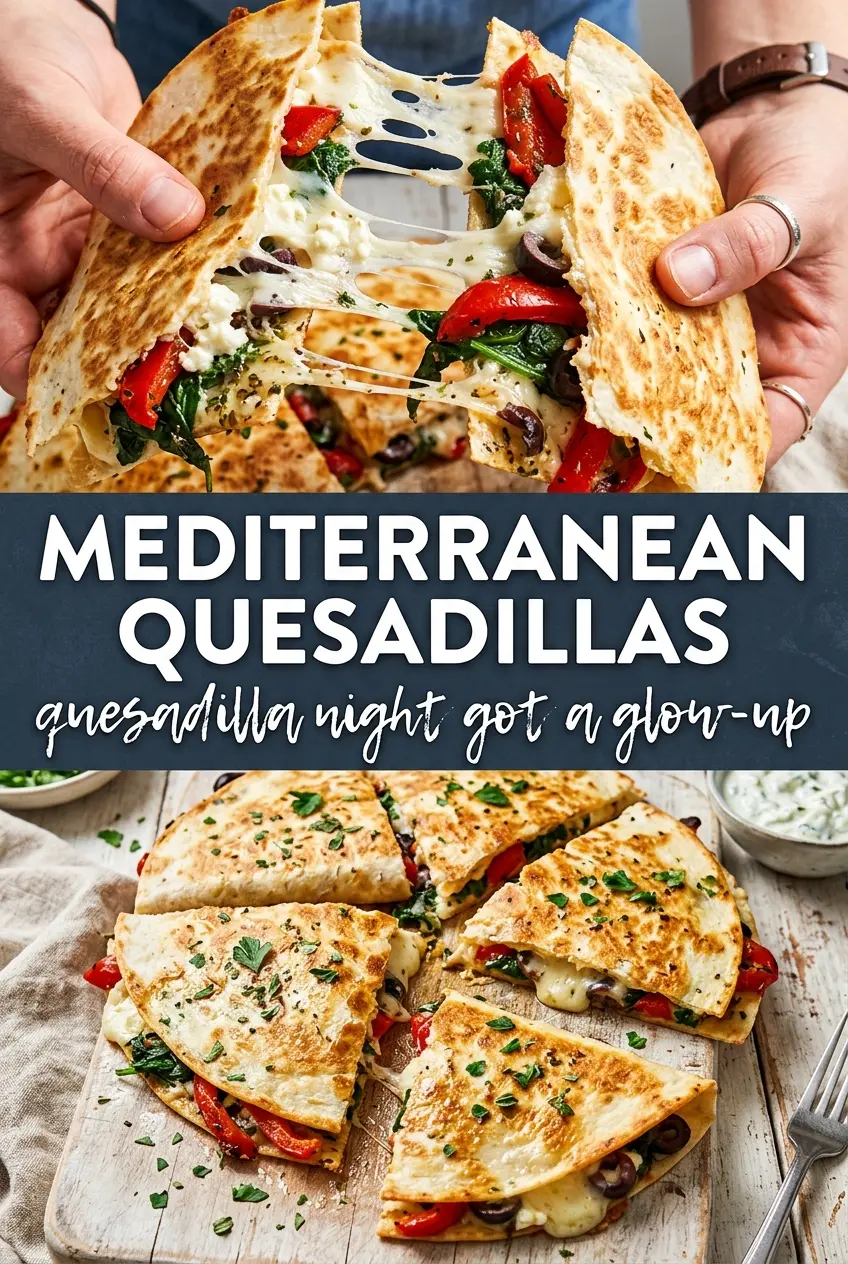
Golden, crisp tortillas and a molten center of mozzarella and feta are what make these Mediterranean quesadillas worth keeping in the regular dinner rotation. The edges shatter a little when you cut into them, then the filling gives way to spinach, roasted red peppers, and briny olives that keep every bite from tasting flat or heavy.
The trick is treating the fillings like a layered salad that also happens to melt well. Mozzarella gives you the stretch, feta brings the salty bite, and the spinach needs to stay in a thin layer so it wilts without turning the tortilla soggy. A light hand with the olive oil helps the outside turn crisp before the cheese has a chance to leak out.
Below, I’ll show you how to stack the filling so it heats through evenly, what to swap when you want a vegetarian version, and how to keep the tortillas from tearing before they hit the pan.
The tortillas crisped up beautifully and the feta-mozzarella combo melted into the filling instead of sliding out everywhere. I used chickpeas for the chicken and still had plenty of flavor with the olives and roasted peppers.
Keep these Mediterranean quesadillas in your back pocket for a fast dinner with crispy tortillas, tangy feta, and a creamy dipping sauce.
The Key to Crispy Quesadillas Without the Filling Sliding Out
The biggest mistake with a loaded quesadilla is piling everything into the center and hoping the tortilla holds. It won’t. The filling needs to be spread in a thin, even layer so the cheese can glue the ingredients together before the bread gets too brown. That’s especially important here because spinach and roasted peppers both carry moisture.
Mozzarella is doing the heavy lifting structurally. Feta brings flavor, but it won’t hold the filling on its own, so the blend matters. If you go heavier on feta and lighter on mozzarella, the quesadilla tastes sharper but can turn crumbly instead of melty. A dry skillet helps, too, but don’t skip the light brush of olive oil — that’s what gives you a crisp shell rather than a brittle, dry tortilla.
What Each Ingredient Is Actually Doing in This Filling
- Flour tortillas — Large tortillas fold cleanly and give you enough surface area to pack in the filling without tearing. Smaller tortillas work, but you’ll need to use less filling or they’ll split when you fold them.
- Cooked chicken or chickpeas — Chicken makes this feel like a full meal, while chickpeas keep it vegetarian with enough heft to stand up to the cheese. If you use chickpeas, drain and pat them dry first so they don’t steam the tortilla from the inside.
- Mozzarella — This is the melt. Shredded mozzarella binds everything together and keeps the quesadilla stretchy instead of dry. Pre-shredded works, though freshly shredded melts a little smoother.
- Feta — Feta gives the filling its salty Mediterranean edge. Crumble it by hand so you get both fine bits and small pockets that hit differently in each wedge.
- Roasted red peppers and kalamata olives — These bring sweetness and brine, which keep the filling from tasting one-note. Pat the peppers dry before adding them, or they’ll release liquid into the pan.
- Spinach — Baby spinach wilts fast and adds color without needing a separate cook time. Keep it in a loose layer so it softens in the cheese instead of clumping into one damp patch.
- Tzatziki and hummus — The cool dip on the side matters here. Tzatziki cuts through the cheese, and hummus adds another creamy layer if you want the meal to feel more substantial.
How to Get a Golden Shell and a Fully Melted Center at the Same Time
Building the Filling
Start with mozzarella directly on the tortilla, then add the chicken or chickpeas, spinach, peppers, olives, feta, and oregano. That order matters because the mozzarella acts like glue once it starts melting. If you put the wetter ingredients against the tortilla first, the bottom softens before the cheese has a chance to bind everything together. Keep the filling on one half only, and stop short of the edge so the folded seam seals cleanly.
Cooking Over Medium Heat
Set the skillet over medium heat and brush it lightly with olive oil. Medium is the sweet spot here: too hot and the tortilla browns before the cheese melts; too low and the quesadilla dries out before it crisps. Cook the first side until it’s deep golden with a few darker spots and you can smell the tortilla toasting. When you flip it, press down gently with a spatula so the layers stay in contact with the pan.
Knowing When It’s Done
The quesadilla is ready when both sides are crisp and the cheese is fully melted, which usually takes 3 to 4 minutes per side. If you cut too soon, the cheese will run out instead of settling into the wedges. Let it sit for a minute before slicing so the filling tightens just enough to stay put. A sharp knife or pizza cutter works best for clean wedges.
Make It Vegetarian with Chickpeas
Swap the chicken for chickpeas and pat them dry before they go into the tortilla. They add a nutty, creamy bite that works well with feta and olives, though the filling will be a little looser than the chicken version. A light mash on half the chickpeas helps them tuck into the cheese and hold together better.
Dairy-Free Quesadillas
Use a good melting dairy-free cheese and lean harder on the seasoned vegetables, since you’ll lose the salty punch of feta and the stretch of mozzarella. The texture won’t be exactly the same, but the olives, peppers, and oregano still give you that Mediterranean profile. Cook a touch longer over medium-low heat so the dairy-free cheese has time to soften without burning the tortilla.
Extra Protein, More Like a Full Dinner
Use the chicken version and add a little extra shredded mozzarella to help hold the larger filling in place. If you want to stretch it further, serve with both tzatziki and hummus instead of one dip. That makes the quesadilla feel more substantial without adding more work to the pan.
Storage and Reheating
- Refrigerator: Store cooked quesadillas in an airtight container for up to 3 days. The tortilla softens a bit in the fridge, but the flavor holds up well.
- Freezer: They freeze better before slicing. Wrap each cooled quesadilla tightly, then reheat from frozen in a skillet or oven for the crispiest result.
- Reheating: Skip the microwave if you want the tortilla to stay crisp. Warm them in a dry skillet over medium-low heat until the filling is hot and the outside crisps back up, or use a 375°F oven for a few minutes. High heat burns the tortilla before the center warms through.
Questions I Get Asked About This Recipe
Mediterranean Quesadillas
Ingredients
Equipment
Method
- Heat a large skillet over medium heat and brush lightly with olive oil, making sure the surface looks glossy.
- On one half of each tortilla, layer mozzarella, chicken or chickpeas, spinach, roasted red peppers, olives, feta, and a sprinkle of oregano, keeping the fillings centered for even melting.
- Fold the empty half of each tortilla over the filled half to form a half-moon, pressing gently so it stays sealed.
- Cook each quesadilla for 3–4 minutes per side until golden and crispy and the cheese is fully melted, using a visual check for browned edges.
- Slice the quesadillas into wedges and serve with tzatziki and hummus for dipping.