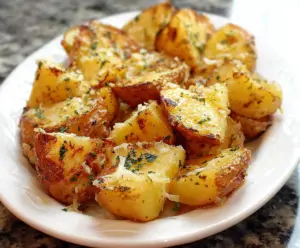
These spooky Skull Potatoes are not only fun but also delicious! Made with creamy mashed potatoes shaped like skulls, they come alive on your dinner table. Add in crunchy Bone Breadsticks for a ghoulish touch!
Perfect for Halloween dinners, these treats will surely impress your guests. I love serving them with a side of spooky dipping sauce—it’s just too fun to resist! 🎃
Key Ingredients & Substitutions
Potatoes: Medium yellow or Yukon gold potatoes work best for this recipe due to their creamy texture. If you want a healthier option, sweet potatoes can be a fun substitute that adds a slightly different flavor.
Olive Oil or Butter: You can use either olive oil for a lighter taste or melted butter for richness. If you’re dairy-free, go with avocado oil or a vegan butter alternative.
Smoked Paprika: This gives a fantastic smoky flavor. If you don’t have it, regular paprika or a dash of cayenne can be used for a little heat instead.
Breadsticks: Any firm breadsticks work, but if you want to make them from scratch, use pizza dough rolled into sticks. They’ll have a fresh taste!
Parmesan Cheese: This is optional, but it adds an extra layer of flavor. Nutritional yeast can be a great dairy-free alternative if you want something cheesy without the cheese.
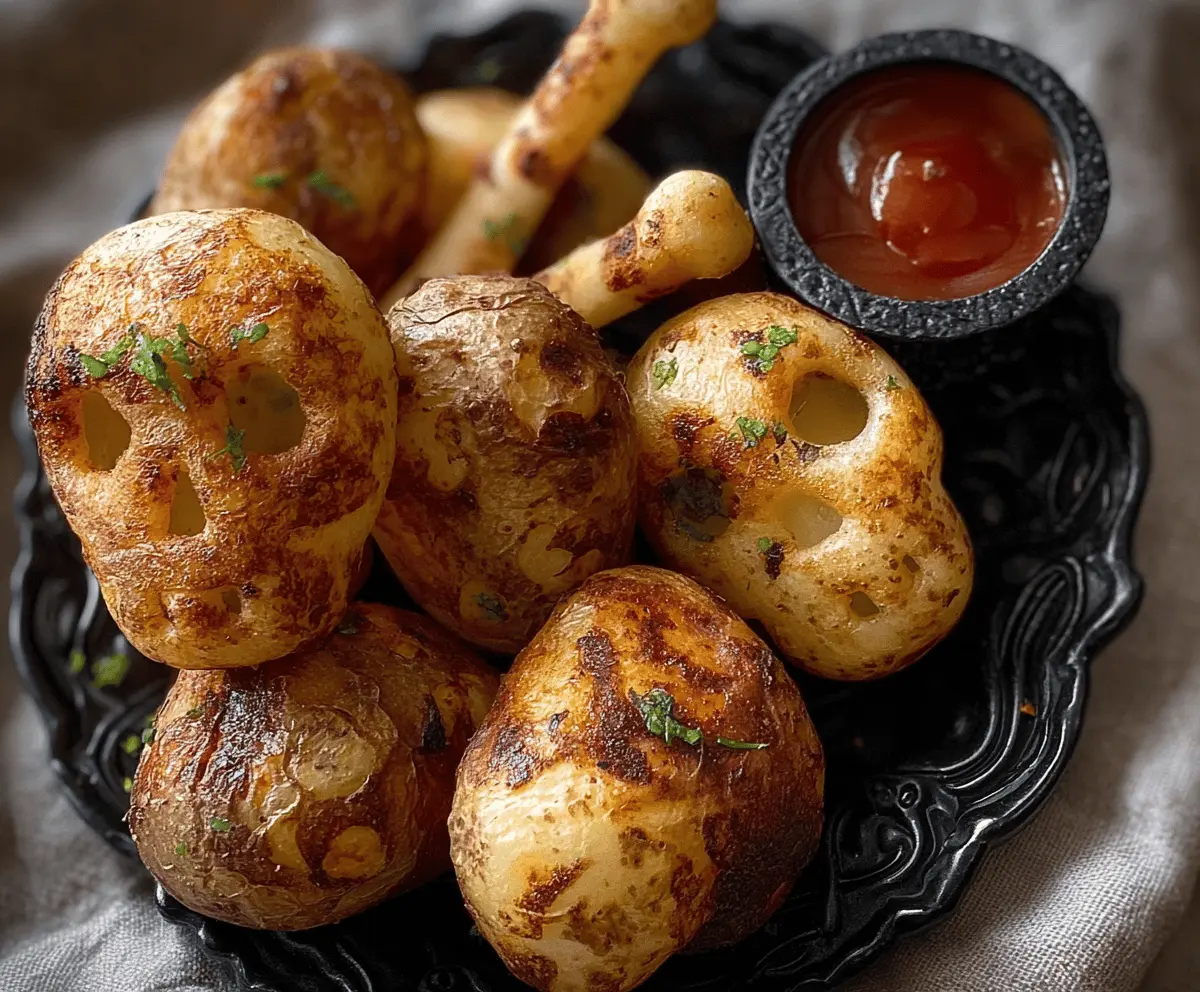
How Do I Make Sure My Potatoes Are Perfectly Skinned and Shaped?
To achieve the best skull shape, focus on gentle carving. Use a small, sharp knife to carve out the eye and nose sockets; don’t rush this step. Also, run your fingers around the potato to check for deep cuts that may cause it to fall apart. A light touch is key here!
- Once shaped, coat them evenly with your seasoning mixture to enhance flavor, getting into all the carved features.
- Don’t forget to bake the potatoes until they’re nice and crispy. You want a good outer texture to hold up the skull shape!
How Can I Make My Breadsticks Look Like Bones?
For breadsticks that look like bones, start by rolling them out straight. You can twist them slightly before baking to mimic the twists and curves of bones.
- Score them lightly with a knife to add texture and visual interest; this will enhance the bone effect once baked.
- Brush them with olive oil and sprinkle some cheese if desired—this helps with browning and flavor!
These techniques will help you create a fun and delicious dish that stands out! Enjoy your spooky cooking!
Skull Potatoes with Bone Breadsticks
Ingredients You’ll Need:
- 6 medium yellow or Yukon gold potatoes (medium-sized, firm)
- 2 tbsp olive oil or melted butter
- 1 tsp smoked paprika (for color and smoky flavor)
- 1 tsp garlic powder
- 1 tsp onion powder
- Salt and freshly ground black pepper to taste
- Fresh herbs for garnish (like parsley or thyme)
- 6 breadsticks (long and firm, preferably plain)
- 2 tbsp grated Parmesan cheese (optional, for breadsticks)
- 1 tbsp olive oil (for breadsticks)
- Paper towel or cloth for handling hot potatoes
How Much Time Will You Need?
This spooky dish takes about 20 minutes of prep time and around 50-65 minutes for baking, including both the potatoes and breadsticks. So in total, plan for about 1 hour and 15 minutes to prepare and bake these delicious Skull Potatoes with Bone Breadsticks!
Step-by-Step Instructions:
1. Preheat Your Oven:
Start by preheating your oven to 400°F (200°C). This is important for getting all the flavors bubbling in your potatoes!
2. Prepare the Potatoes:
Wash and peel the potatoes carefully. To create a skull shape, use a small paring knife or carving tool to gently press and sculpt features. Make shallow circular indentations for the eye sockets, a triangle for the nose, and lines for the mouth. Remember, don’t press too deep—just enough to create the features!
3. Season the Potatoes:
In a bowl, mix together the olive oil (or melted butter), smoked paprika, garlic powder, onion powder, salt, and pepper. Brush this tasty seasoning over each potato, ensuring it gets into all the little carved features for maximum flavor.
4. Bake the Potatoes:
Place those spooky skulls on a baking sheet and pop them in the oven. Bake for about 40-50 minutes until they’re tender inside and the skin looks golden and slightly crisp. For an extra skull effect, crank up the oven temperature to 450°F (230°C) or use the broiler for the last 5-10 minutes to char the features a bit more.
5. Prepare the Bone Breadsticks:
While the potatoes are baking, take your breadsticks and lightly coat them with olive oil. If you’re feeling extra cheesy, sprinkle some Parmesan cheese on top. Twist the breadsticks slightly or score them a bit to give them a bone-like appearance. Bake these for about 10-15 minutes until they’re nice and crispy.
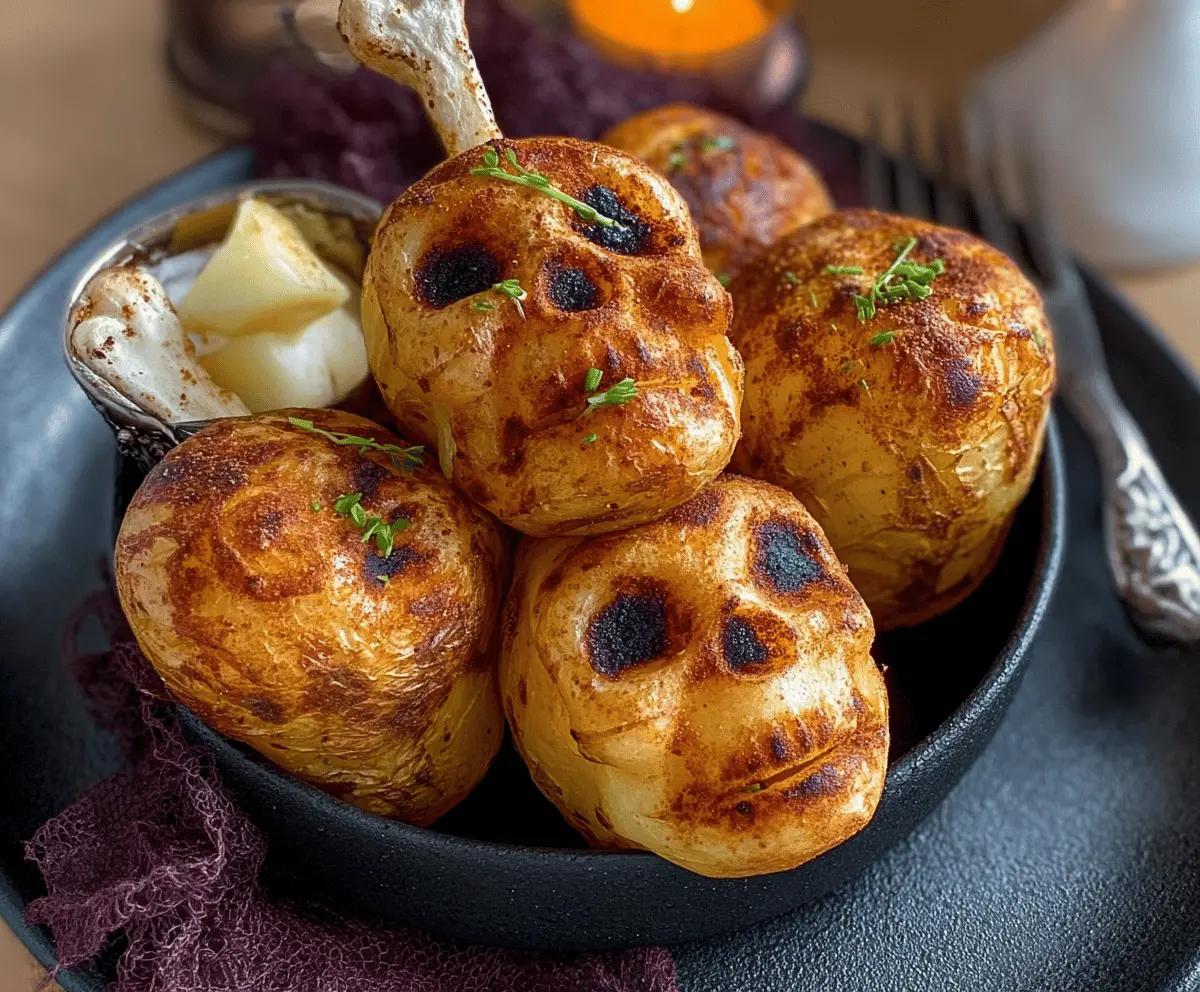
6. Assemble the Dish:
Once the potatoes are done, let them cool slightly before you handle them. Carefully insert a breadstick into the thickest part of each potato to mimic a bone sticking out—fun and delicious!
7. Garnish and Serve:
Finally, sprinkle some finely chopped fresh herbs over the top for a pop of color and aroma. Serve these warm and pair them with your choice of dipping sauce or butter. Enjoy the spooky spirit of the season!
These Skull Potatoes with Bone Breadsticks are the perfect treat to serve at Halloween or any themed party—everyone will love the creativity and flavor!
Can I Use Other Types of Potatoes?
Absolutely! While yellow or Yukon gold potatoes provide a creamy texture, you can also use red potatoes or even sweet potatoes for a different twist. Just keep in mind that different potatoes may alter the flavor slightly.
What Should I Do If I Don’t Have Breadsticks?
No worries! You can substitute with store-bought or homemade dough. Simply roll out pizza or bread dough into sticks and shape them to resemble bones. You could also use pretzel sticks for a fun alternative!
How Do I Store Leftovers?
Any leftovers can be stored in an airtight container in the fridge for up to 3 days. To reheat, place them in the oven at 350°F (175°C) for about 10-15 minutes to restore their crispiness.
Can I Make This Dish Ahead of Time?
Yes, you can prep the potatoes and even shape them the day before. Just store them covered in the fridge and bake them when ready to serve. This makes it easy to enjoy your spooky creation without the last-minute rush!