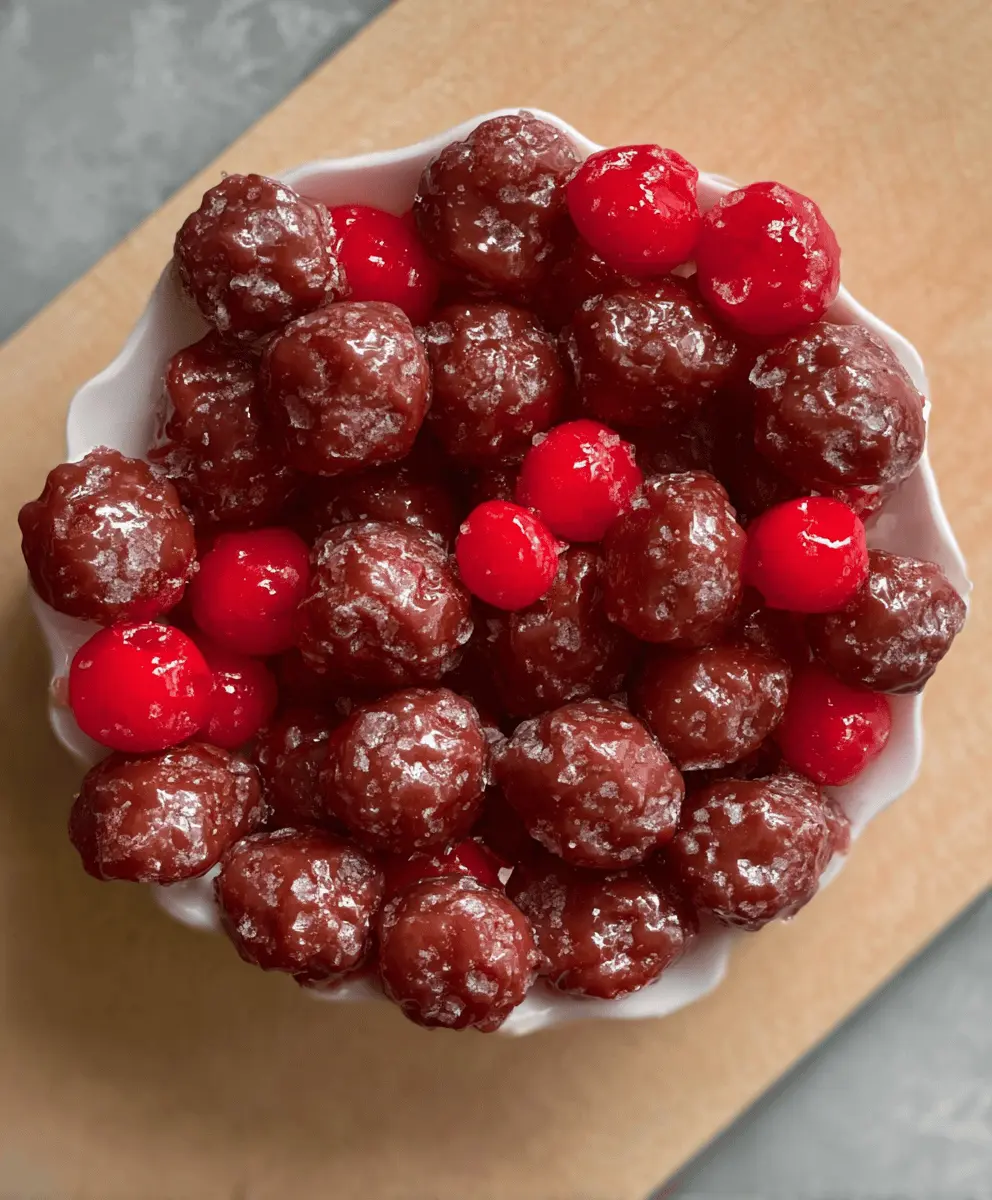
This Easy Homemade Cherry Mash Candy is a sweet treat that combines cherry flavor with creamy goodness! It’s super simple to make and perfect for sharing (or not!).
Honestly, the combination of cherry and chocolate is just delicious. I love to wrap these little candies up as gifts—everyone goes crazy for them! 🍒🍫
Key Ingredients & Substitutions
Maraschino Cherries: These are key for that sweet cherry flavor. If you’re looking for something a bit healthier, try using fresh cherries or even freeze-dried cherries for a different texture. Remember to chop them small so they mix well.
Cream Cheese: This gives the candy its creamy texture. For a lighter option, consider using Neufchâtel cheese, which has less fat but similar texture. Vegan cream cheese works too if you’re dairy-free.
Powdered Sugar: This sweetener is essential for balancing flavors. If you want to reduce sugar, look for powdered erythritol or other sugar substitutes. Just know that adjustments may be needed!
Milk Chocolate Chips: I like using milk chocolate for its sweetness, but dark chocolate could work if you prefer something richer. You can even use white chocolate for a different flavor!
Chopped Pecans or Walnuts: This is optional, but I love the crunch they bring. If you don’t like nuts, just skip them or use crushed graham crackers for a different crunch.
How Do You Get the Perfect Chocolate Coating?
Coating the candy can be tricky! Here are some simple tips to get a nice, smooth finish:
- Be sure your chocolate is fully melted. Stir slowly after each microwave interval until no lumps are left.
- Use a fork to dip the chilled balls; this helps shake off excess chocolate. Gently tap the fork on the bowl’s edge.
- Let excess chocolate drip off before placing them back onto parchment paper.
Patience is key here! Allow the candies to refrigerate well after coating so the chocolate firms beautifully.
Easy Homemade Cherry Mash Candy
Ingredients You’ll Need:
For the Candy Filling:
- 1 (7 oz) jar maraschino cherries, drained and chopped
- 3 1/2 cups powdered sugar
- 1 (8 oz) package cream cheese, softened
For the Chocolate Coating:
- 6 cups milk chocolate chips
- 1 cup chopped pecans or walnuts (optional)
How Much Time Will You Need?
This delightful candy recipe takes about 15 minutes to prepare and an additional 1.5 hours to chill—1 hour for the filling to firm up and 30 minutes for the chocolate coating to set. So, in just a couple of hours, you can have a delicious treat ready to enjoy!
Step-by-Step Instructions:
1. Prepare the Cherries:
Start by draining the maraschino cherries well and chopping them finely. This will ensure they mix perfectly into your candy filling without making it too runny. Set them aside for later use.
2. Make the Creamy Filling:
In a large mixing bowl, combine the softened cream cheese and powdered sugar. Use an electric mixer to blend these ingredients until the mixture is smooth and fluffy, giving it that creamy texture we all love.
3. Mix in the Cherries:
Gently fold the chopped cherries into the cream cheese mixture using a spatula or spoon. Make sure the cherries are evenly distributed throughout the mixture for delicious bites in every piece!
4. Form the Candy Balls:
With clean hands or a small spoon, scoop out portions of the mixture and roll them into small balls, about 1 inch in diameter. Place these balls on a parchment-lined baking sheet so they won’t stick. This is the fun part!
5. Chill the Candy:
Pop the baking sheet into the refrigerator and let the balls chill for at least 1 hour. This helps them firm up and makes dipping them in chocolate much easier.
6. Melt the Chocolate:
To melt the milk chocolate chips, place them in a microwave-safe bowl. Heat in 30-second intervals, stirring well after each interval until the chocolate is completely smooth and melted.
7. Add Nuts (if desired):
If you’re using chopped pecans or walnuts, stir them into the melted chocolate for added crunch. This step is optional, but it gives a great texture and flavor!
8. Dip the Candy:
Now it’s time to coat the candy balls! Use forks or dipping tools to dip each cherry cream cheese ball into the melted chocolate, making sure to coat them completely. Let excess chocolate drip off, then place them back on the parchment paper.
9. Set the Chocolate:
Return the coated candies to the refrigerator and let them chill for about 30 minutes, or until the chocolate is firm to the touch.
10. Store and Enjoy:
Once the chocolate has set, store your Cherry Mash Candies in an airtight container in the refrigerator. Enjoy them chilled for a delightful treat whenever you need a sweet pick-me-up!
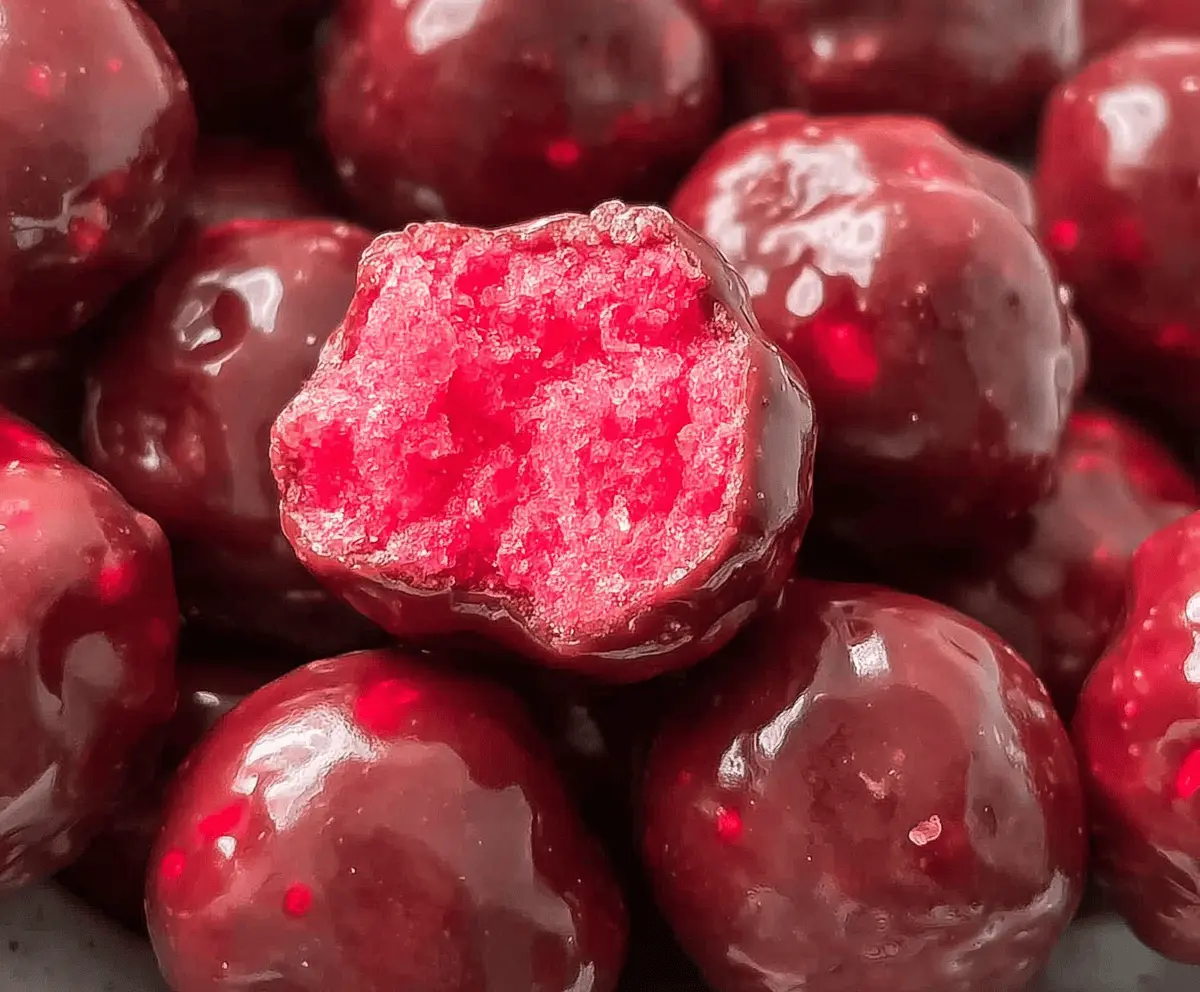
These creamy cherry-filled candies with a crunchy chocolate nut coating create a delicious homemade version of the classic Cherry Mash candy! 🍒🍫
FAQ for Easy Homemade Cherry Mash Candy
Can I Use Fresh Cherries Instead of Maraschino Cherries?
Absolutely! Fresh cherries can be used, but make sure to pit and chop them finely. Keep in mind that fresh cherries will have a different texture and moisture content, so you may need to adjust the amount of powdered sugar accordingly to maintain the consistency of the filling.
What Can I Substitute for Cream Cheese?
If you’re looking for a lighter option, consider using Neufchâtel cheese, which has less fat but a similar taste and texture. For a dairy-free alternative, vegan cream cheese works well too, ensuring the flavor remains delicious!
How Should I Store Leftover Cherry Mash Candies?
Store any leftovers in an airtight container in the refrigerator for up to one week. This will keep them fresh and prevent them from becoming too soft. Enjoy them chilled for the best flavor!
Can I Freeze the Cherry Mash Candies?
Yes, these candies can be frozen! Just place the candies in a single layer in a freezer-safe container with parchment paper in between layers. They can be frozen for up to 3 months. Thaw them in the refrigerator before enjoying!