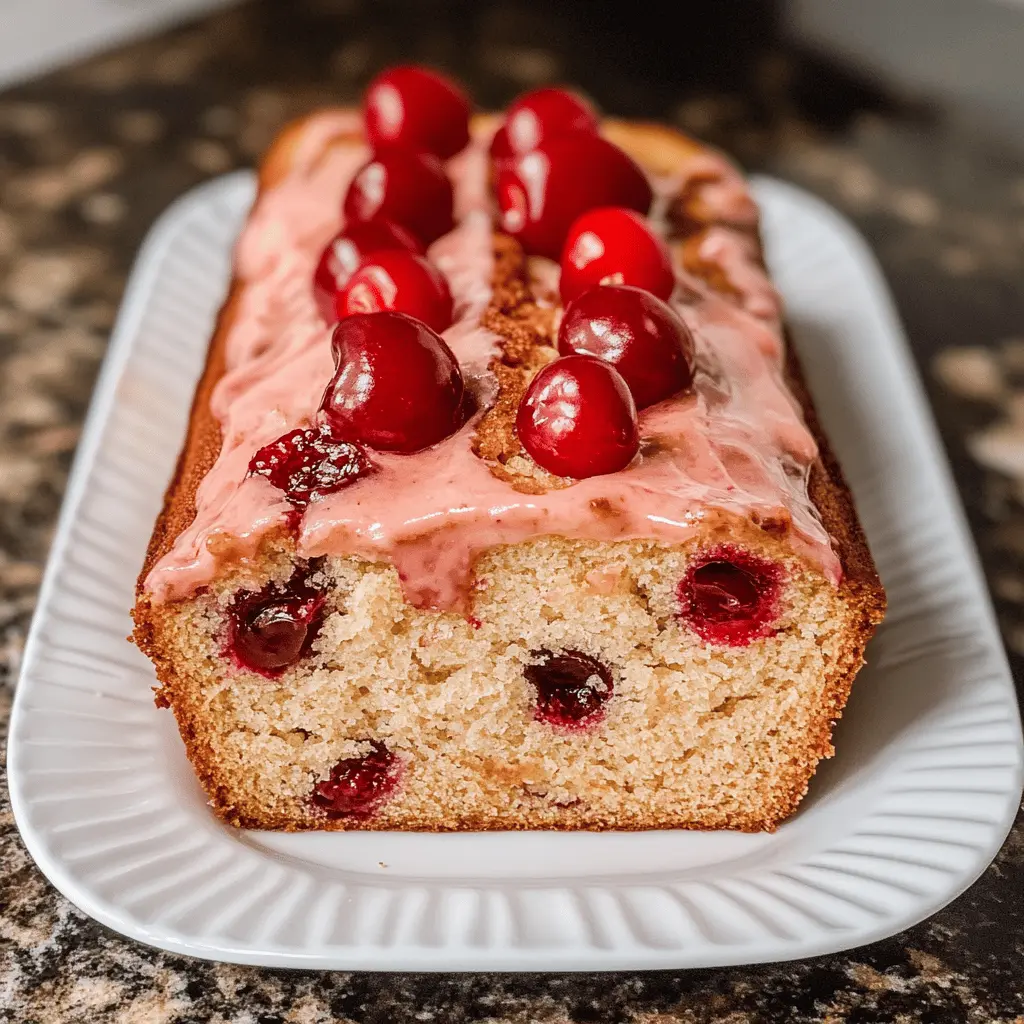
This Easy Classic Cherry Bread is a sweet treat that brings the taste of summer into every bite! With juicy cherries and a soft, fluffy texture, it’s perfect for breakfast or a snack.
Every time I make this bread, the sweet cherry smell fills my kitchen, and I can hardly wait for it to cool. I like to enjoy it with a bit of butter, but it’s amazing on its own too!
Key Ingredients & Substitutions
All-Purpose Flour: This is the foundation of your bread. If you’re gluten-free, consider using a 1:1 gluten-free flour blend. I find all-purpose works best for a light texture.
Granulated Sugar: Regular sugar gives great sweetness. For healthier options, you can substitute with coconut sugar or even honey, but adjust the liquid in the recipe if using honey.
Butter: Unsalted butter helps control the salt level. If you’re looking for a dairy-free version, coconut oil or a vegan butter works well here.
Maraschino Cherries: These cherries add fantastic flavor. Fresh cherries can be a lovely alternative, just pit and chop them up. If you want a slight twist, try using dried cherries soaked in a bit of juice.
Sour Cream/Yogurt: This adds moisture and richness. For a lighter option, Greek yogurt is a perfect substitute. Non-dairy yogurt can also be used for a vegan option.
How Do I Get the Right Texture for My Cherry Bread?
The texture of your cherry bread is really important. Follow these steps to keep it fluffy and moist:
- When creaming the butter and sugar, don’t rush! Aim for it to be light and fluffy, which often takes about 3-4 minutes.
- Add the eggs one at a time. This helps incorporate air into the batter, making your bread lighter.
- Mix the flour and wet ingredients alternately, starting and finishing with the dry ingredients. This technique prevents over-mixing, which can make the bread dense.
- Be gentle when folding in the cherries to avoid crushing them. You want to keep those lovely bits intact for bursts of flavor!
By following these tips, you’ll get deliciously fluffy cherry bread every time! Enjoy every slice!
Easy Classic Cherry Bread
Ingredients You’ll Need:
For the Bread:
- 2 cups all-purpose flour
- 1 ½ tsp baking powder
- ½ tsp baking soda
- ¼ tsp salt
- 1 cup granulated sugar
- ½ cup unsalted butter, softened
- 2 large eggs
- 1 tsp vanilla extract
- ½ cup sour cream or plain yogurt
- 1 cup maraschino cherries, drained and chopped (reserve a few whole cherries for garnish)
- 2 tbsp maraschino cherry juice (optional, for enhanced cherry flavor)
For the Pink Glaze:
- 1 cup powdered sugar
- 2-3 tbsp maraschino cherry juice or milk
How Much Time Will You Need?
This delightful cherry bread takes about 15 minutes of prep time and 55-65 minutes of baking. Don’t forget to let it cool for about 10 minutes after baking! Overall, plan to spend about 1 hour and 30 minutes to enjoy this delicious treat.
Step-by-Step Instructions:
1. Preheat the Oven and Prepare the Pan:
First things first! Preheat your oven to 350°F (175°C). Grease and flour a 9×5 inch loaf pan or line it with parchment paper. This will ensure your bread comes out easily after baking.
2. Mix the Dry Ingredients:
In a medium bowl, whisk together the all-purpose flour, baking powder, baking soda, and salt. This is your dry ingredient mix. Set it aside for later!
3. Cream Butter and Sugar:
In a large mixing bowl, cream the softened butter and granulated sugar together using a mixer. Beat them until the mixture is light and fluffy, which usually takes about 3-4 minutes. This is where your bread gets its delightful texture!
4. Add Eggs and Vanilla:
Now, beat in the eggs one at a time, mixing well after each addition. Then, mix in the vanilla extract to give it that lovely flavor.
5. Combine with Dry Ingredients:
Gradually add the flour mixture to the creamy butter mixture, alternating with the sour cream (or yogurt). Start and end with the flour mixture, mixing until everything is just combined. Be careful not to overmix—this keeps your bread fluffy!
6. Fold in the Cherries:
Gently fold in the chopped maraschino cherries and cherry juice (if you’re using it). Try to distribute the cherries evenly without breaking them apart too much.
7. Pour and Bake:
Pour the batter into your prepared loaf pan and spread it evenly. Now it’s time to bake! Place the pan in the preheated oven and bake for 55-65 minutes, or until a toothpick inserted into the center comes out clean. If the top gets too brown, cover it loosely with foil toward the end of baking.
8. Cool the Bread:
Once baked, let the cherry bread cool in the pan for about 10 minutes. This makes it easier to transfer it to a wire rack to cool completely.
9. Prepare the Pink Glaze:
While the bread is cooling, prepare the pink glaze. In a small bowl, whisk the powdered sugar with cherry juice or milk until it reaches a smooth and pourable consistency.
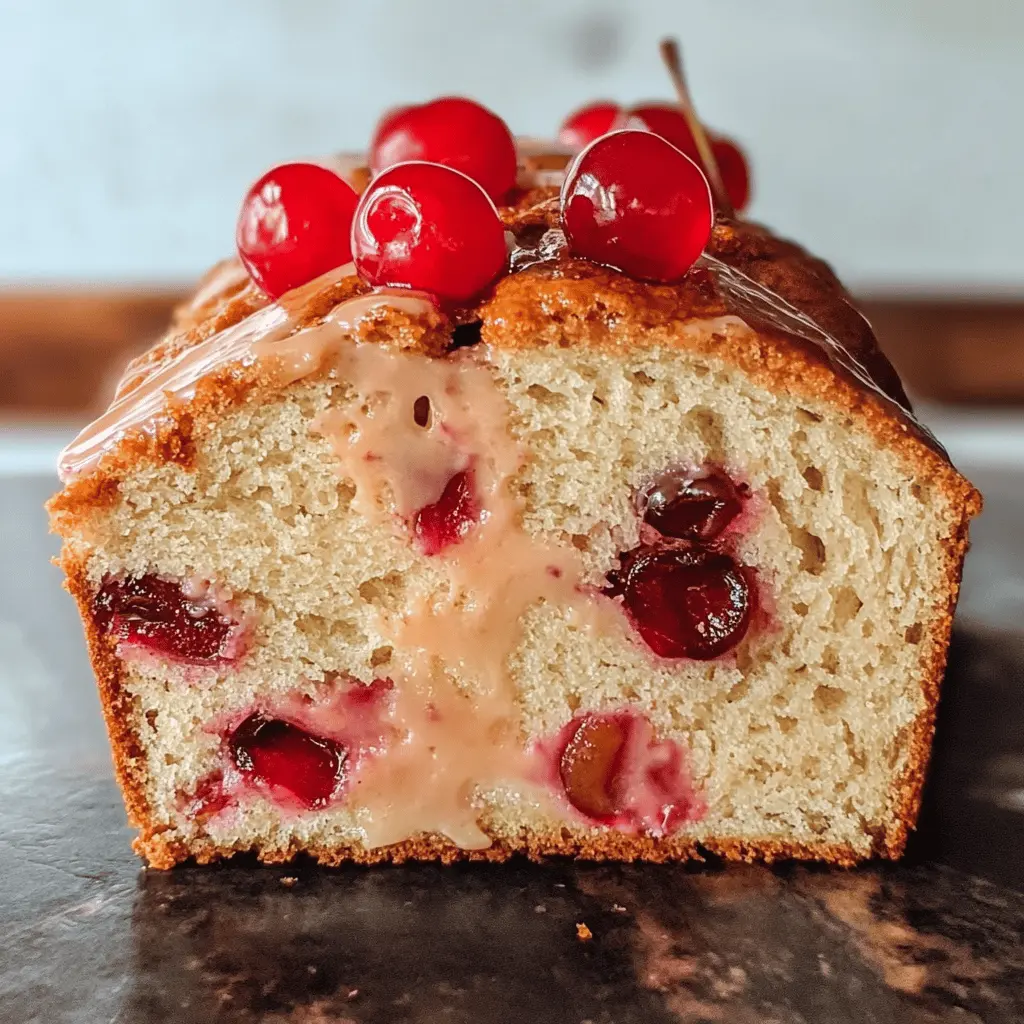
10. Glaze and Garnish:
Once the bread is completely cool, drizzle the pink glaze over the top and garnish with the reserved whole maraschino cherries. This gives it a charming touch!
11. Slice and Serve:
Now, it’s time to slice and serve your beautiful cherry bread. Enjoy it as a breakfast treat, afternoon snack, or delightful dessert. There’s nothing like a slice of this homemade cherry bread!
This classic cherry bread is soft with bright bursts of cherry flavor from the maraschino cherries, complemented by the light pink glaze that adds just the right touch of sweetness and color. Enjoy every bite!
FAQ about Easy Classic Cherry Bread
Can I Use Fresh Cherries Instead of Maraschino Cherries?
Absolutely! Fresh cherries can be a wonderful substitute. Just make sure to pit and chop them before folding into the batter. They will provide a delicious and natural cherry flavor!
What If I Don’t Have Sour Cream or Yogurt? Can I Substitute Anything Else?
Yes! If you don’t have sour cream or yogurt, you can use buttermilk or even applesauce. Just keep in mind that using applesauce may make the bread slightly sweeter.
How Should I Store Leftover Cherry Bread?
Store any leftover cherry bread in an airtight container at room temperature for up to 3 days. If you want to keep it longer, you can refrigerate it for up to a week or freeze it for up to 3 months. Just make sure to wrap it tightly in plastic wrap or aluminum foil before freezing!
Can I Make This Recipe into Mini Loaves or Muffins?
Definitely! You can pour the batter into mini loaf pans or muffin tins. Just reduce the baking time to around 20-25 minutes for mini loaves or 15-20 minutes for muffins, checking for doneness with a toothpick.