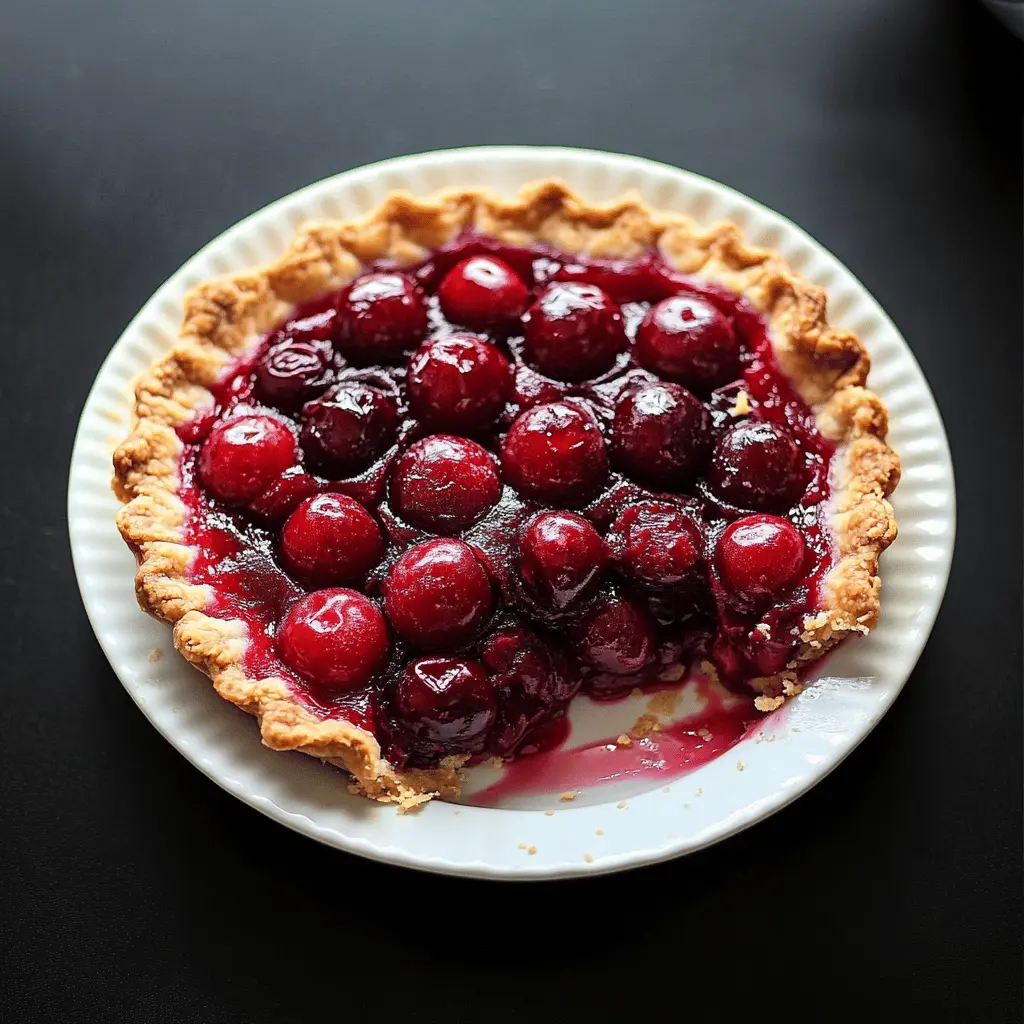
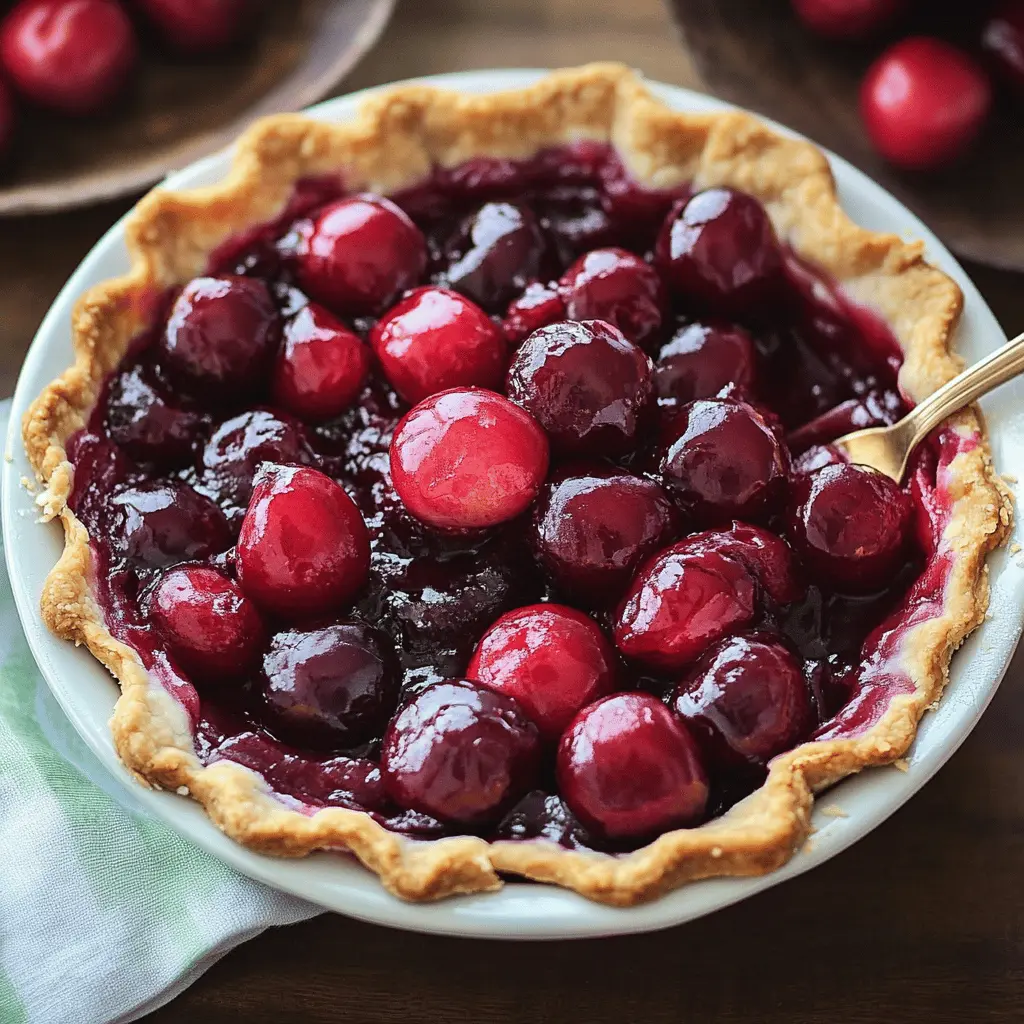
This homemade cherry pie is a treat that’s hard to resist! With a flaky crust and juicy cherry filling, it’s the perfect dessert for any occasion. Plus, it’s so easy to make!
I love how the smell of cherries baking fills the kitchen—it’s like a warm hug for the senses! 🥧 Serve it warm with a scoop of ice cream, and you’ll be the star of the dessert table!
Key Ingredients & Substitutions
Cherries: Use fresh cherries for the best flavor, but frozen will work just fine. If using frozen, make sure to thaw and drain them well. I often opt for tart cherries for a well-balanced sweetness!
Sugar: Granulated sugar is the go-to here, but you can also use brown sugar for a deeper flavor. For a healthier option, try coconut sugar or a sugar substitute if you’re cutting down on sweets.
Cornstarch: This thickens the cherry filling beautifully. If you don’t have it, you can swap it with arrowroot, tapioca starch, or even all-purpose flour, but adjust the amount slightly as they vary in thickening power.
Lemon Juice: The acidity balances the sweetness. If you’re out, apple cider vinegar can work too—but use it sparingly since it’s more potent!
Almond Extract: This is optional but adds a lovely depth to the flavor. If you’re not a fan, substituting with vanilla extract will also give a nice taste.
Pie Crust: While store-bought is super convenient, homemade crust always tastes better! If you’re in a pinch, consider pre-made graham cracker crust for a twist.
How Do I Ensure a Perfectly Baked Pie?
Getting that perfect pie texture requires some attention. Start with the oven temperature: a hot oven helps the crust bake quickly while allowing the filling to bubble nicely. Here’s how to nail it:
- Preheat the oven properly—don’t skip this step! It helps your crust turn golden and flaky.
- When you first put the pie in, the high temperature (425°F) creates steam that helps bake the crust. Only lower the heat after 15 minutes, so the filling cooks through without burning the crust.
- Keep an eye on the pie while it’s baking. If the edges start to brown too fast, don’t hesitate to cover them with foil to keep from burning!
- Let it cool for at least 2 hours after baking. This allows the filling to set up and makes slicing easier.
Enjoying a slice of pie with ice cream on top is wonderful, and you deserve that perfect slice! 😊
Easy Best Homemade Cherry Pie
Ingredients You’ll Need:
For the Filling:
- 2 1/2 cups fresh or frozen pitted cherries (if frozen, thaw and drain)
- 1 cup granulated sugar
- 3 tablespoons cornstarch
- 1 tablespoon lemon juice
- 1/4 teaspoon almond extract (optional)
- 1/8 teaspoon salt
For the Pie Crust:
- 1 package (14 ounces) refrigerated pie crusts (2 crusts), or homemade pie dough
For the Topping:
- 1 egg, beaten (for egg wash)
- 1 tablespoon sugar (for sprinkling on crust)
How Much Time Will You Need?
This cherry pie takes roughly 25 minutes to prepare, with about 55 minutes of baking time, plus 2 hours of cooling time. So, you’ll want to plan around 3 hours from start to finish before serving your delicious homemade pie.
Step-by-Step Instructions:
1. Preheat the Oven:
Start by preheating your oven to 425°F (220°C). A hot oven is key to getting that perfect crispy crust!
2. Prepare the Cherry Filling:
In a large bowl, mix the fresh or thawed cherries with granulated sugar, cornstarch, lemon juice, almond extract (if using), and salt. Stir well until everything is nicely coated. This filling is going to be delicious!
3. Roll Out the First Crust:
Take one of your pie crusts and roll it out gently. Fit it into a 9-inch pie plate, making sure to press down softly to cover the bottom and sides.
4. Add the Cherry Filling:
Pour the prepared cherry filling into the crust, spreading it out evenly so every bite is full of yumminess.
5. Prepare the Top Crust:
Roll out the second pie crust and cut it into strips or shapes to create a beautiful lattice or just place it as a whole top crust. If you’re going with the whole crust, make sure to cut several slits in it to allow steam to escape while baking.
6. Combine and Seal:
Place your top crust over the cherry filling, pressing the edges together with the bottom crust to seal everything in. Trim any excess dough hanging over the edges for a neat look.
7. Add the Finishing Touches:
Brush the top crust with the beaten egg wash. This gives it a lovely golden color while baking. Then sprinkle a tablespoon of sugar over the top for a sweet and crunchy finish.
8. Bake the Pie:
Pop the pie into the preheated oven and bake it at 425°F for 15 minutes. Then, lower the temperature to 350°F (175°C) and bake for an additional 40-45 minutes, or until the crust is golden brown and your filling is bubbling.
9. Keep an Eye on It:
If your crust seems to brown too quickly, cover the edges with aluminum foil to protect it from burning.
10. Let It Cool:
Once your pie is done baking, take it out of the oven and let it cool for at least 2 hours. This waiting time lets the filling set, so it won’t spill out when you slice it.
11. Serve and Enjoy:
Slice your beautiful cherry pie and serve it warm, ideally with a scoop of vanilla ice cream or a dollop of whipped cream. Enjoy every delicious bite! 🍒🥧
FAQ for Easy Best Homemade Cherry Pie
Can I Use Frozen Cherries in This Recipe?
Yes, absolutely! If you’re using frozen cherries, just make sure to thaw and drain them well first to avoid excess moisture in your pie. This ensures the filling remains thick and not watery.
Can I Make This Pie Ahead of Time?
Yes, you can prepare the pie and refrigerate it unbaked for up to 24 hours before baking. If you’ve baked the pie, it can be stored in the fridge for about 3 days. Just reheat in a warm oven to revive that fresh-baked taste!
What Can I Substitute for Cornstarch?
If you don’t have cornstarch, you can use an equal amount of arrowroot powder or tapioca starch as substitutes. All-purpose flour can work too, but use about 1.5 times the amount of flour compared to cornstarch.
How Should I Store Leftovers?
Store any leftovers in an airtight container in the refrigerator for up to 3 days. You can enjoy it cold or reheat it gently in the oven or microwave for a warm treat!