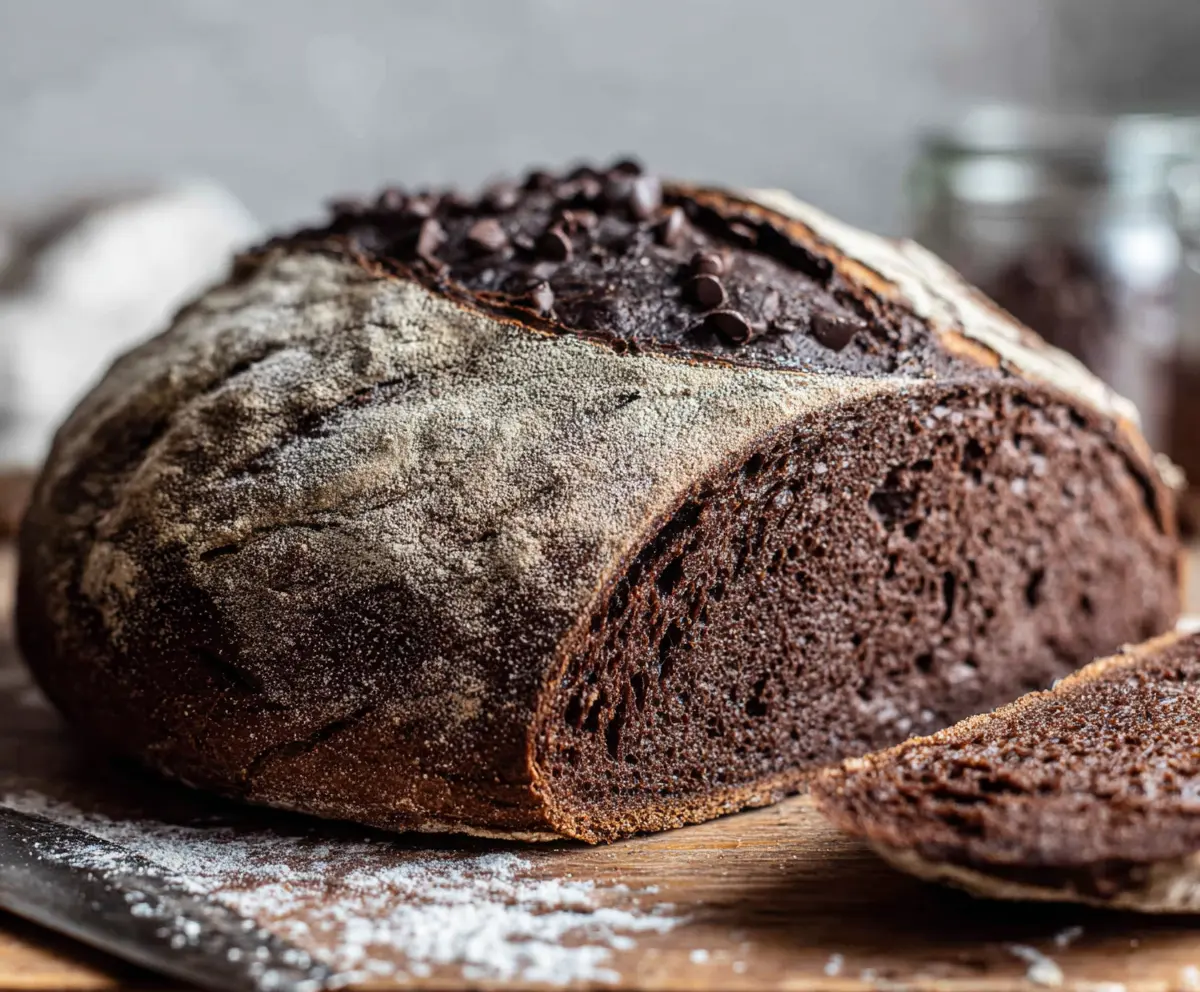
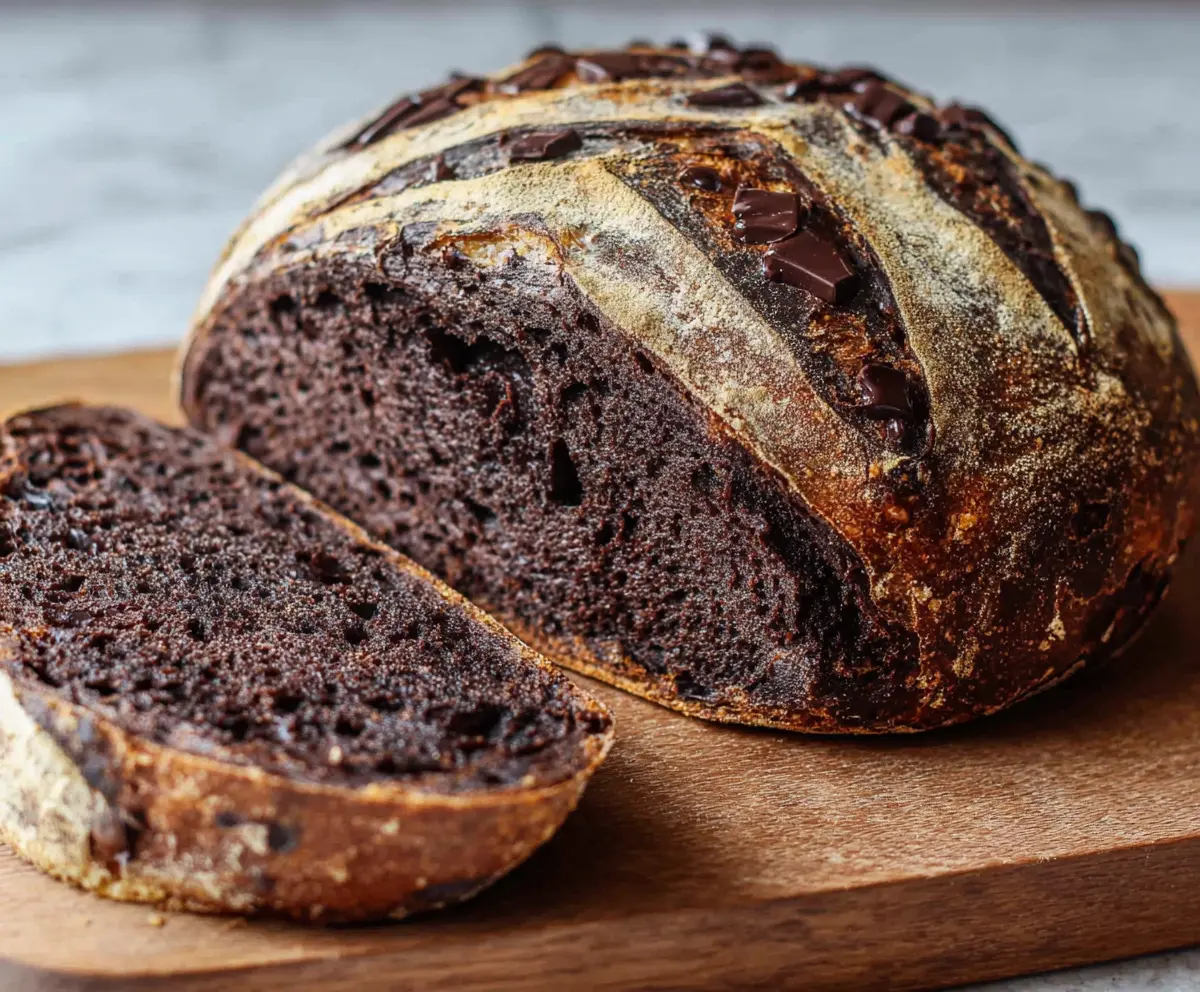
This Double Chocolate Sourdough Bread is a sweet twist on a classic! With rich chocolate and a hint of tanginess from the sourdough, it’s perfect for chocolate lovers.
Who can resist the smell of fresh-baked chocolate bread? I like to enjoy it warm with a little butter. A slice (or two!) makes every day feel special! 😋
Key Ingredients & Substitutions
Bread Flour: Bread flour gives the bread its chewy texture due to its higher protein content. If you don’t have bread flour, you can use all-purpose flour, but the texture may be slightly less chewy.
Cocoa Powder: Unsweetened cocoa powder is essential for that deep chocolate flavor. Dutch-process cocoa can be used for a milder taste. If you’re feeling adventurous, try using carob powder for a different flavor profile!
Sourdough Starter: For best results, use a bubbly, active starter. If you don’t have one, you can use commercial yeast instead, but it won’t give you the same depth of flavor.
Dark Chocolate Chips: These add richness. If you prefer, you can substitute with milk chocolate or even white chocolate. Chopped chocolate bars work great too if you want larger chunks!
Sugar or Honey: This is optional but enhances the sweetness of the chocolate. If you want to keep it sugar-free, consider using maple syrup or agave syrup instead.
How Do You Achieve the Perfect Stretch and Fold Technique?
The stretch and fold technique helps build strength in the dough. It’s simple and effective! Here’s how to do it:
- After the autolyse, dampen your hands to prevent sticking.
- Grab one side of the dough and stretch it upwards, then fold it over onto itself. Rotate the bowl and repeat until you’ve stretched and folded all four sides.
- Let the dough rest for 30 minutes and repeat this process for 2 hours. This technique adds air and strengthens gluten, resulting in a great rise!
By following these tips and techniques, you’ll create a delicious Double Chocolate Sourdough Bread that will impress everyone! Enjoy every bite!
Double Chocolate Sourdough Bread
Ingredients You’ll Need:
For the Bread:
- 500g bread flour
- 50g unsweetened cocoa powder
- 350g water (room temperature)
- 100g active sourdough starter (100% hydration)
- 10g salt
- 100g dark chocolate chips or chunks (plus extra for topping)
- 2 tbsp sugar or honey (optional, to enhance chocolate flavor)
How Much Time Will You Need?
This recipe requires about 20 minutes of hands-on preparation time. After preparation, you’ll need to let the dough rest and proof for about 12 to 18 hours in the refrigerator for the best flavor development. Then, expect about 40-50 minutes for baking. In total, plan for some waiting, but the result will be totally worth it!
Step-by-Step Instructions:
1. Mixing the Ingredients:
Start by taking a large mixing bowl and adding the bread flour, cocoa powder, and salt all together. Give it a good stir to mix the dry ingredients.
2. Combining Wet Ingredients:
In another bowl, combine the active sourdough starter and room temperature water. Mix it well until everything is nicely combined into a smooth mixture.
3. Forming the Dough:
Now, pour the sourdough mixture into the bowl with the dry ingredients. Use a spatula or your hand to mix everything together. Keep mixing until there are no dry spots left – the dough will seem shaggy and sticky, and that’s perfectly alright!
4. Autolyse Time:
Cover your mixing bowl with a towel and let it sit for 30 minutes. This resting period is called autolyse and helps to enhance the dough texture.
5. Adding Sweetness:
Once the dough has rested, if you’re using it, stir in the sugar or honey until it is fully incorporated into the dough. It helps give a lovely sweetness to the chocolate flavor.
6. Stretch and Fold:
Now it’s time for the stretch and fold technique! Every 30 minutes for the next 2 hours, gently stretch the dough from one side and fold it over itself. Do this for about 4 sets. On the last fold, take the chocolate chips and carefully mix them into the dough.
7. Shaping the Dough:
Shape your dough into a nice round loaf. Dust a banneton or a bowl with flour and place your loaf seam side up inside. It’s ready for the next step!
8. Overnight Proofing:
Cover it with a towel or plastic wrap and refrigerate it overnight. This slow fermentation will deepen the flavors. Aim for 12 to 18 hours for the best results!
9. Preheating the Oven:
When you’re ready to bake, preheat your oven to 450°F (230°C). If you’re using a Dutch oven or baking stone, place it in the oven to heat up.
10. Scoring the Bread:
Carefully take your dough out of the fridge and flip it onto a piece of parchment paper, seam side down. Use a sharp knife to score an X on top and sprinkle some additional chocolate chips on for a charming finish!
11. Baking:
With care, place the dough and parchment into your hot Dutch oven. Cover it and bake for 20 minutes. Then, remove the lid and bake for an additional 20-25 minutes. The loaf should have a deep color and sound hollow when tapped.
12. Cooling Down:
Finally, let the bread cool completely on a wire rack. It’s important as it continues to set even after being taken out of the oven.
13. Slice and Serve:
Once cooled, cut yourself a slice (or two!). Enjoy this delightful bread warm or toasted! Its rich flavors and chocolatey goodness paired with the sourdough’s tang will make it a favorite!
Can I Use Whole Wheat Flour Instead of Bread Flour?
Yes, you can substitute part or all of the bread flour with whole wheat flour. Just keep in mind that it may lead to a denser loaf, and you might need to increase the liquid slightly, as whole wheat absorbs more moisture.
How Do I Know If My Sourdough Starter Is Active?
Your starter should be bubbly, doubled in size, and have a pleasant, slightly tangy smell. To test it, drop a spoonful of starter in a glass of water; if it floats, it’s ready to use!
Can I Make This Recipe Without Chocolate Chips?
Absolutely! If you’re looking for a pure chocolate loaf, you can skip the chips and just enjoy the deep cocoa flavor. Alternatively, you can add chopped nuts or dried fruit for variety!
Can I Freeze the Dough or Baked Bread?
Yes, you can freeze the dough before the second proofing or the baked bread. If freezing baked bread, let it cool completely, then wrap it tightly in plastic wrap and foil. It can be stored in the freezer for up to 3 months. Thaw overnight in the fridge before enjoying!