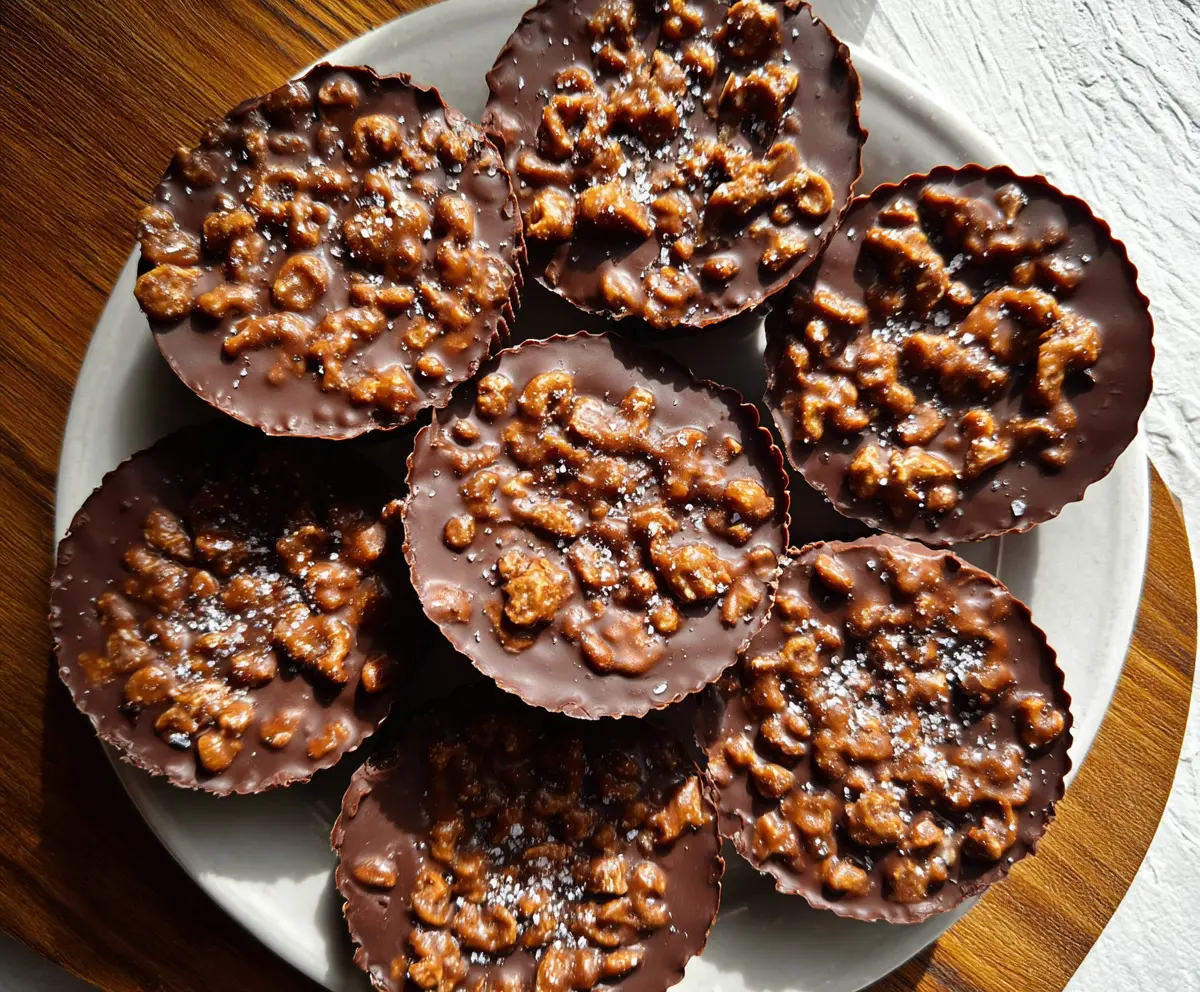
These Chocolate Peanut Butter Crunch Cups are a sweet treat that combines smooth chocolate and creamy peanut butter, all wrapped around a crunchy surprise. Perfect for satisfying your sweet tooth!
They’re super easy to make and fun to share, or keep them all for yourself—no judgment here! I like to pop one after lunch for a little pick-me-up. Yummy and simple!
Key Ingredients & Substitutions
Creamy Peanut Butter: This is the star of the show! If you’re looking for a healthier option, natural peanut butter works just as well, but it may be less sweet. Almond or cashew butter also make nice alternatives.
Unsalted Butter: Unsalted butter gives you more control over the saltiness of your cups. If you’re dairy-free, use a vegan butter or coconut oil instead. They will still provide that rich texture.
Powdered Sugar: This sweetener adds the right amount of sweetness. If you want to cut sugar, you can use a sugar substitute like erythritol or even maple syrup. Just note that it might alter the texture slightly.
Semi-Sweet Chocolate Chips: You can use dark chocolate if you prefer a richer taste or milk chocolate for a sweeter option. For a dairy-free choice, consider using dairy-free chocolate chips.
Crispy Rice Cereal: This is what gives the crunch! If you can’t find it, use crushed cornflakes or even granola for a different texture, though they will change the flavor a bit.
How Can I Ensure the Chocolate is the Right Consistency?
Melting chocolate can be tricky, but following these steps will help you achieve a smooth consistency:
- Make sure your bowl is completely dry; any moisture can cause the chocolate to seize.
- Microwave in short bursts of 30 seconds, stirring in between each burst. This prevents overheating.
- Stir until the chocolate is nearly melted; the residual heat will finish melting it without burning.
If you prefer, you can also melt the chocolate using a double boiler method on the stovetop. Just be sure to keep the water simmering, not boiling, to avoid water splashing into the chocolate!
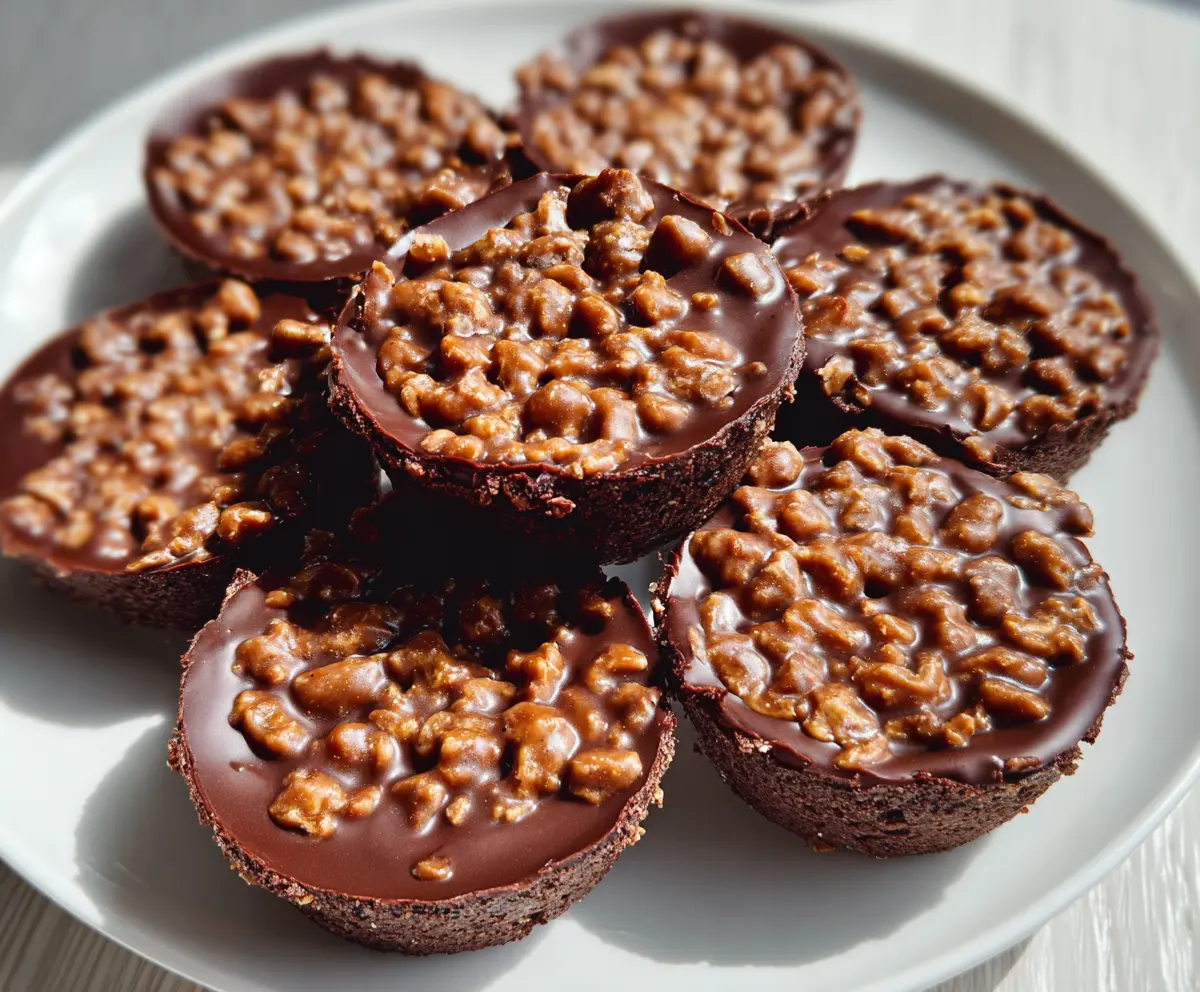
Chocolate Peanut Butter Crunch Cups
Ingredients You’ll Need:
For the Peanut Butter Filling:
- 1 cup creamy peanut butter
- 1/4 cup unsalted butter
- 1/4 cup powdered sugar
- 1/2 tsp vanilla extract
For the Chocolate Layer:
- 2 cups semi-sweet chocolate chips
- Sea salt, for sprinkling on top
For the Crunch:
- 1 1/2 cups crispy rice cereal (like Rice Krispies)
How Much Time Will You Need?
This recipe takes about 15-20 minutes for prep and melting, and an additional 1 hour for the cups to set in the refrigerator. With a bit of patience, you’ll have delicious cups ready to enjoy!
Step-by-Step Instructions:
1. Prepare the Muffin Tin:
Start by lining a muffin tin with paper or silicone cups. This helps your crunch cups stay intact and makes for easy removal later.
2. Mix the Peanut Butter Filling:
In a medium bowl, combine your creamy peanut butter, unsalted butter, and powdered sugar. Microwave this mixture in 20-second intervals, stirring in between, until it’s nice and smooth. Then, stir in the vanilla extract to add a lovely flavor!
3. Add the Crunch:
Gently fold in the crispy rice cereal into your peanut butter mixture. Make sure the cereal is evenly coated, as this will give your cups that delightful crunch.
4. Melt the Chocolate:
Now, let’s melt the chocolate! Take your semi-sweet chocolate chips and place them in a microwave-safe bowl. Microwave them in 30-second intervals, stirring in between, until you achieve a smooth texture. Be careful not to overheat!
5. Create the Bottom Layer:
Using a spoon, add a small amount of melted chocolate to the bottom of each muffin cup, just enough to cover the base. This will create a tasty foundation!
6. Freeze to Set the Base:
Place the muffin tin in the freezer for about 5 minutes to let the chocolate harden. This step is essential for a sturdy cup.
7. Fill with the Peanut Butter Mixture:
Remove the tin from the freezer and add a generous spoonful of the peanut butter and crispy rice mixture on top of the hardened chocolate layer in each cup. Press down lightly to compact the filling.
8. Top with More Chocolate:
Carefully pour more melted chocolate over the peanut butter crisp layer in each cup, fully covering it.
9. Add a Finishing Touch:
Sprinkle a pinch of sea salt on top of each cup. This not only adds flavor but also makes them look gorgeous!
10. Chill to Firm Up:
Pop the muffin tin back in the refrigerator for at least 1 hour until your cups are fully set. The waiting is hard, but so worth it!
11. Enjoy Your Treats:
Once set, carefully remove the cups from the muffin tin and peel off the liners. Now they’re ready to be enjoyed! Delight in your crunchy, creamy Chocolate Peanut Butter Crunch Cups and share (if you want)!
Can I Use Natural Peanut Butter Instead?
Yes, natural peanut butter can be used, but it might make the filling slightly less sweet and creamy. Stir well before measuring, as natural peanut butter can separate.
How Should I Store Leftover Crunch Cups?
Store any leftover cups in an airtight container in the refrigerator. They should stay fresh for up to one week. Just allow them to come to room temperature for a few minutes before eating for the best flavor!
Can I Substitute the Rice Cereal?
Absolutely! You can use crushed cornflakes or even granola if you need a change. Keep in mind that different cereals may slightly alter the flavor and texture of your crunch cups.
What Can I Do If the Chocolate Hardens Too Much?
If your melted chocolate hardens while you’re working, simply reheat it in the microwave for a few seconds until it softens again. Stir well to get it back to a smooth consistency before using it.