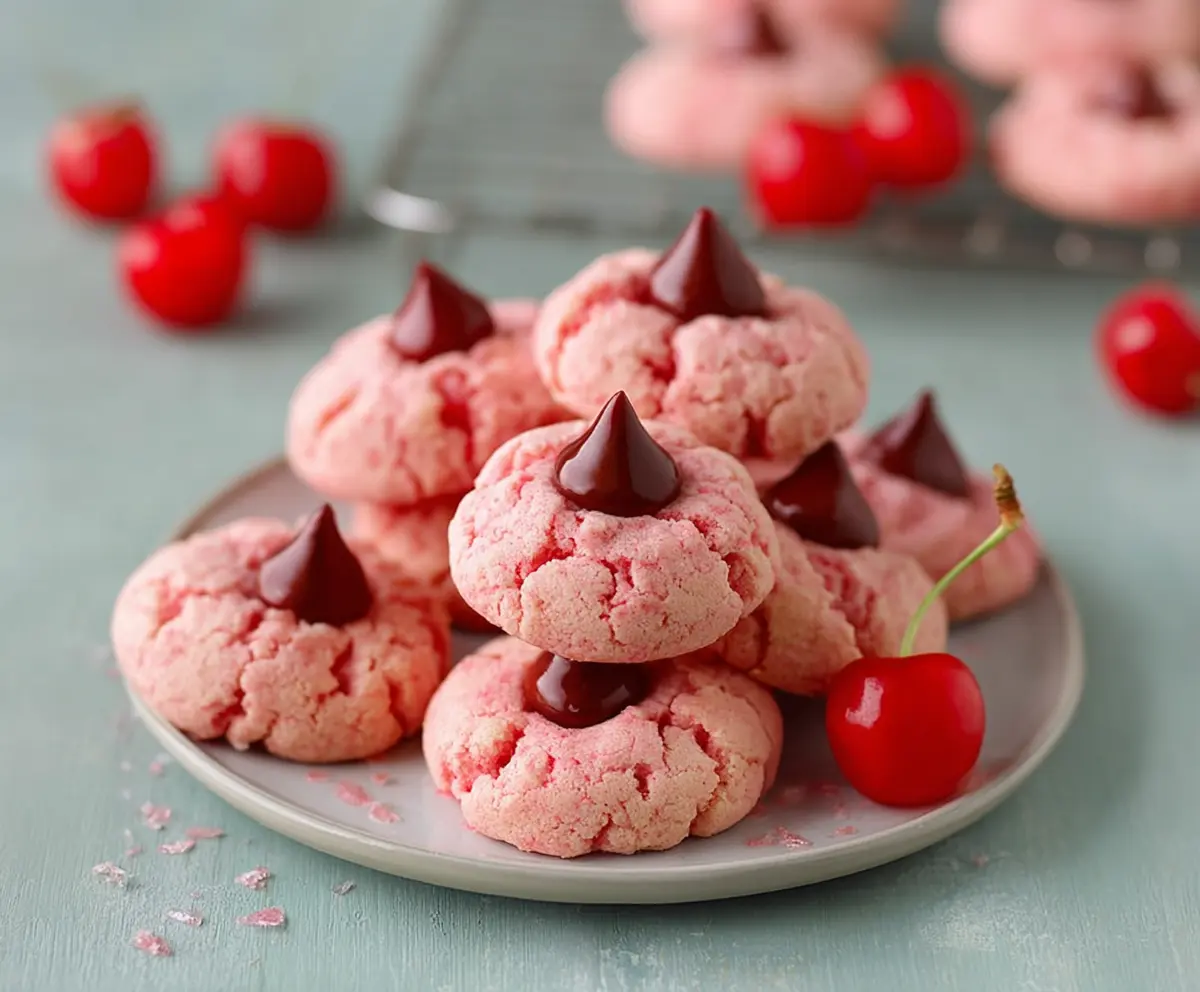
Cherry Kiss Cookies are sweet little treats that combine soft, chewy cookies with a surprise cherry on top. The cookie dough is buttery and sweet, making every bite delightful!
Who can resist a cookie that looks so pretty and tastes amazing? I love making these for friends because they brighten up any day. Plus, they are so easy to whip up, perfect for cookie cravings!
Key Ingredients & Substitutions
All-Purpose Flour: This is essential for structure. If you need a gluten-free option, try using a 1-to-1 gluten-free flour blend. I’ve had good luck with brands like Bob’s Red Mill.
Butter: Unsalted butter gives you control over the salt level. If you’re dairy-free, coconut oil or vegan butter works nicely, just ensure it’s softened for easy mixing!
Granulated Sugar: This adds sweetness and affects texture. For a healthier twist, you can substitute half with coconut sugar or use a sugar alternative like monk fruit sweetener. Taste might vary slightly!
Cherry Extract: This gives that fruity flavor! If you can’t find cherry extract, almond extract provides a nice alternative, adding a lovely nutty taste. I sometimes enjoy using it when I want a different twist.
Maraschino Cherries: Chopped cherries are optional but add moisture and real cherry flavor. If they aren’t available, dried cherries or cranberries are great! Just chop them up and adjust sugar to taste.
How Can I Ensure My Cookies Turn Out Perfectly Shaped?
Shaping your cookies can be key to their look and even baking! Here’s how to do it right:
- Measure 1-inch dough balls using a cookie scoop to keep them uniform.
- Roll them gently in your hands to form smooth balls without cracks.
- Coat each ball in powdered sugar thoroughly to get that beautiful finish.
- Space them about 2 inches apart as they will spread! This avoids any sticky situations where they might join together.
By following these simple steps, you’ll have perfectly shaped cookies, ready for that chocolate kiss in the center!
How to Make Cherry Kiss Cookies
Ingredients You’ll Need:
For the Cookie Dough:
- 2 1/4 cups all-purpose flour
- 1/2 teaspoon baking powder
- 1/4 teaspoon salt
- 3/4 cup unsalted butter, softened
- 1 cup granulated sugar
- 1 large egg
- 1 teaspoon vanilla extract
- 1/2 teaspoon cherry extract (or almond extract for a cherry-almond flavor)
- 1/2 cup finely chopped maraschino cherries, drained and patted dry (optional for extra cherry flavor)
- Red or pink food coloring (optional)
For Rolling and Topping:
- About 1 cup powdered sugar (for rolling cookies)
- About 36 chocolate kisses (one for each cookie)
How Much Time Will You Need?
This delightful cookie recipe will take approximately 20 minutes of prep time and 10-12 minutes of baking time. After baking, you’ll want to let them cool down, so set aside about 30 minutes for that as well. Altogether, you’ll be enjoying these soft Cherry Kiss Cookies in about an hour!
Step-by-Step Instructions:
1. Preheat and Prepare:
Start by preheating your oven to 350°F (175°C). While it heats up, line your baking sheets with parchment paper or silicone baking mats. This ensures that your cookies won’t stick, making clean-up easier!
2. Mix the Dry Ingredients:
In a medium bowl, whisk together the flour, baking powder, and salt. This helps to evenly distribute the baking powder and salt throughout the flour. Set this mixture aside as we move on to the wet ingredients.
3. Cream the Butter and Sugar:
In a large bowl, cream the softened butter and granulated sugar together using a mixer. Beat them until the mixture becomes light and fluffy, which usually takes about 2-3 minutes. This gives your cookies a nice texture!
4. Add the Egg and Extracts:
Next, beat in the egg, vanilla extract, and cherry extract (or almond extract) until everything is well combined and smooth. The extracts really boost the cherry flavor in these cookies!
5. Combine Dry and Wet Ingredients:
Gradually add the bowl of dry ingredients to the wet mixture. Stir gently until just combined to avoid overmixing. If using, carefully fold in the finely chopped maraschino cherries at this stage for an extra burst of flavor and moisture!
6. Add Color (Optional):
If you’d like a pretty pink hue to your cookies, add a few drops of red or pink food coloring to the dough. Mix it in thoroughly to distribute the color evenly!
7. Shape the Cookies:
Now it’s time to shape your cookies! Place the powdered sugar in a shallow bowl. Roll the dough into 1-inch balls, then roll each ball in the powdered sugar until fully coated. This gives them a lovely snowy finish!
8. Bake the Cookies:
Arrange the dough balls on your prepared baking sheets, spacing them about 2 inches apart to allow for spreading. Bake them in your preheated oven for 10-12 minutes. They’re done when they’re set and just starting to crack on top—golden brown isn’t the goal here!
9. Add the Chocolate Kisses:
As soon as the cookies are out of the oven, gently press a chocolate kiss into the center of each cookie while they are still warm. The heat will slightly melt the kiss and create that beautiful “kiss” look!
10. Cool and Enjoy:
Let the cookies cool on the baking sheet for a few minutes before transferring them to a wire rack to cool completely. Once they’re cool and the chocolate has set, it’s time to enjoy your amazing soft Cherry Kiss Cookies!
These cookies are perfect for sharing or enjoying as a sweet treat for yourself. Happy baking!
Can I Use Different Types of Cherries?
Absolutely! If maraschino cherries aren’t available, feel free to use fresh cherries, dried cherries, or even frozen cherries. Just ensure they’re pitted and chopped. If using fresh or frozen, you may want to pat them dry to avoid excess moisture in the dough.
What If I Don’t Have Cherry Extract?
No problem! You can substitute cherry extract with almond extract for a delicious cherry-almond flavor. You could also use vanilla extract in a pinch, although it won’t provide the same fruity taste.
How Should I Store Leftover Cookies?
Store any leftover cookies in an airtight container at room temperature for up to 5 days. To keep them extra fresh, you can layer them between sheets of parchment paper. If you want them to last longer, consider freezing them wrapped tightly in plastic wrap for up to 3 months!
Can I Make These Cookies Without Food Coloring?
Absolutely! The food coloring is purely optional and doesn’t affect the taste. If you prefer a classic look, feel free to skip it. Your cookies will still be delicious!