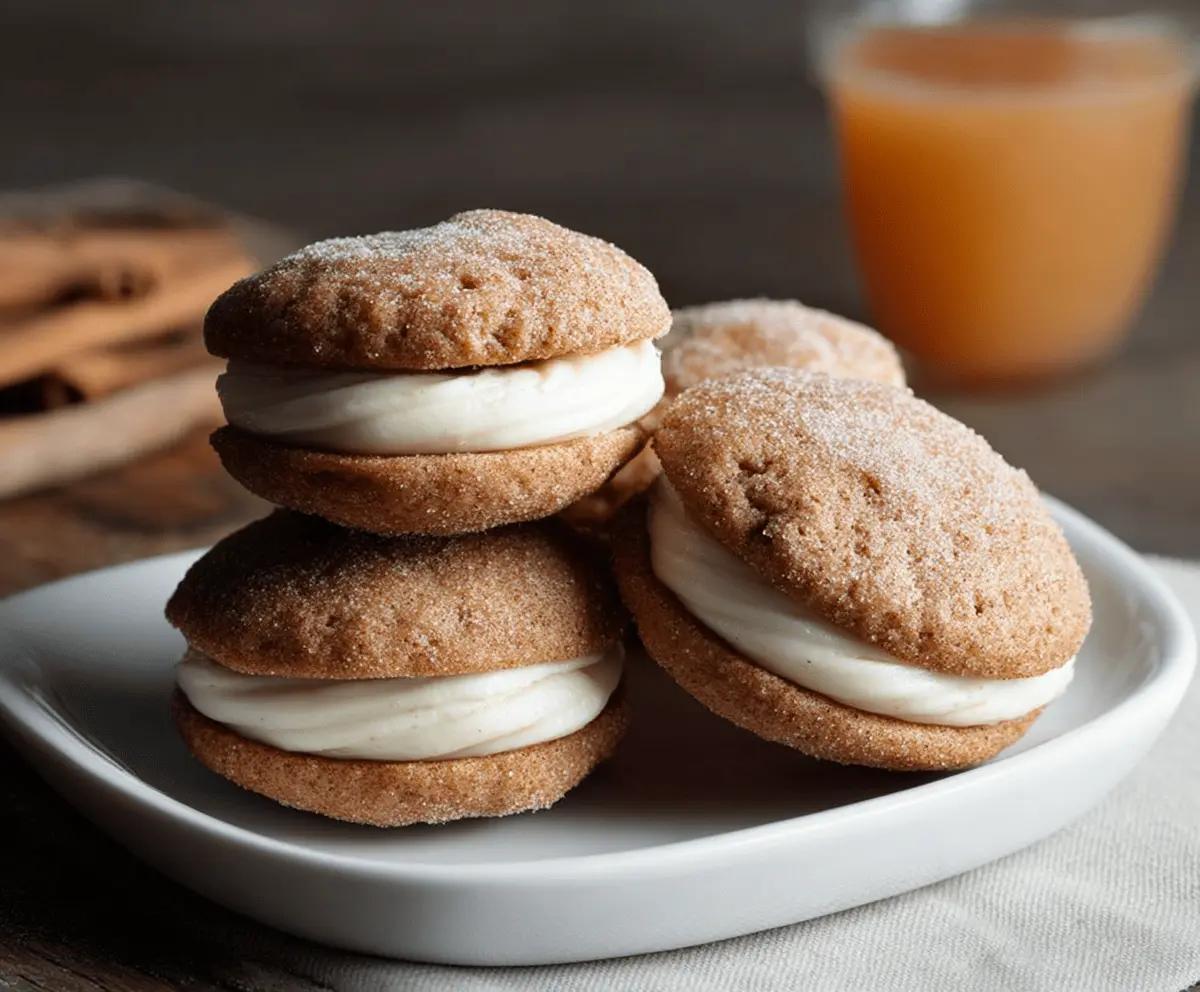
These Apple Cider Whoopie Pies are soft and fluffy cookies filled with a creamy, sweet filling. They taste like fall and are perfect for dessert or a snack!
As the apple flavors shine through, it’s hard not to smile while enjoying these treats. I love serving them warm with a cup of hot cider—it’s a cozy combo! 😊
Key Ingredients & Substitutions
All-purpose flour: This is the backbone of your cookies. If you’re after a gluten-free option, you can substitute a gluten-free flour blend, but be aware that texture might differ a bit.
Spices: Cinnamon and nutmeg define the warm flavors of this recipe. Don’t have fresh spices? Use pre-ground ones, but freshly ground will give better flavor. A pinch of allspice can also add a nice touch!
Apple cider: Look for unfiltered apple cider for the best taste. You could also use apple juice if cider isn’t available, but it won’t be quite as rich in flavor.
Butter: Unsalted butter is key for flavor control. If you’re in a pinch, you can use margarine or coconut oil, but the flavor will differ slightly.
Cream cheese: This gives the filling its creamy texture. If you prefer a non-dairy filling, use vegan cream cheese or a whipped coconut cream. Adjust sugar and flavors accordingly.
How Can I Get My Cookies to Be Perfectly Soft?
Soft cookies are what we’re after, and achieving this is all in the mixing and baking. Here’s a simple way to ensure they come out just right:
- Don’t overmix your dough once the flour is added. Mix until just combined; a few flour streaks are okay.
- Check your baking time carefully. Remove cookies when they look set but still soft in the middle.
- Let them cool on the baking sheet for a few minutes before transferring to a wire rack. This helps them firm up without getting hard.
By paying close attention to these details, you’ll have cookies that are soft, fluffy, and delicious every time! Enjoy your baking adventure with these lovely Apple Cider Whoopie Pies.
Apple Cider Whoopie Pies
Ingredients You’ll Need:
For the Cookies:
- 2 cups all-purpose flour
- 1 tsp baking powder
- 1/2 tsp baking soda
- 1/2 tsp salt
- 1 tbsp ground cinnamon
- 1/2 tsp ground nutmeg
- 1/4 tsp ground cloves
- 1/4 tsp ground ginger
- 1/2 cup unsalted butter, softened
- 3/4 cup brown sugar, packed
- 1 large egg
- 1/2 cup apple cider
- 1 tsp vanilla extract
For the Filling:
- 8 oz cream cheese, softened
- 1/4 cup unsalted butter, softened
- 2 cups powdered sugar
- 1 tsp vanilla extract
- 1 tbsp apple cider (optional, for extra apple flavor)
For Rolling:
- 1/4 cup granulated sugar
- 1 tsp ground cinnamon
How Much Time Will You Need?
This recipe will take about 20 minutes of prep time and around 15 minutes of baking time. You’ll need to let the cookies cool before assembling, so plan for about 1 hour total from start to finish. They’re perfect for a cozy evening treat!
Step-by-Step Instructions:
1. Prepping the Oven and Baking Sheets:
Start by preheating your oven to 350°F (175°C). While that heats up, line two baking sheets with parchment paper. This will prevent the cookies from sticking and make cleanup a breeze!
2. Mixing Dry Ingredients:
In a medium bowl, whisk together the flour, baking powder, baking soda, salt, cinnamon, nutmeg, cloves, and ginger. It’s important to mix these well to ensure the spices are evenly distributed throughout the cookies.
3. Creaming the Butter and Sugar:
In a large mixing bowl, cream together the softened butter and brown sugar until the mixture is light and fluffy. This should take about 2-3 minutes.
4. Adding Egg and Vanilla:
Beat in the egg until well combined, then add the vanilla extract. Mix it all together until smooth.
5. Combining Dry Ingredients and Apple Cider:
Now, alternately add the dry ingredient mixture and the apple cider to the butter mixture. Start with a bit of dry ingredients, then some apple cider, and continue this way until everything is combined. Be careful not to overmix!
6. Preparing the Cinnamon-Sugar Coating:
In a small bowl, mix together the granulated sugar and ground cinnamon for rolling your cookies. This adds a lovely touch of sweetness and spice to the outside of each whoopie pie!
7. Shaping the Dough:
Using a cookie scoop or tablespoons, form the dough into balls about 1.5 inches in diameter. Roll each ball into the cinnamon-sugar mixture until thoroughly coated.
8. Baking the Cookies:
Place the dough balls on your prepared baking sheets, leaving about 2 inches of space between them. Gently flatten each ball slightly with your palm before baking.
9. Cooling the Cookies:
Bake the cookies for 12-15 minutes or until they are set and slightly springy to the touch. Once done, remove them from the oven and let them cool on a wire rack completely.
10. Preparing the Filling:
While the cookies are cooling, prepare the filling. In a mixing bowl, beat together the softened cream cheese and butter until smooth and creamy. Gradually add the powdered sugar and mix until the filling is fluffy.
11. Assembling the Whoopie Pies:
Once the cookies are completely cool, it’s time to assemble! Spread or pipe a generous amount of the filling onto the bottom side of one cookie, then top it with another cookie to create a sandwich.
12. Repeat and Serve:
Repeat the process with the remaining cookies and filling. You can serve the whoopie pies immediately or refrigerate them for a while to let the filling firm up. Either way, they’re sure to be a hit!
Enjoy your delicious Apple Cider Whoopie Pies with a warm drink for a perfect seasonal treat!
Can I Use Gluten-Free Flour in This Recipe?
Absolutely! You can substitute all-purpose flour with a gluten-free blend. Just make sure it’s a 1:1 substitution designed for baking to achieve similar results. Keep an eye on the texture, as it may vary slightly.
What’s the Best Way to Store Leftover Whoopie Pies?
Store leftover whoopie pies in an airtight container in the refrigerator for up to 3 days. If you prefer them to be a bit firmer, place them in the fridge for about 30 minutes before serving.
Can I Freeze Whoopie Pies?
Yes! You can freeze them either assembled or unfilled. If freezing assembled, wrap each pie individually in plastic wrap and then place them in an airtight container. They will last in the freezer for up to 3 months. Thaw in the fridge before enjoying.
Can I Add Nuts or Other Mix-ins to the Cookies?
Definitely! Chopped walnuts or pecans would add a nice crunch. Just be sure to reduce the amount of flour slightly to maintain the cookie’s texture. You can also toss in some chocolate chips for a delightful twist!