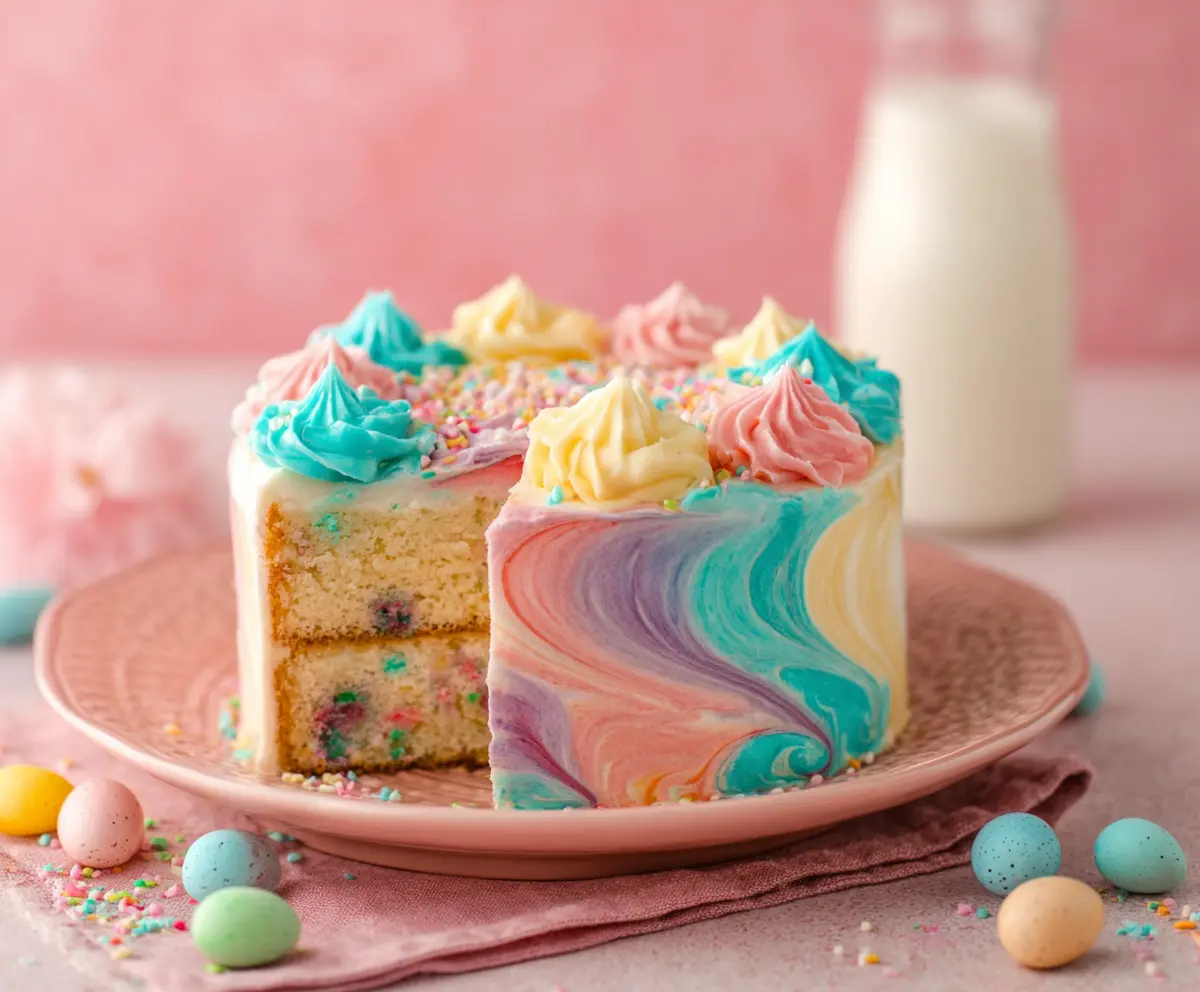
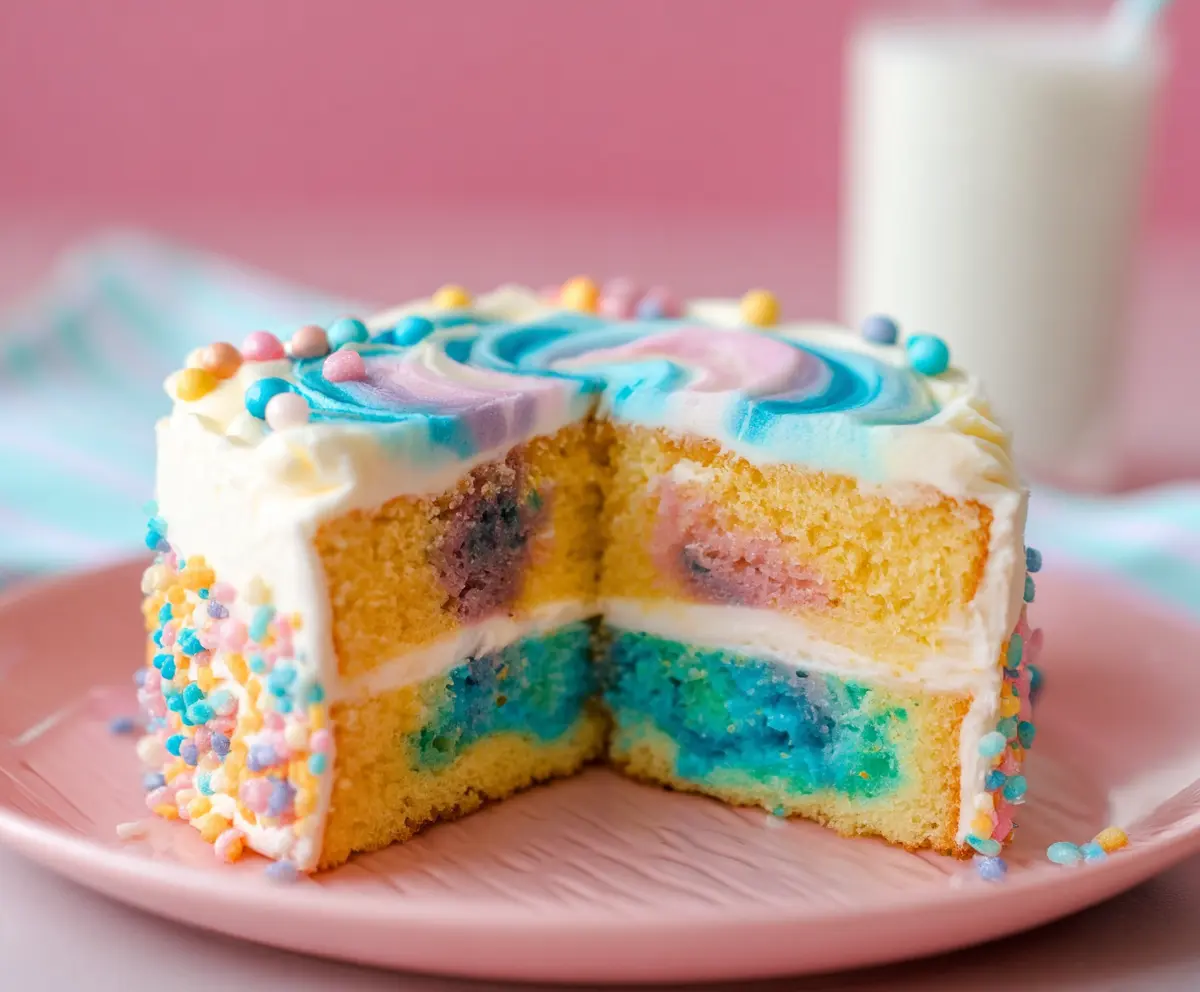
This Swirled Easter Cake is a colorful treat perfect for celebrating spring! With soft layers of cake mixed with fun swirls, it’s a visual delight and tastes amazing too.
Baking this cake is a blast! I love watching the colors blend together. It’s always a hit at family gatherings. Plus, who can resist a slice of cheerful cake? 🎉
Key Ingredients & Substitutions
All-purpose flour: This is the foundation of the cake. If you need a gluten-free option, you can substitute with a gluten-free all-purpose blend, ensuring it has xanthan gum for structure.
Butter: Unsalted butter gives control over salt content, but if you’re in a pinch, you can use salted butter. Just reduce the added salt in the recipe slightly.
Whole milk: You can replace whole milk with low-fat milk or even unsweetened almond milk for a lighter option, but the cake may be slightly less moist.
Sprinkles: I love using jimmies for their vibrant colors, but non-pareils can bleed and change the colors of the batter. Choose your favorite or use a mix!
Powdered sugar: Sifted sugar is key for a smooth buttercream. If you’re avoiding sugar, try powdered erythritol as a sweetener substitute for a lower-calorie option.
How Do You Achieve a Perfectly Swirled Buttercream Frosting?
Creating that beautiful swirled frosting can be tricky but is all about technique. It’s important to have the right consistency and mixture of colors. Here are some easy steps to guide you:
- Before you divide the buttercream, make sure it’s smooth and fluffy. Beat it long enough to aerate.
- Tint the frosting in separate bowls with food coloring without overmixing, to keep the colors distinct.
- When applying, start with a clean spatula after each color to prevent mixing. Spread gently to maintain the swirls.
- Practice patience! If the frosting seems too dry, add a touch more milk until it spreads easily.
How to Make a Beautiful Swirled Easter Cake
Ingredients You’ll Need:
For the Cake:
- 2 ½ cups all-purpose flour
- 2 ½ tsp baking powder
- ½ tsp salt
- 1 cup unsalted butter, softened
- 1 ¾ cups granulated sugar
- 4 large eggs
- 1 tbsp vanilla extract
- 1 cup whole milk
- ½ cup colorful sprinkles (jimmies or non-pareils)
For the Buttercream Frosting:
- 1 ½ cups unsalted butter, softened
- 5 cups powdered sugar, sifted
- 2 tsp vanilla extract
- 3-5 tbsp whole milk or heavy cream
- Food coloring (blue, pink, yellow, purple)
For Decorating:
- Additional sprinkles
- Mini pastel candy eggs (chocolate or sugar-coated)
How Much Time Will You Need?
This delightful cake will take about 30 minutes of prep time and 25-30 minutes to bake. After baking, allow the cake to cool for a bit before frosting it, plus don’t forget you can refrigerate it for 30 minutes once decorated. In total, you’ll invest around 1.5 to 2 hours before serving!
Step-by-Step Instructions:
1. Prepare the Cake Batter:
First things first! Preheat your oven to 350°F (175°C) and grease two 8-inch round cake pans, then lightly flour them. In a bowl, whisk the flour, baking powder, and salt together. In a separate large bowl, cream the softened butter and granulated sugar with an electric mixer on medium speed, mixing until it’s light and fluffy—this might take about 3-4 minutes. Add the eggs one at a time, mixing well after each addition, then stir in the vanilla extract. Gradually combine your dry ingredients with the butter mixture, alternating with the milk, starting and ending with the dry mix. Finally, fold in those colorful sprinkles gently.
2. Bake the Cake:
Now divide your cake batter evenly between the two prepared pans and smooth the tops. Place them in the oven and bake for 25-30 minutes, or until a toothpick inserted into the center comes out clean. Once baked, let the cakes cool in the pans for about 10 minutes before transferring them to wire racks to cool completely.
3. Make the Buttercream Frosting:
While your cakes are cooling, it’s time to whip up the frosting! In a large bowl, use an electric mixer to beat the softened butter on medium speed until it’s creamy. Gradually add the powdered sugar, one cup at a time, making sure to beat well after each addition. Mix in the vanilla extract and 3 tablespoons of milk (or cream). Beat on high speed for 3-5 minutes until fluffy! If your frosting seems too stiff, add a little more milk until you reach a nice spreadable consistency.
4. Create the Swirled Frosting Effect:
Now, let’s get colorful! Divide your frosting into four bowls. Add and mix in different food coloring to each bowl (blue, pink, yellow, purple). Then, on a large spatula, spread a small amount of each colored frosting in stripes side by side without mixing. Use a clean spatula to pick up this multi-colored frosting and spread it thinly over the cake to create a beautiful swirled effect.
5. Assemble the Cake:
Place one layer of the cake on a serving plate. Spread a nice layer of either plain or lightly colored buttercream on top. Carefully place the second cake layer on top of this. Now, frost the top and sides of the cake with a smooth coat of plain white buttercream as your base layer.
6. Decorate and Swirl:
Next, use the multicolored frosting to create a fantastic swirling pattern around the sides of the cake. You can use a spatula or brush for this. Pipe dollops of the colored buttercream (blue, pink, yellow) around the top edge of the cake with a star tip. And for that extra special touch, scatter some more sprinkles on top. Don’t forget to decorate the cake plate with those cute pastel candy eggs and some extra sprinkles for an Easter-themed touch!
7. Serve and Enjoy:
If you want the frosting to set perfectly, pop your decorated cake into the fridge for about 30 minutes before serving. Then, it’s time to slice up your beautiful Swirled Easter Cake and enjoy the deliciousness with family and friends!
Can I Use Different Flavors of Cake for This Recipe?
Absolutely! While this recipe calls for a classic vanilla cake, you can easily switch it up by using chocolate cake, lemon cake, or any flavor you fancy. Just adjust the other flavors accordingly to complement the new cake base.
How Can I Make a Smaller Cake?
If you want to make a smaller version, you can halve the recipe and use a single 9-inch round pan instead. Just keep an eye on the baking time, as it may be slightly less than the original recipe!
What Should I Do if the Cake is Too Dry?
To avoid a dry cake, make sure not to overmix the batter and keep an eye on the baking time. If it does turn out dry, you can brush the cooled cake layers lightly with simple syrup (equal parts sugar and water, boiled until dissolved) before frosting to add moisture back in.
How Should I Store Leftovers?
Store any leftover cake in an airtight container in the fridge for up to 4 days. You can also freeze slices by wrapping them tightly in plastic wrap and then foil; they should be good for about two months. Just thaw overnight in the fridge when you’re ready to enjoy them!