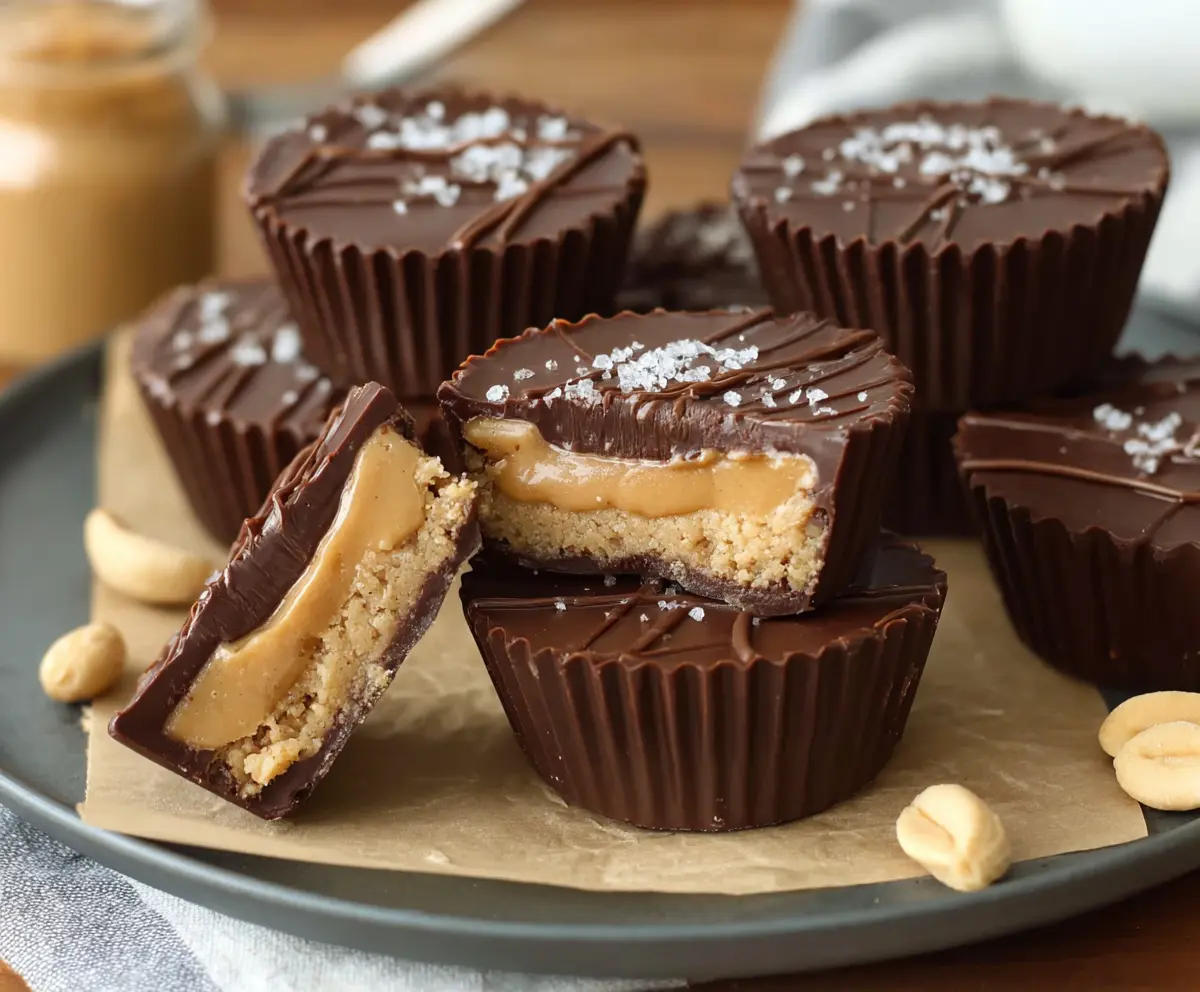
Cottage Cheese Peanut Butter Cups are a fun and tasty treat that’s easy to make! They’re creamy, nutty, and full of protein, making them a great snack for any time of the day!
Who knew cottage cheese could taste so good in a dessert? I love making these for when I’m craving something sweet but still want to be healthy. They disappear fast, so be ready to share! 😊
Key Ingredients & Substitutions
Cottage Cheese: This ingredient gives your cups a creamy texture and adds protein. I recommend using low-fat cottage cheese for a lighter version, but feel free to go with full-fat if you prefer a richer flavor.
Peanut Butter: You can use either creamy or crunchy peanut butter. If you need a nut-free option, sun butter or soy nut butter works great as a substitute. I love crunchy peanut butter for that added texture!
Powdered Sugar: This helps sweeten the filling without making it gritty. You can substitute it with a natural sweetener like stevia or erythritol. Just be sure to adjust the amount according to the sweetness of your chosen sweetener.
Dark Chocolate: A must for the outer layer! Choose chocolate with at least 70% cocoa for a richer taste. If you’re dairy-free, look for vegan chocolate chips. I find that adding a little coconut oil when melting chocolate helps it become smoother.
How Do I Make Sure My Chocolate Doesn’t Seize Up When Melting?
Melting chocolate can be tricky, but with the right steps, it’s easy! Here are my tips to keep your chocolate smooth:
- Use a double boiler or a microwave. If using a microwave, heat in short bursts of 30 seconds, stirring between each, until smooth.
- Add a teaspoon of coconut oil when melting. It helps keep the chocolate silky and easy to spread.
- Always ensure your bowl and utensils are completely dry. Any water will cause the chocolate to seize, making it clumpy.
By following these steps, you’ll achieve a perfectly melted chocolate layer for your Cottage Cheese Peanut Butter Cups! Enjoy creating this delicious treat! 🍫
Cottage Cheese Peanut Butter Cups
Ingredients You’ll Need:
For the Filling:
- 1 cup low-fat cottage cheese
- 1 cup peanut butter (creamy or crunchy)
- 1/4 cup powdered sugar or natural sweetener of choice
- 1 tsp vanilla extract
For the Chocolate Coating:
- 2 cups dark chocolate chips or chocolate melting wafers
- Pinch of sea salt (for garnish)
- Optional: additional peanuts for texture
Time Needed:
This recipe will take about 15-20 minutes of prep time, plus at least 1 hour to chill in the refrigerator for the chocolate to set. Just a little waiting, and you’ll have a delicious treat ready to enjoy!
Step-by-Step Instructions:
1. Prepare the Filling:
Start by adding the cottage cheese, peanut butter, powdered sugar, and vanilla extract into a blender or food processor. Blend everything together until you achieve a smooth and creamy mixture. This will be the yummy filling for your cups!
2. Melt the Chocolate:
Next, you’ll need to melt the chocolate chips. You can do this by using a double boiler or the microwave. If you choose the microwave, heat the chocolate in 30-second intervals, stirring in between until it’s fully melted and smooth. Be careful not to overheat!
3. Prepare the Muffin Tin:
Line a muffin tin with paper liners or use silicone molds to make it easier to remove the cups later. This will make your life so much easier when it’s time to enjoy your treats!
4. Create the Chocolate Base:
Spoon a small amount of the melted chocolate into the bottom of each cup, just enough to create a base layer. Take the back of a spoon to spread it evenly across the bottom.
5. Set the Chocolate:
Pop the muffin tin into the fridge or freezer for about 5-10 minutes. You want the chocolate base to set completely, so it can hold the filling without mixing together.
6. Add the Filling:
Once the chocolate base has set, take the tin out and spoon in a generous amount of your cottage cheese and peanut butter mixture on top of the chocolate. Smooth it out gently with a spoon to make it even.
7. Top with Chocolate:
Now, pour another layer of the melted chocolate over the filling in each cup until it is completely covered. This seals everything in nicely!
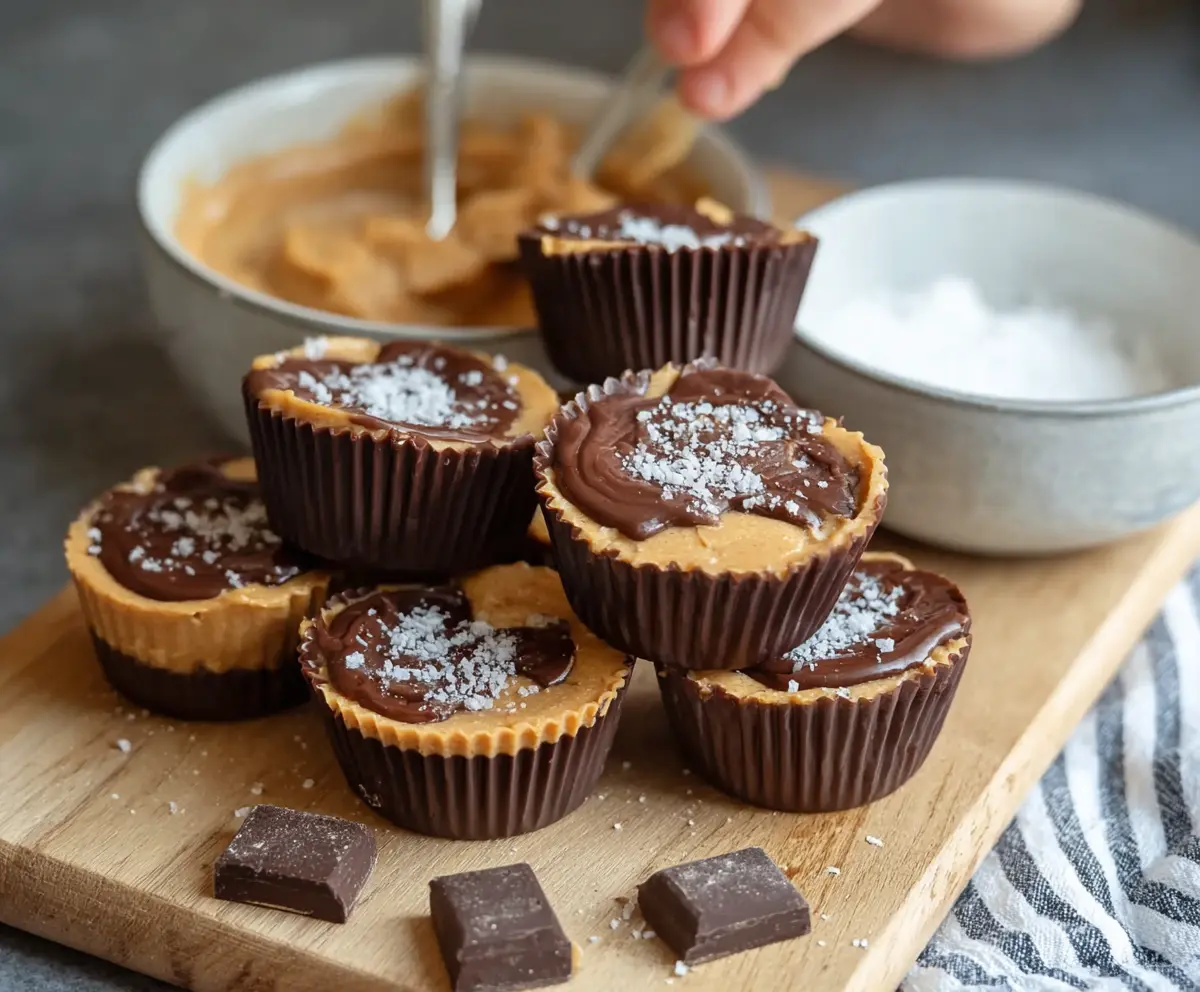
8. Garnish:
For a tasty finish, sprinkle a pinch of sea salt on top of each cup. This little touch adds great flavor!
9. Chill to Set:
Return the muffin tin to the fridge and chill for at least 1 hour, or until the chocolate is nice and firm.
10. Enjoy:
Once set, carefully remove the cups from the molds or liners. Now, ready to devour your creamy, rich Cottage Cheese Peanut Butter Cups! They’re packed with protein and flavor!
Your family and friends will love these! Perfect for an afternoon snack or a sweet treat anytime. Enjoy! 😊
Can I Use a Different Type of Cheese Instead of Cottage Cheese?
While cottage cheese gives a unique texture and flavor, you can try using ricotta cheese for a similar creamy result, or even cream cheese for a richer taste. Just keep in mind that the flavor profile will change a bit!
What Can I Substitute for Peanut Butter?
If you need a nut-free option, sun butter or soy nut butter are excellent alternatives. You can also use almond butter or cashew butter if you’re open to other nut options. Just ensure that you choose a creamy variety for the best consistency!
How Should I Store Leftovers?
Store any leftover Cottage Cheese Peanut Butter Cups in an airtight container in the fridge for up to 5 days. If you want to keep them for longer, you can freeze them. Just make sure they are well-wrapped or in a suitable container to prevent freezer burn!
Can I Make These Ahead of Time?
Absolutely! You can prepare these cups a couple of days in advance. Just store them in the fridge until you’re ready to enjoy them. They actually taste even better after they’ve had some time to chill and the flavors to meld!