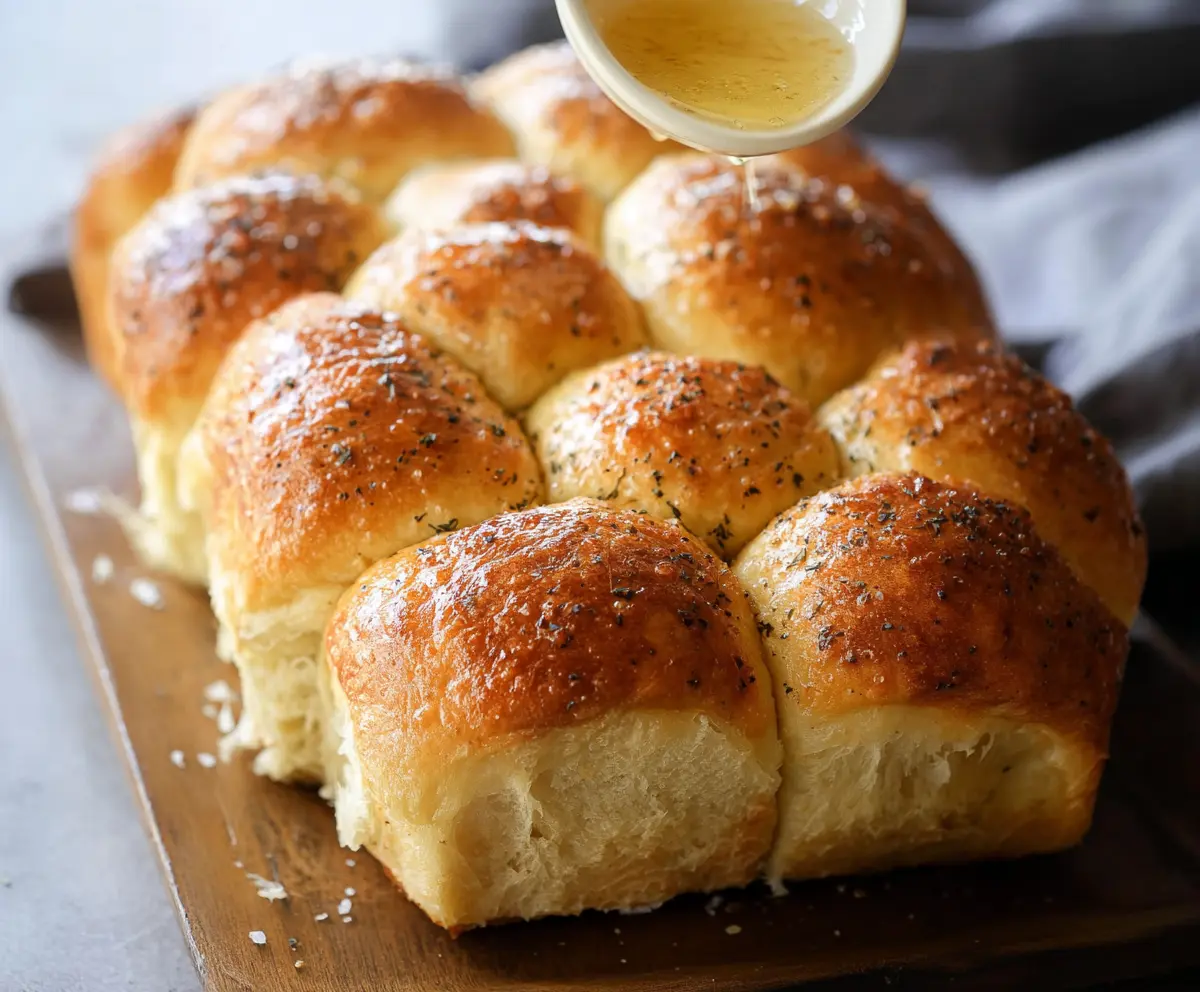
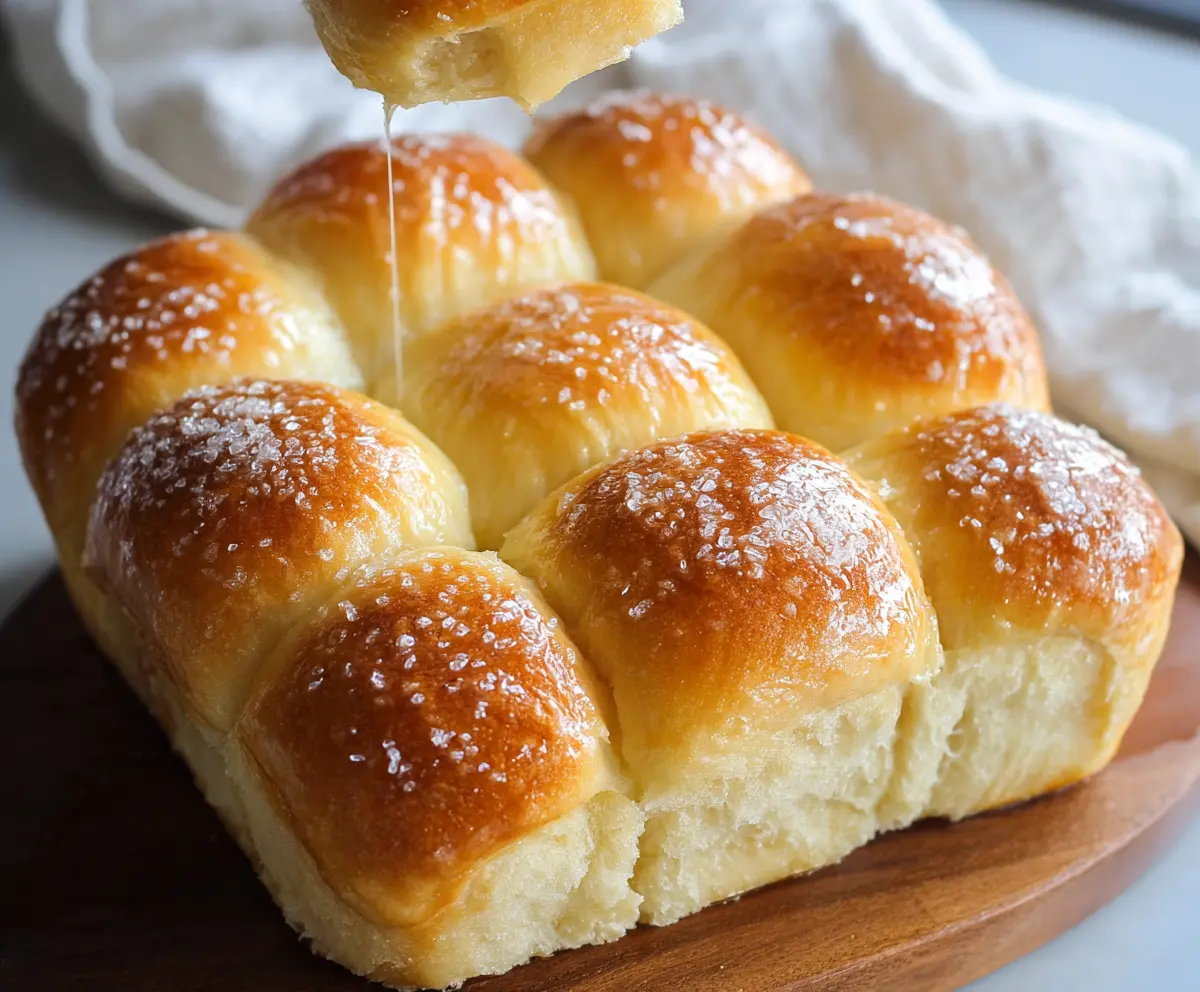
These Pull Apart Sourdough Dinner Rolls are soft, fluffy, and perfect for sharing! Each roll is just waiting to be picked off the tray, making dinner a fun experience.
I love how easy it is to enjoy these rolls right out of the oven. Just a bit of butter on top, and you have a warm treat that everyone will love. Yum!
Key Ingredients & Substitutions
Sourdough Starter: Using an active, bubbly starter is crucial for these rolls. If you don’t have sourdough, you can replace it with 1 cup of all-purpose flour and 1/2 cup of water, but the flavor won’t be as rich.
Flour: All-purpose flour works great here, but you can experiment with bread flour for a chewier texture. If you’re gluten-free, try a 1:1 gluten-free flour blend instead.
Milk: Whole milk gives a creamy texture, but you can substitute with almond milk or oat milk for a dairy-free version. Just ensure they’re unsweetened varieties for best results.
Butter: I personally love unsalted butter because I can control the saltiness. If you want a vegan option, try using coconut oil or a plant-based butter alternative.
How Do You Get Perfectly Fluffy Rolls?
Creating fluffy rolls is all about proper rising and kneading. Here’s how to do it right:
- Kneading: Knead until the dough is smooth and elastic. This helps develop gluten, which gives the rolls their structure.
- Rising: Don’t rush the rising time! Allow the dough to double in size during both rises. If your kitchen is cold, try placing it in a warm spot or an oven set to the lowest temperature (then turned off).
- Second Rise: The second rise is key for fluffiness! Be patient, and let the rolls puff up before baking.
With these tips, you’ll have light and airy dinner rolls every time!
Pull Apart Sourdough Dinner Rolls
Ingredients You’ll Need:
For the Dough:
- 1 cup active sourdough starter (fed and bubbly)
- 3 1/4 cups all-purpose flour
- 1/4 cup granulated sugar
- 1 teaspoon salt
- 1 cup whole milk, warm (about 110°F / 43°C)
- 3 tablespoons unsalted butter, melted, plus more for brushing
- 2 1/4 teaspoons active dry yeast (1 packet)
- 1 large egg, room temperature
For Topping (Optional):
- Dried thyme, rosemary, or Italian seasoning
- Coarse sea salt for sprinkling
How Much Time Will You Need?
This recipe will take about 20 minutes to prep and needs about 3-4 hours total for rising and baking. So, plan for some time to let the dough do its magic! You’ll enjoy the wonderful aroma of freshly baked rolls soon!
Step-by-Step Instructions:
1. Prepare Yeast Mixture:
Start by taking a small bowl and combine the warm milk, yeast, and a pinch of sugar. Give it a gentle stir and let it sit for about 5-10 minutes until it looks foamy. This shows the yeast is alive and ready to help your rolls rise!
2. Mix the Dough:
In a large mixing bowl, combine the flour, sugar, and salt. Next, add your sourdough starter, the egg, and the melted butter along with that frothy yeast mixture. Mix it up using a stand mixer fitted with a dough hook or just your hands until everything comes together into a dough.
3. Knead the Dough:
Now it’s time to knead! Knead the dough for about 8-10 minutes until it feels smooth, elastic, and just a touch sticky. If it feels too sticky, sprinkle a bit of extra flour as needed. This step is important for that lovely texture!
4. First Rise:
Place your kneaded dough in a greased bowl, cover it with a damp cloth or plastic wrap, and let it rise in a warm spot until it doubles in size. This should take about 2-3 hours, depending on your kitchen temperature.
5. Shape the Rolls:
Once the dough has risen, gently punch it down and turn it onto a lightly floured surface. Divide the dough into 12 equal-sized pieces and shape each piece into a smooth ball. Keep it simple—no need to stress!
6. Arrange in the Pan:
Grab a 9×13-inch baking pan and lightly grease it. Place the dough balls closely together in the pan. They’ll rise together and create that delightful pull-apart texture!
7. Second Rise:
Cover the pan with a cloth and let the rolls rise again until they are puffy and nearly doubled in size, which will take about 1-1.5 hours.
8. Preheat the Oven:
As the rolls are rising, go ahead and preheat your oven to 375°F (190°C), so it’s nice and hot when the rolls are ready to bake.
9. Prepare the Topping:
In a small bowl, mix up some melted butter with your choice of herbs. This will give the rolls a wonderful flavor and a beautiful, shiny finish!
10. Bake the Rolls:
Once the rolls have risen, generously brush them with the herb butter mixture and sprinkle coarse sea salt on top. Pop them in the oven and bake for 20-25 minutes, or until they are golden brown and look irresistible!
11. Final Touch:
After baking, take them out of the oven and brush with a little more melted butter right away. This gives them a lovely glossy finish. Serve warm and watch them disappear!
Enjoy your soft, flavorful pull-apart sourdough rolls perfect for any dinner! They’re sure to impress your family and friends!
Can I Use Store-Bought Sourdough Starter?
Absolutely! Store-bought sourdough starter works just fine. Make sure it’s active and bubbly for the best rise. If it’s dormant, feed it for a day or two prior to using it in the recipe.
What If I Don’t Have Whole Milk?
If you don’t have whole milk, you can substitute it with 2% milk or a dairy-free alternative like almond milk or oat milk. Just make sure to use the unsweetened versions for best flavor!
Can I Prepare the Dough the Night Before?
Yes! You can prepare the dough the night before. After kneading, place it in the refrigerator instead of allowing it to rise at room temperature. In the morning, let it come to room temperature and rise before shaping the rolls.
How Do I Store Leftover Rolls?
Store any leftover rolls in an airtight container at room temperature for up to 2 days. You can also freeze them by wrapping them tightly in plastic wrap and then placing them in a freezer bag. Thaw and reheat in the oven for a fresh taste.