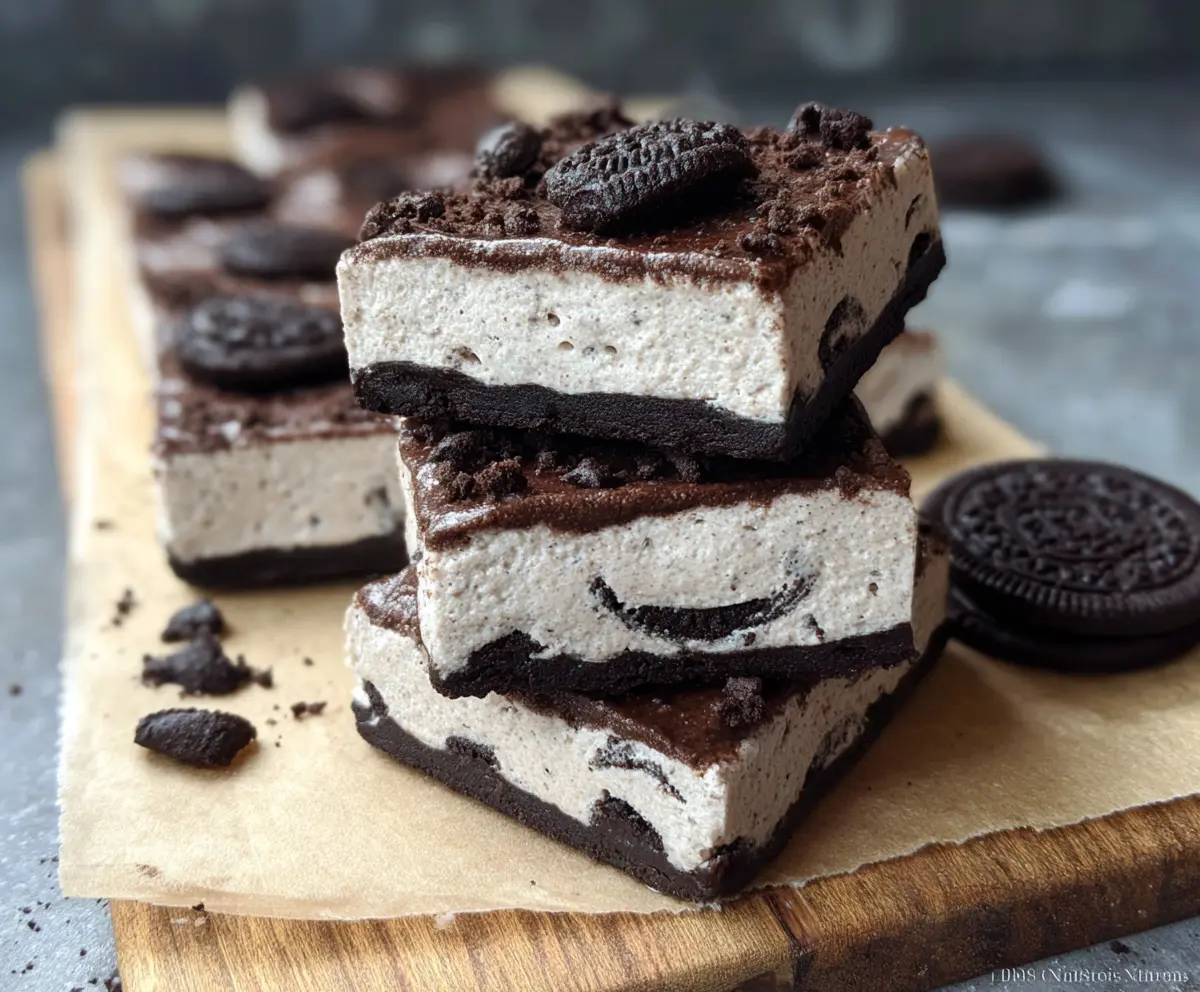
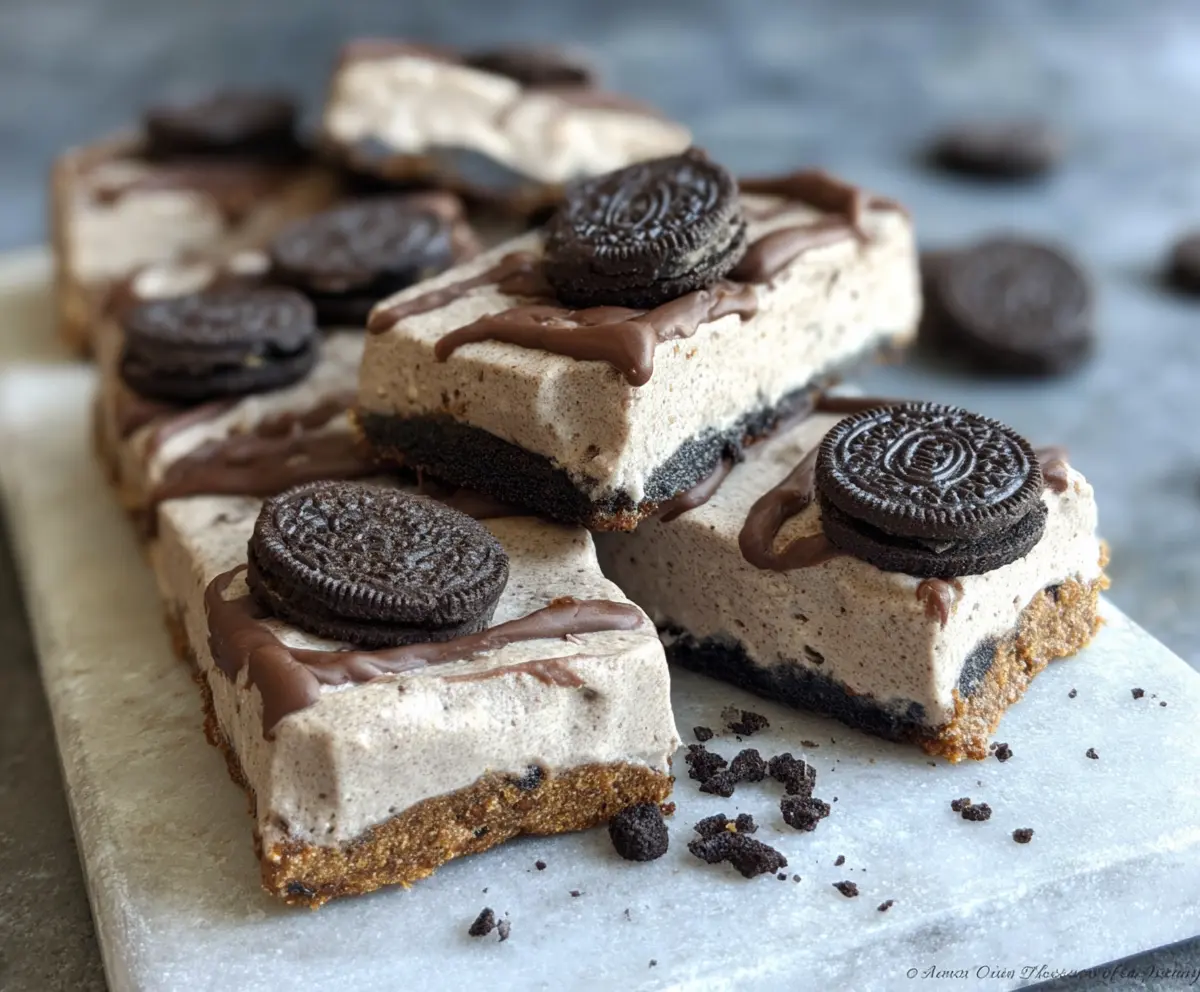
These No Bake Oreo Protein Bars are the perfect sweet treat for when you’re craving something delightful without turning on the oven. Made with crunchy Oreo crumbs and creamy protein, they’re tasty and satisfying!
Honestly, I love how simple they are to whip up. Just mix, press, and chill! Pair them with a cold glass of milk, and you’ve got a snack that feels like a dessert without the guilt. Yum!
Key Ingredients & Substitutions
Oreo Cookies: These provide a classic cookie flavor and crunchy texture. If you want a twist, you can try using another chocolate cookie or even gluten-free cookies for a gluten-free option.
Protein Powder: Vanilla or cookies & cream protein powder works great here. You can substitute with a plant-based protein or even a different flavor if you like—but be aware, it might alter the taste a bit!
Cream Cheese: For a lighter version, you can swap low-fat cream cheese with Greek yogurt or even silken tofu, which gives a similar creamy texture.
Nut Butter: Almond butter adds a nice flavor, but peanut butter or sun butter are great alternatives. If nuts are a concern, you can leave this out, but it may slightly change the texture.
Sweetener: Honey or maple syrup is perfect for that touch of sweetness. If you’re vegan, stick with maple syrup. You can also use agave syrup or sugar substitutes if you prefer.
How Do I Make Sure My Bars Set Firmly?
Getting the right texture for your no-bakebars is key. Here are some tips:
- Chill Time: Don’t rush the chilling! Give them at least 4 hours in the fridge. This helps them firm up nicely.
- Parchment Paper: Always line your pan! It makes it easier to lift the bars out once they’re set.
- Beat Well: Make sure to blend the cream cheese and yogurt well until smooth. This ensures there are no lumps that might affect the texture.
Following these steps will help your bars firm up beautifully, making them deliciously easy to cut and serve. Enjoy your treats!
How to Make No Bake Oreo Protein Bars
Ingredients You’ll Need:
Base Ingredients:
- 20 Oreo cookies (roughly chopped)
- 1 ½ cups vanilla or cookies & cream protein powder
- 1 cup low-fat cream cheese, softened
- 1 cup Greek yogurt (plain or vanilla)
- ¼ cup almond butter or peanut butter
- ¼ cup honey or maple syrup
- 1 tsp vanilla extract
Toppings:
- ½ cup crushed Oreos for topping
- Optional: 2 tbsp cocoa powder (for a richer top layer)
How Much Time Will You Need?
This No Bake Oreo Protein Bars recipe takes about 15-20 minutes of preparation. After that, you’ll need to refrigerate them for at least 4 hours to let them firm up. So, set aside some time for chilling, but the actual making part is super quick and easy!
Step-by-Step Instructions:
1. Prepare the Baking Pan:
Start by lining an 8×8-inch baking pan with parchment paper. This will make it easy to lift out the bars once they’re set!
2. Make the Oreo Crust:
Next, take your Oreo cookies and place them in a food processor. Pulse them until they turn into fine crumbs. Remember to reserve about ¼ cup of these crumbs for later. Now, press the rest firmly into the bottom of your prepared pan to create a solid crust layer.
3. Blend the Creamy Mixture:
In a mixing bowl, combine the softened cream cheese, Greek yogurt, almond butter (or peanut butter), honey, and vanilla extract. Use a hand or stand mixer to blend everything until it’s all smooth and creamy. This is where the magic happens!
4. Combine with Protein Powder:
Gradually add the protein powder to your creamy mixture and mix well until everything is combined. It should be thick and smooth.
5. Add the Oreos:
Now, gently fold in the chopped Oreos into the mixture. This adds that yummy texture and flavor!
6. Spread the Mixture:
Pour the protein mixture onto the Oreo crust in the pan. Use a spatula to spread it out evenly, smoothing the top so it looks nice.
7. Top it Off (Optional):
If you want a rich chocolate layer on top, mix the cocoa powder with a little Greek yogurt or water until it’s spreadable. Layer this on top of the protein mixture if you like!
8. Garnish:
Sprinkle the reserved crushed Oreo crumbs on top for an extra touch that looks and tastes great.
9. Chill the Bars:
Cover the pan with plastic wrap and pop it in the fridge. Chill for at least 4 hours until the mixture is firm and set.
10. Cut and Serve:
Once your bars are ready, take them out of the fridge. Carefully lift them out using the parchment paper and cut them into bars. Enjoy these delicious treats chilled!
Store any leftovers in an airtight container in the refrigerator. Enjoy your creamy, chocolatey, protein-packed Oreo bars without needing to bake!
Can I Use Different Types of Protein Powder?
Absolutely! Vanilla or cookies & cream powder works great, but you can try any flavor you like. Just keep in mind that it may change the overall taste of the bars.
How Should I Store Leftover Bars?
Store any leftovers in an airtight container in the refrigerator for up to one week. These bars make a great grab-and-go snack!
Can I Make These Bars Vegan?
Yes, you can make these bars vegan! Substitute the cream cheese with a vegan cream cheese or silken tofu, the Greek yogurt with a plant-based yogurt, and use maple syrup as your sweetener. Check that your cookies are also vegan!
Is It Necessary to Use Almond Butter?
Not at all! While almond butter adds great flavor, you can easily substitute it with peanut butter or sun butter. If you prefer, you can also omit it, but the bars will be a bit less creamy.