Charred crust, bubbling cheese, and a smoky edge turn grilled pizza into the kind of dinner people remember. The grill gives you that wood-fired style without needing a pizza oven, and the fast cook time keeps the crust crisp instead of soggy. Once you get the rhythm down, it becomes one of those meals that feels a little more fun than regular pizza night, even though it’s still simple enough for a weeknight.
The key is building the crust in stages. The first side goes directly on the grates to set and char, then the toppings go on after the dough flips so the sauce and cheese don’t slide through the grill. That’s the difference between a pizza that holds together and one that turns into a mess before it leaves the grates. I also like using a light hand with sauce and toppings so the center stays crisp instead of getting heavy.
Below, I’m walking through the small details that matter most: how to stretch the dough without tearing it, how to control the grill heat, and what toppings work best when everything is moving fast. Once you’ve made it once, you’ll see why grilled pizza earns a permanent spot in the rotation.
The crust picked up those grill marks fast and stayed crisp under the sauce, and the cheese melted before the toppings had a chance to overcook. My husband said it tasted like pizza from a wood-fired oven.
Save this grilled pizza for the night you want crisp charred crust, melted mozzarella, and that fresh-off-the-grill finish.
The Trick to Grilled Pizza Is Cooking the Dough Before the Toppings Go On
Most grilled pizza problems start with impatience. If the dough goes on the grill too thick, or the toppings go on before the crust has set, the whole thing becomes floppy in the middle and awkward to move. The first side needs enough time to blister and firm up so it can support sauce, cheese, and toppings without tearing.
That’s why the dough is stretched thin and handled gently. Thin dough cooks fast, which is what you want on a grill that’s doing a lot of work in a short time. The grilled side becomes the structure, and the second side finishes under the lid just long enough to melt the cheese and crisp the bottom. If your pizza keeps sticking, the grates weren’t hot enough or weren’t oiled well enough before the dough went down.
What the Dough, Sauce, and Cheese Are Doing Here

- Pizza dough — A stretchy, well-rested dough gives you the best chance of a thin crust that won’t snap back while you’re shaping it. Store-bought dough works fine here, and it’s actually a smart shortcut because the grill is already adding its own flavor.
- Olive oil — Brushing the top side before the dough hits the grill does two jobs: it helps prevent sticking and encourages better browning. Don’t skip this step, because a dry dough round is far more likely to grab the grates.
- Pizza sauce — Use a thick sauce, not a watery one. Thin sauce bleeds into the crust and makes the center soggy before the cheese has a chance to melt.
- Mozzarella — Low-moisture shredded mozzarella melts evenly and gives you that classic pull. Fresh mozzarella can work, but it releases more moisture, so use less of it or pat it dry first.
- Toppings — Pre-cooked vegetables, thin-sliced meats, and anything that doesn’t need a long bake are the safest choices. The grill finish is short, so raw vegetables with a lot of moisture can slow everything down and soften the crust.
- Flour — A light dusting keeps the dough manageable while you stretch it. Too much flour can taste chalky on the finished crust, so use just enough to stop sticking.
Building the Pizza on the Grill Without Losing the Crust
Stretching the Dough for Fast, Even Cooking
Divide the dough into four portions and shape each one into a thin round. Work from the center outward and stop as soon as the dough starts to resist; if you keep forcing it, it’ll spring back and tear. A thin round cooks more evenly and gives you the crisp, charred edges that make grilled pizza worth doing.
Getting the First Side Set on the Grates
Brush one side of the dough with olive oil, then place that side down on a hot, well-oiled grill. Leave it alone for 2 to 3 minutes until the bottom has clear grill marks and releases cleanly. If it sticks when you try to lift it, it needs another 30 seconds; forcing it early is how the dough tears.
Flipping and Topping in a Hurry
Flip the crust over with tongs or a peel, then work fast. Add sauce, cheese, and toppings to the grilled side, keeping everything in a light, even layer. If you pile on too much, the center steams instead of crisping, and the cheese takes longer to melt than the crust can stay comfortable on the grill.
Finishing Under the Lid
Close the grill lid and cook for 3 to 5 minutes, just until the cheese is melted and the bottom is crisp. Watch for bubbling cheese and a firm crust that lifts easily from the grates. Pull it off the grill as soon as it looks done, because a minute too long can push the crust from crisp into dry.
How to Change This Grilled Pizza Without Losing What Makes It Work
Gluten-Free Grilled Pizza
Use a gluten-free pizza dough that’s meant to be rolled or stretched, not a batter-style crust. It usually needs a little more handling and a careful flip, but the grill still gives it the same smoky edge and crisp finish.
Dairy-Free Toppings
Swap in a good melting dairy-free mozzarella and keep the layer modest so it doesn’t pool or get oily. The flavor shifts a little, but the grilled crust and fresh toppings still carry the pizza.
Veggie-Loaded Version
Use vegetables that have been pre-cooked or well-drained, like sautéed mushrooms, roasted peppers, or grilled zucchini. Raw watery vegetables can dump moisture onto the crust and keep it from crisping the way it should.
Storage and Reheating
- Refrigerator: Store leftovers for up to 3 days. The crust softens a little in the fridge, but it still reheats well.
- Freezer: Freeze baked slices wrapped tightly, then bag them. The texture won’t be quite as crisp as fresh, but it’s still useful for a quick lunch.
- Reheating: Reheat in a skillet over medium heat or in a 400°F oven until the crust crisps again and the cheese remelts. Skip the microwave if you want the bottom to stay firm instead of turning chewy.
Answers to the Questions Worth Asking
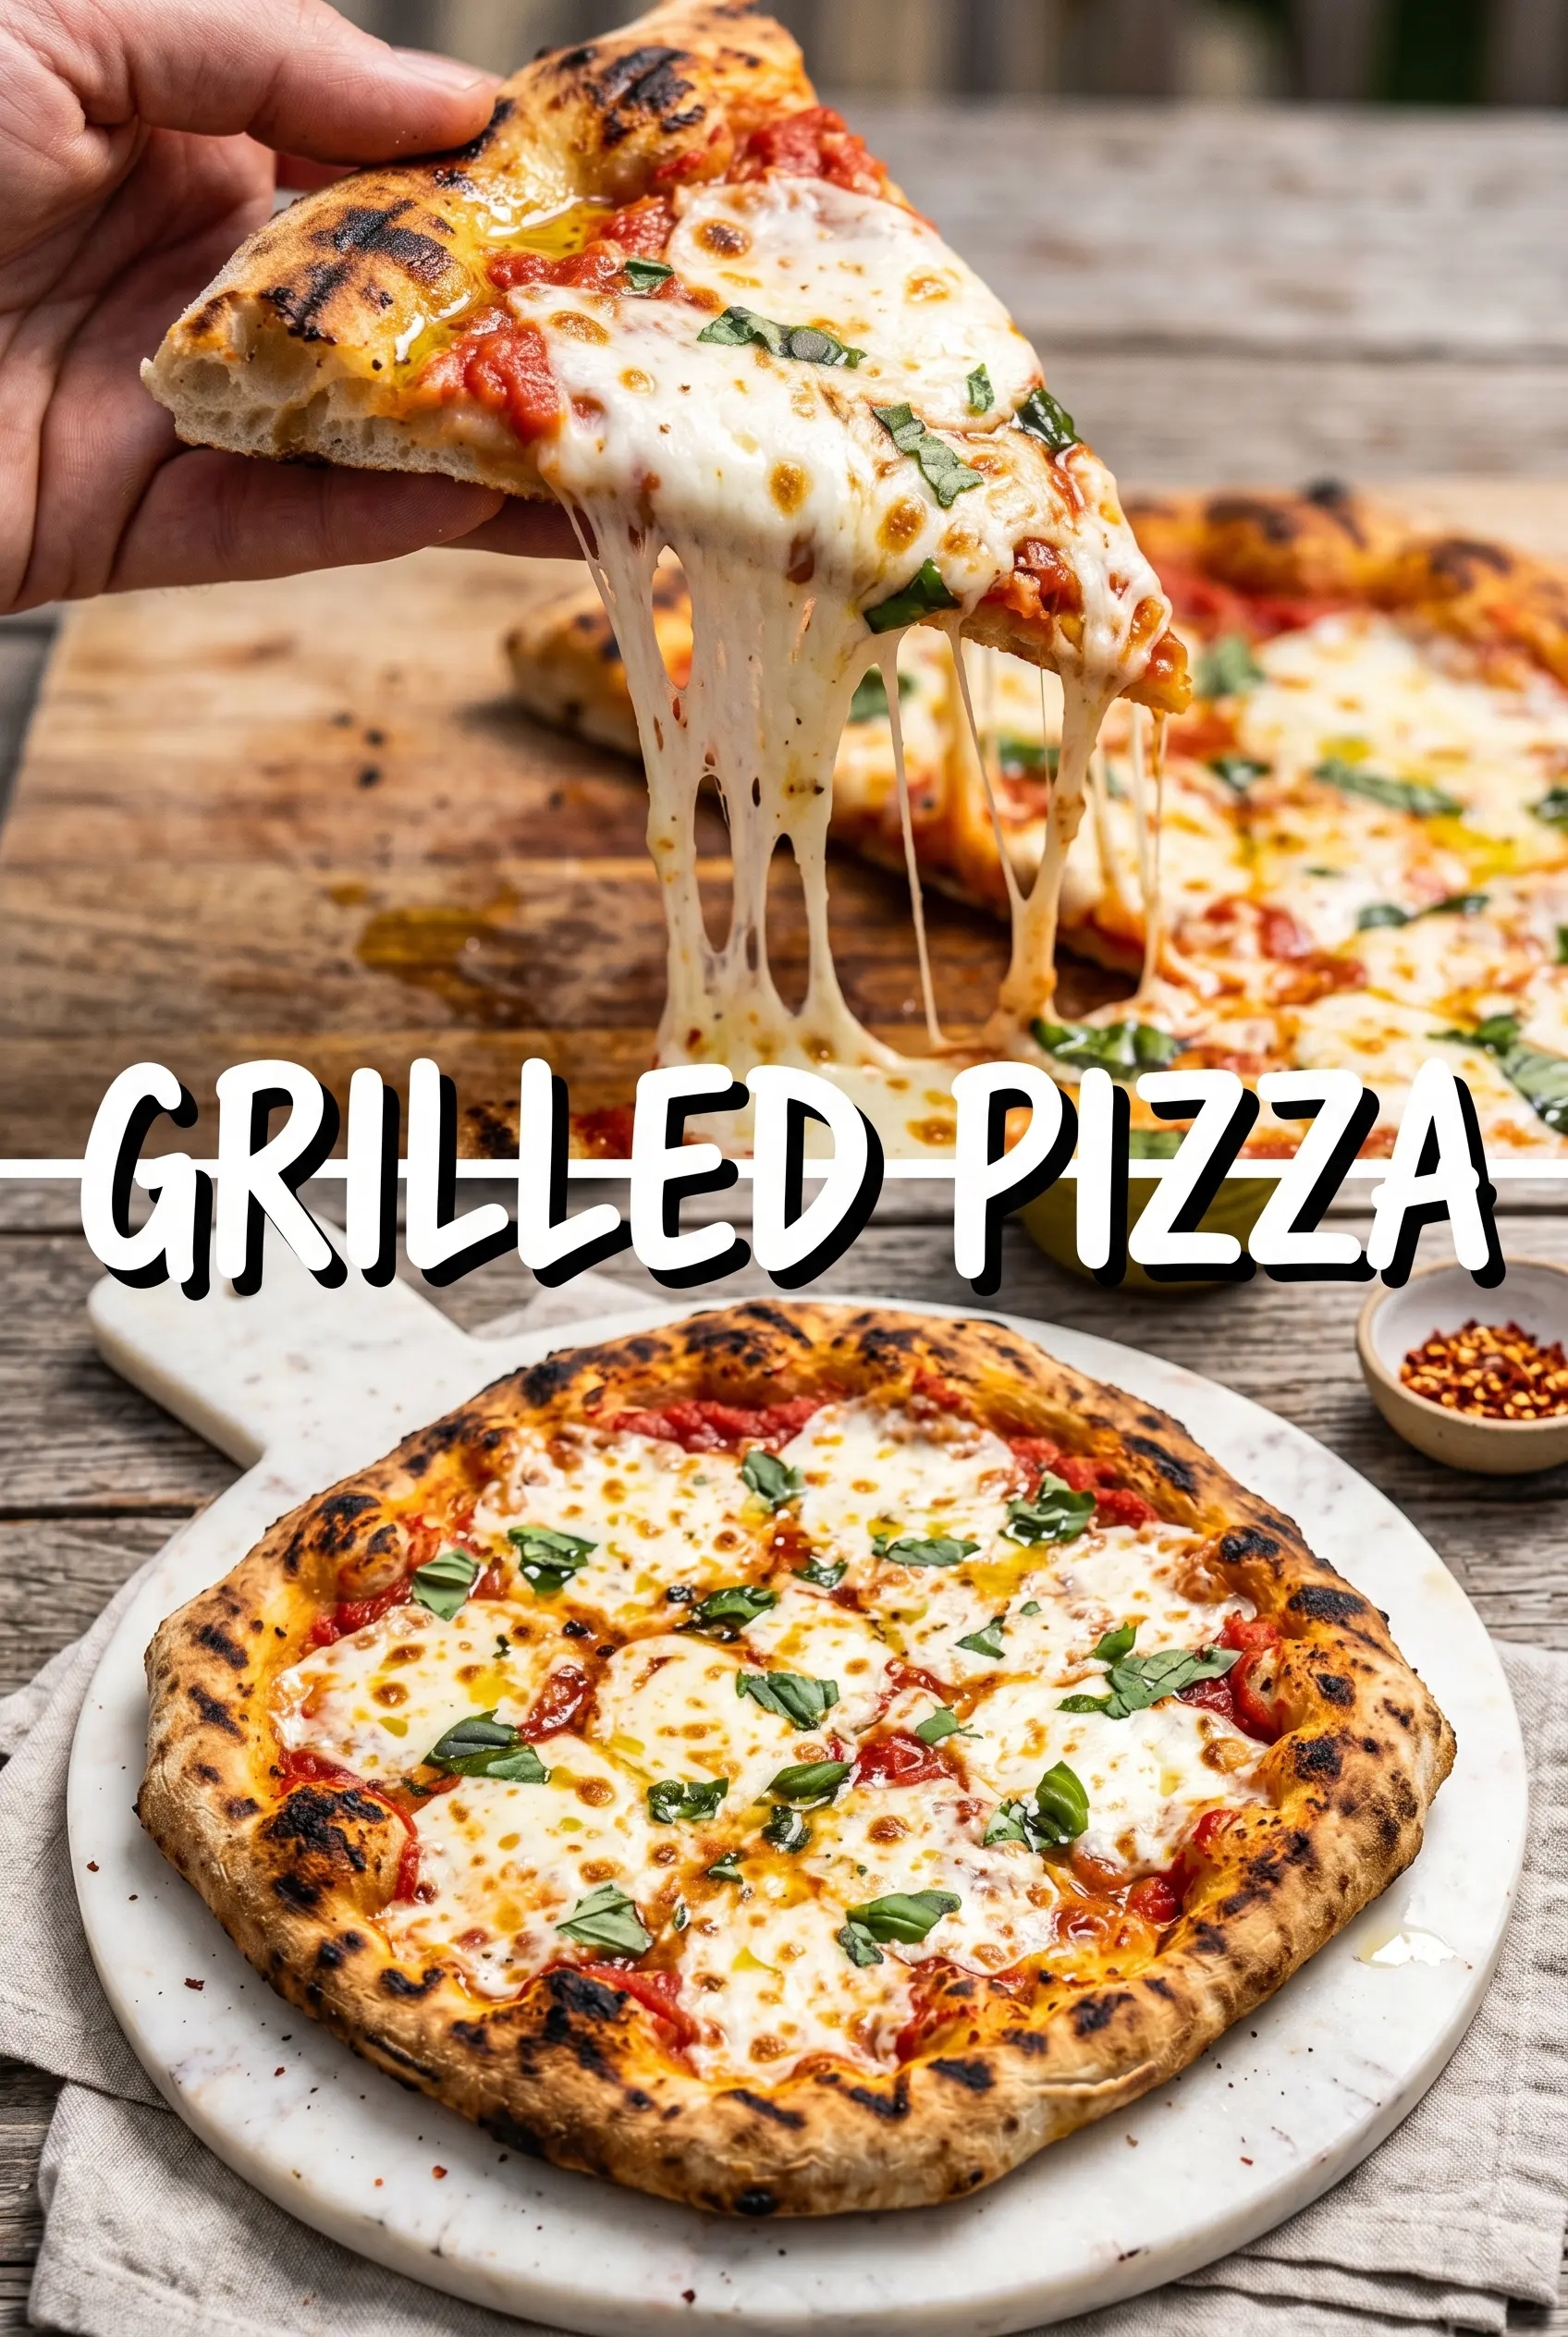
Grilled Pizza
Ingredients
Equipment
Method
- Preheat the grill to medium-high heat and oil the grates well to prevent sticking.
- Divide the pizza dough into 4 portions and stretch each into a thin round, dusting with flour so it rolls out easily.
- Brush one side of each crust with olive oil and place the oiled side down on the grill for 2-3 minutes, until the bottom is visibly charred.
- Flip the crust and quickly add pizza sauce, mozzarella cheese, and your choice of toppings onto the grilled side.
- Close the grill lid and cook for 3-5 minutes, until the cheese is melted and the bottom looks crispy through the grill marks.
- Remove the pizza from the grill and top immediately with fresh basil leaves and grated Parmesan cheese for a fresh, aromatic finish.
- Slice the grilled pizza and serve immediately while the cheese is still bubbling.