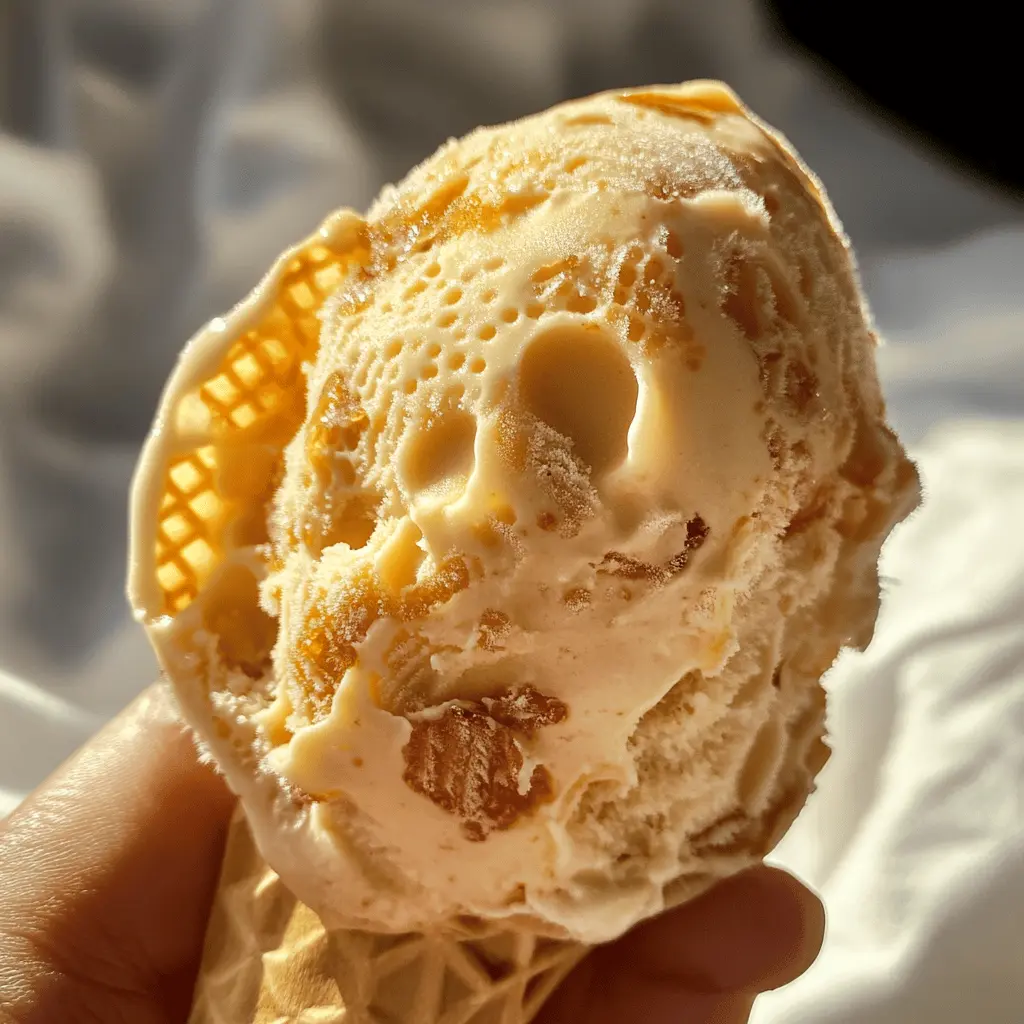
This homemade honeycomb ice cream is a sweet and crunchy treat that’s sure to please everyone. Made with creamy ice cream base and bits of honeycomb, it’s irresistible!
I love how easy this recipe is; just mix, churn, and freeze. Plus, it’s a fun way to impress friends at parties with the crunchy honeycomb surprise inside! 🍦
Key Ingredients & Substitutions
Heavy Cream: This ingredient gives ice cream its rich and creamy texture. If you’re looking for a lighter option, you can substitute half the heavy cream with whole milk, but the texture may be less creamy.
Whole Milk: Whole milk is great for a smooth, rich flavor. You could also use 2% milk, but the ice cream might not be as creamy. If you’re dairy-free, try using coconut milk for a delicious twist!
Granulated Sugar: Regular sugar works perfectly, but if you’re looking to reduce sugar, you can substitute with a sweetener like honey or maple syrup. Just remember that it may alter the texture slightly.
Vanilla Extract: Pure vanilla extract enhances the flavor of the ice cream. If you’re in a pinch, imitation vanilla will work too, but the flavor won’t be as rich. You could also use vanilla bean paste to add those lovely specks of vanilla.
Honeycomb Candy: This is the special touch for crunchy bites. If you can’t find honeycomb, you can use crushed toffee or even make your own honeycomb at home. It’s simpler than it sounds!
How Do I Get the Creamiest Ice Cream?
To achieve the best creamy texture, follow these key techniques:
- Make sure your mixing bowl and ice cream maker are properly chilled before starting. This helps the mixture freeze quicker, resulting in smaller ice crystals.
- Whisk the cream, milk, and sugar together until the sugar is fully dissolved. This step ensures a smoother ice cream base.
- Churn your ice cream for the full recommended time. Under-churning can result in a slushy texture instead of creamy ice cream.
- Remember to fold in the honeycomb gently after churning to keep its crunch. If you mix it in too aggressively, it can break apart too much.
- Freezing the ice cream for a minimum of 4 hours is key to reaching that perfect scoopable firmness. Plan ahead for the best results!

Easy Homemade Honeycomb Ice Cream
Ingredients You’ll Need:
For the Ice Cream Base:
- 2 cups heavy cream
- 1 cup whole milk
- 3/4 cup granulated sugar
- 1 tablespoon pure vanilla extract
For the Mix-Ins:
- 1 cup honeycomb candy, roughly chopped
How Much Time Will You Need?
This delightful honeycomb ice cream will take about 10 minutes to prepare, plus around 20-25 minutes to churn in your ice cream maker, and then at least 4 hours to freeze until firm. So total, you’re looking at about 4 hours and 35 minutes, mostly waiting for that ice cream to get nice and cold!
Step-by-Step Instructions:
1. Mix the Ice Cream Base:
Start by grabbing a mixing bowl. Add the heavy cream, whole milk, granulated sugar, and vanilla extract. Whisk everything together until the sugar has completely dissolved, and the mixture is smooth and creamy. It’s important to mix well to get that great flavor!
2. Churn the Ice Cream:
Next, pour your creamy mixture into an ice cream maker. Follow the manufacturer’s instructions—most machines will take about 20-25 minutes. You’re looking for a soft-serve consistency, which is when it’s thick but still a little soft!
3. Add the Honeycomb:
Once your ice cream is churned, it’s time to add the fun part! Gently fold in the roughly chopped honeycomb candy. Make sure to distribute it evenly so every scoop has that yummy crunch.
4. Freeze Until Firm:
Transfer the ice cream to an airtight container. Seal it up tight and pop it in the freezer. You’ll need to leave it there for at least 4 hours, or until it’s nice and firm. Patience is key here!
5. Scoop and Serve:
When you’re ready to enjoy, scoop the ice cream into bowls or cones. Delight in the creamy texture of the ice cream paired with the fun crunchy honeycomb bits. It’s a delicious treat you can share with friends or keep all to yourself!
Frequently Asked Questions about Easy Homemade Honeycomb Ice Cream
Can I Use Store-Bought Honeycomb Candy?
Absolutely! Store-bought honeycomb is a great option and saves time. Just make sure to chop it into small pieces for easier mixing into the ice cream.
What If I Don’t Have an Ice Cream Maker?
No worries! You can still make the ice cream without a machine. Simply pour the mixture into a freezer-safe container, freeze for about 30 minutes, then stir vigorously to break up ice crystals. Repeat this process every 30 minutes for about 3-4 hours until it reaches your desired texture.
How Do I Store Leftover Ice Cream?
Store any leftover honeycomb ice cream in an airtight container in the freezer for up to 2 weeks. For best results, press a piece of parchment paper directly on the surface of the ice cream before sealing to prevent ice crystals from forming.
Can I Add Other Mix-Ins?
Definitely! This honeycomb ice cream is versatile. You can add mix-ins like chocolate chips, crushed cookies, or nuts. Just be sure to fold them in gently after churning to maintain the ice cream’s texture!